
Quality visuals are the pinnacle of immersion. Most people go with flat or curved monitors, or use projection screens. I did something a little different, and it’s COOL!
Read on to find out more about my collimated displays.
If you read my blog post on visuals, you’ll know I was originally on course to start building a curved projection setup when things suddenly changed course. A good friend said he had some single eye-point collimators from an older commercial simulator that he had to dispose of and asked if I wanted them. That was a no brainier. Of course, YES!
But the question now was how to even transport these very heavy and bulky sections from 100 miles away, much less know what to do with them when I got them home. I figured I’d figure it out eventually but I couldn’t pass this deal up. So I rented a large box truck with a hydraulic lift and drove the 100 miles to go get them.
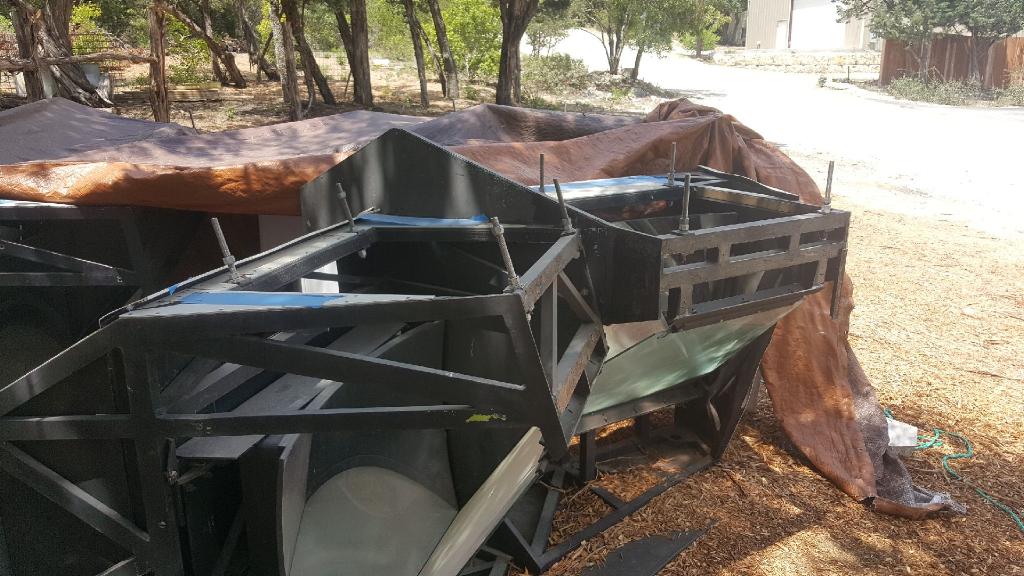
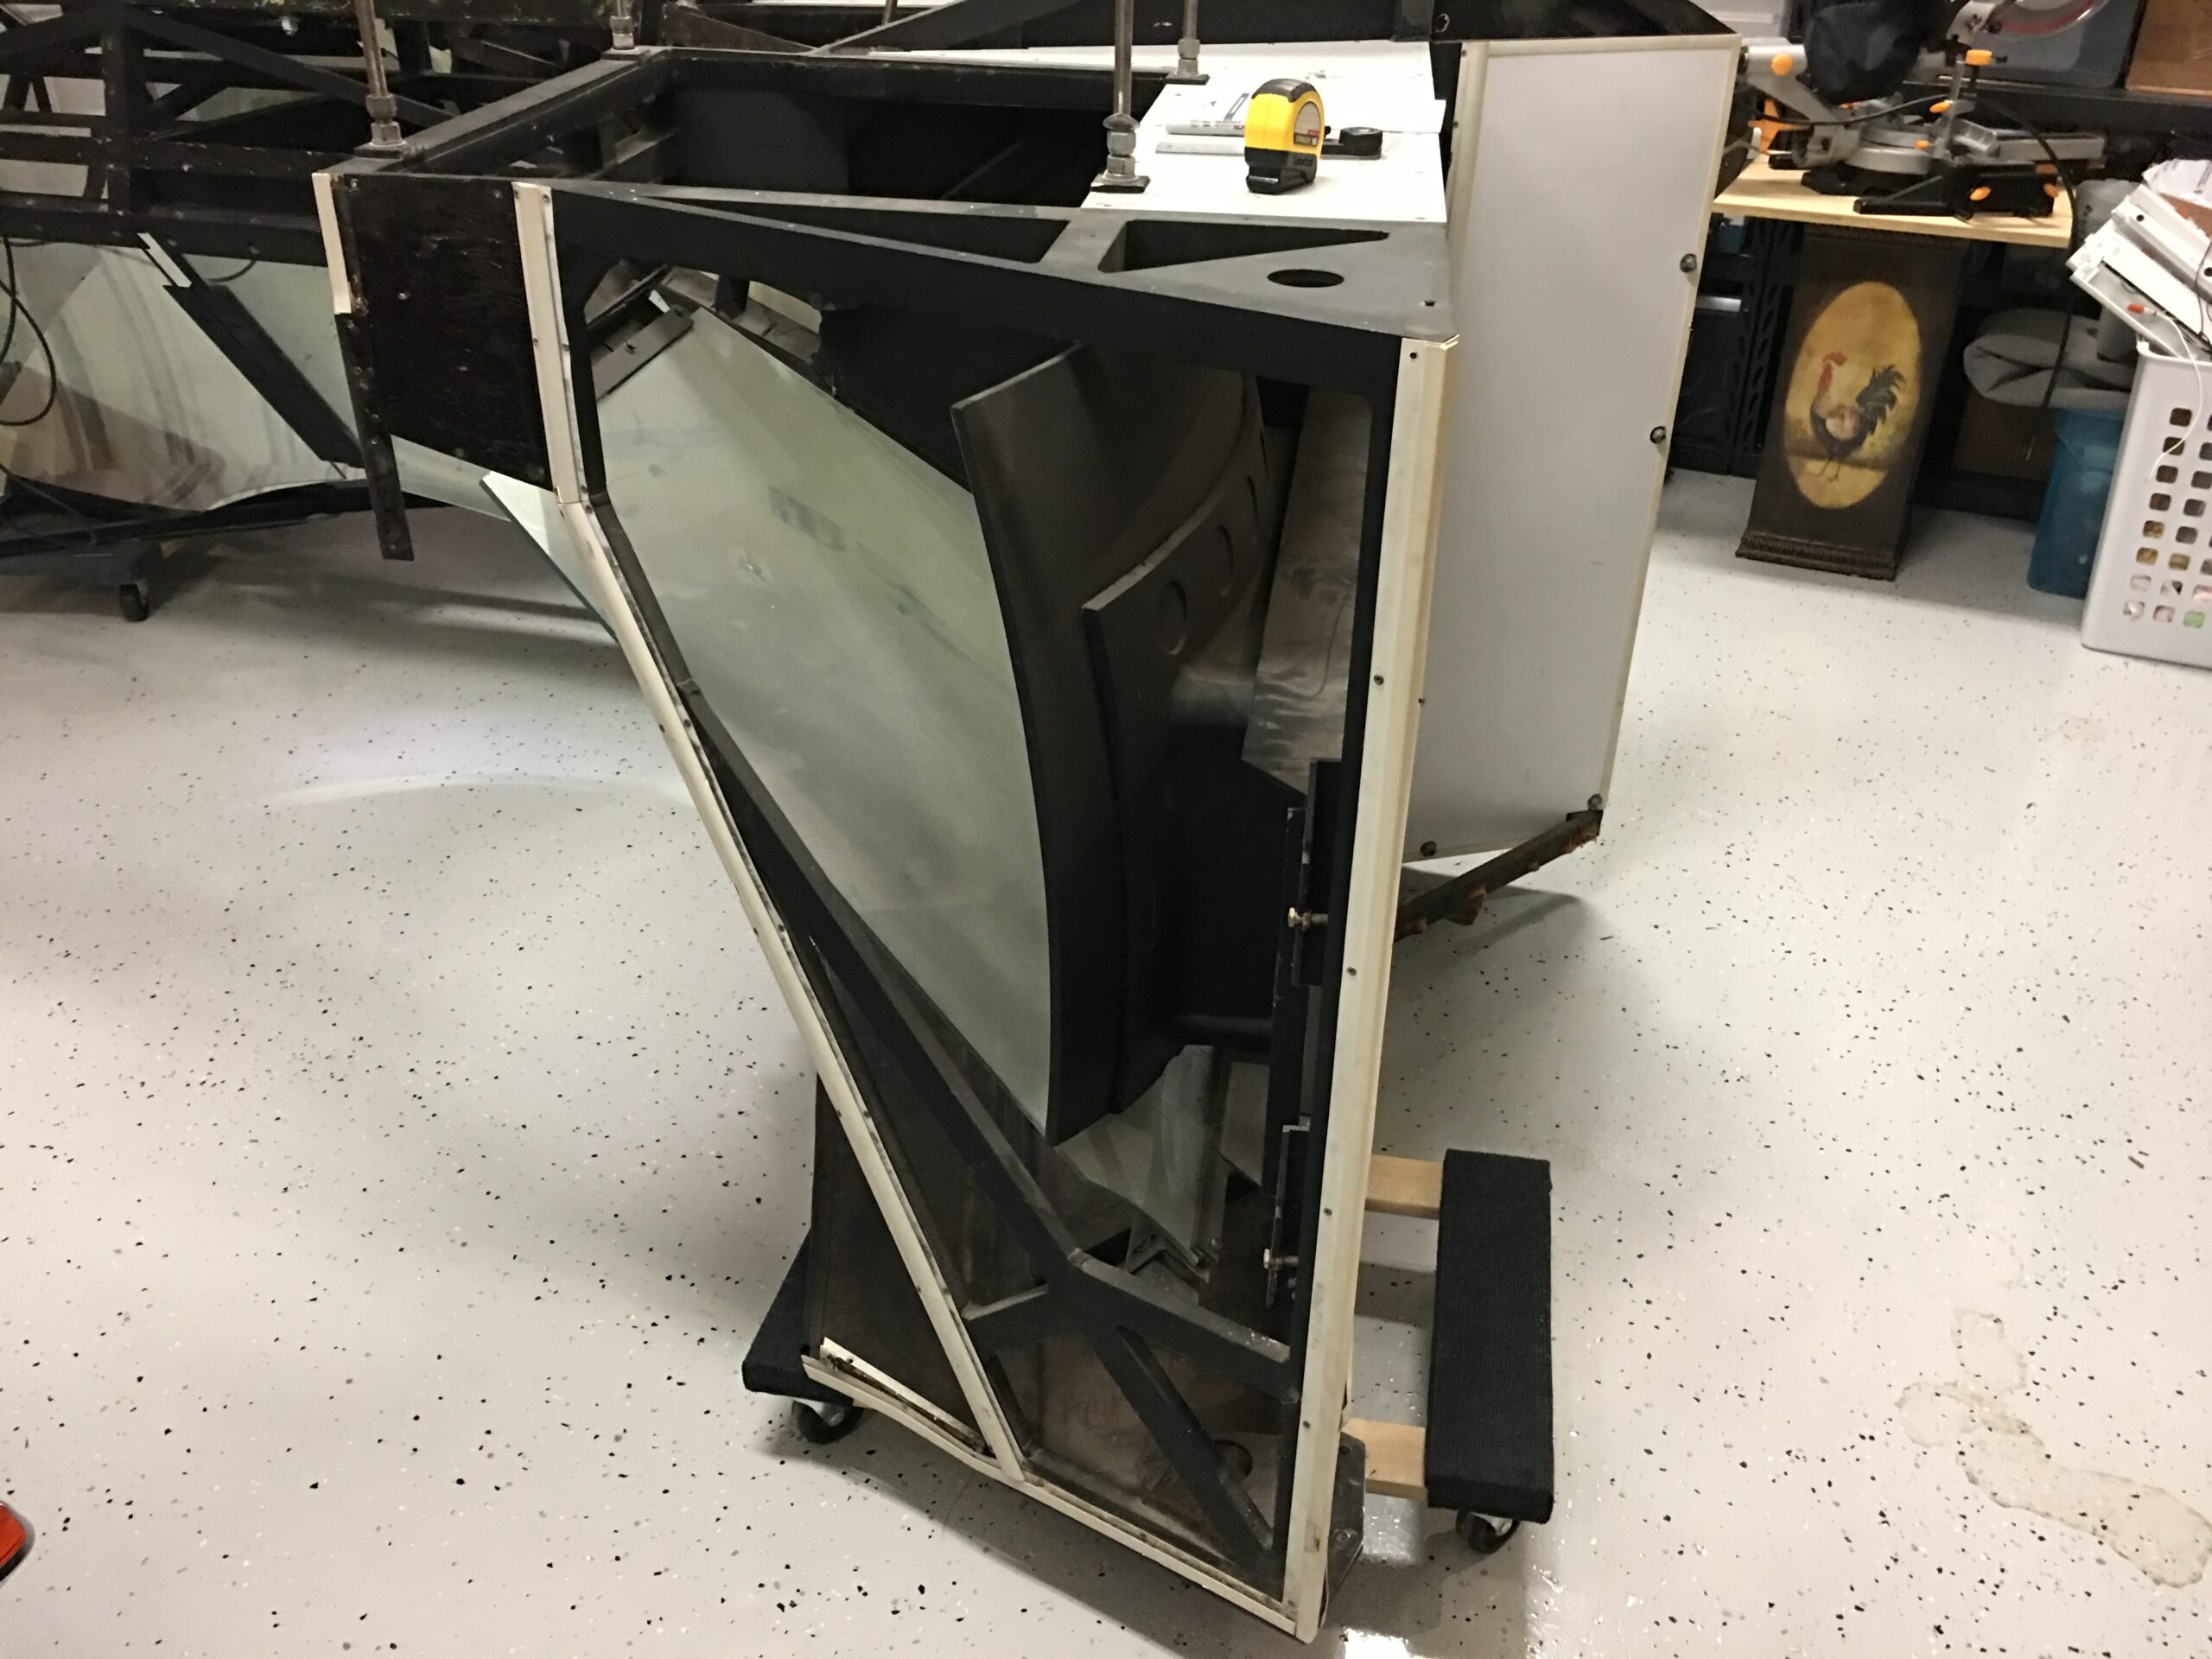
When I got there I could see they were in pretty bad shape and had been sitting outside for some time in the weather, covered but very dirty, full of leaves, grass and dirt, and obviously not immune to the elements. Nor did they have any supporting framework since they originally bolted onto a full motion sim that was long gone. But one of the things you learn over time is finding the hidden potential in these kinds of things because good simulator equipment is often hard to come by. With some hard work I knew these displays would be worth the labor of love to recondition them.
With two people, we were able to lift one end onto a dolly and then lift the other end onto another dolly. That allowed us to roll each of the three heavy sections onto the box truck’s hydraulic lift, then carefully raise them into the back of the box truck. We did our best to keep from damaging the expensive mirrors or glass. Nerve wracking for sure.
The drive home felt like an eternity as I had to go slower than usual and even though I tried to avoid bumps it felt like I was hitting every one, cringing at the thought of one of the mirrors or glass breaking. It was all for nothing. When I got them home and opened up the back, everything was still strapped in nice and snug. These displays were made to operate on a full motion platform (a 757 or 767) so they’re designed to be bounced around.
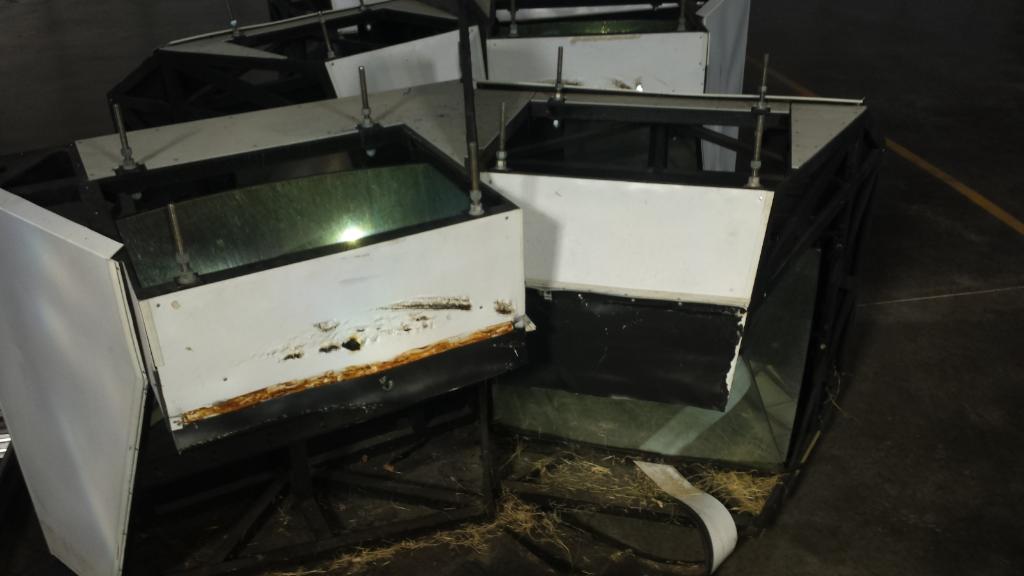
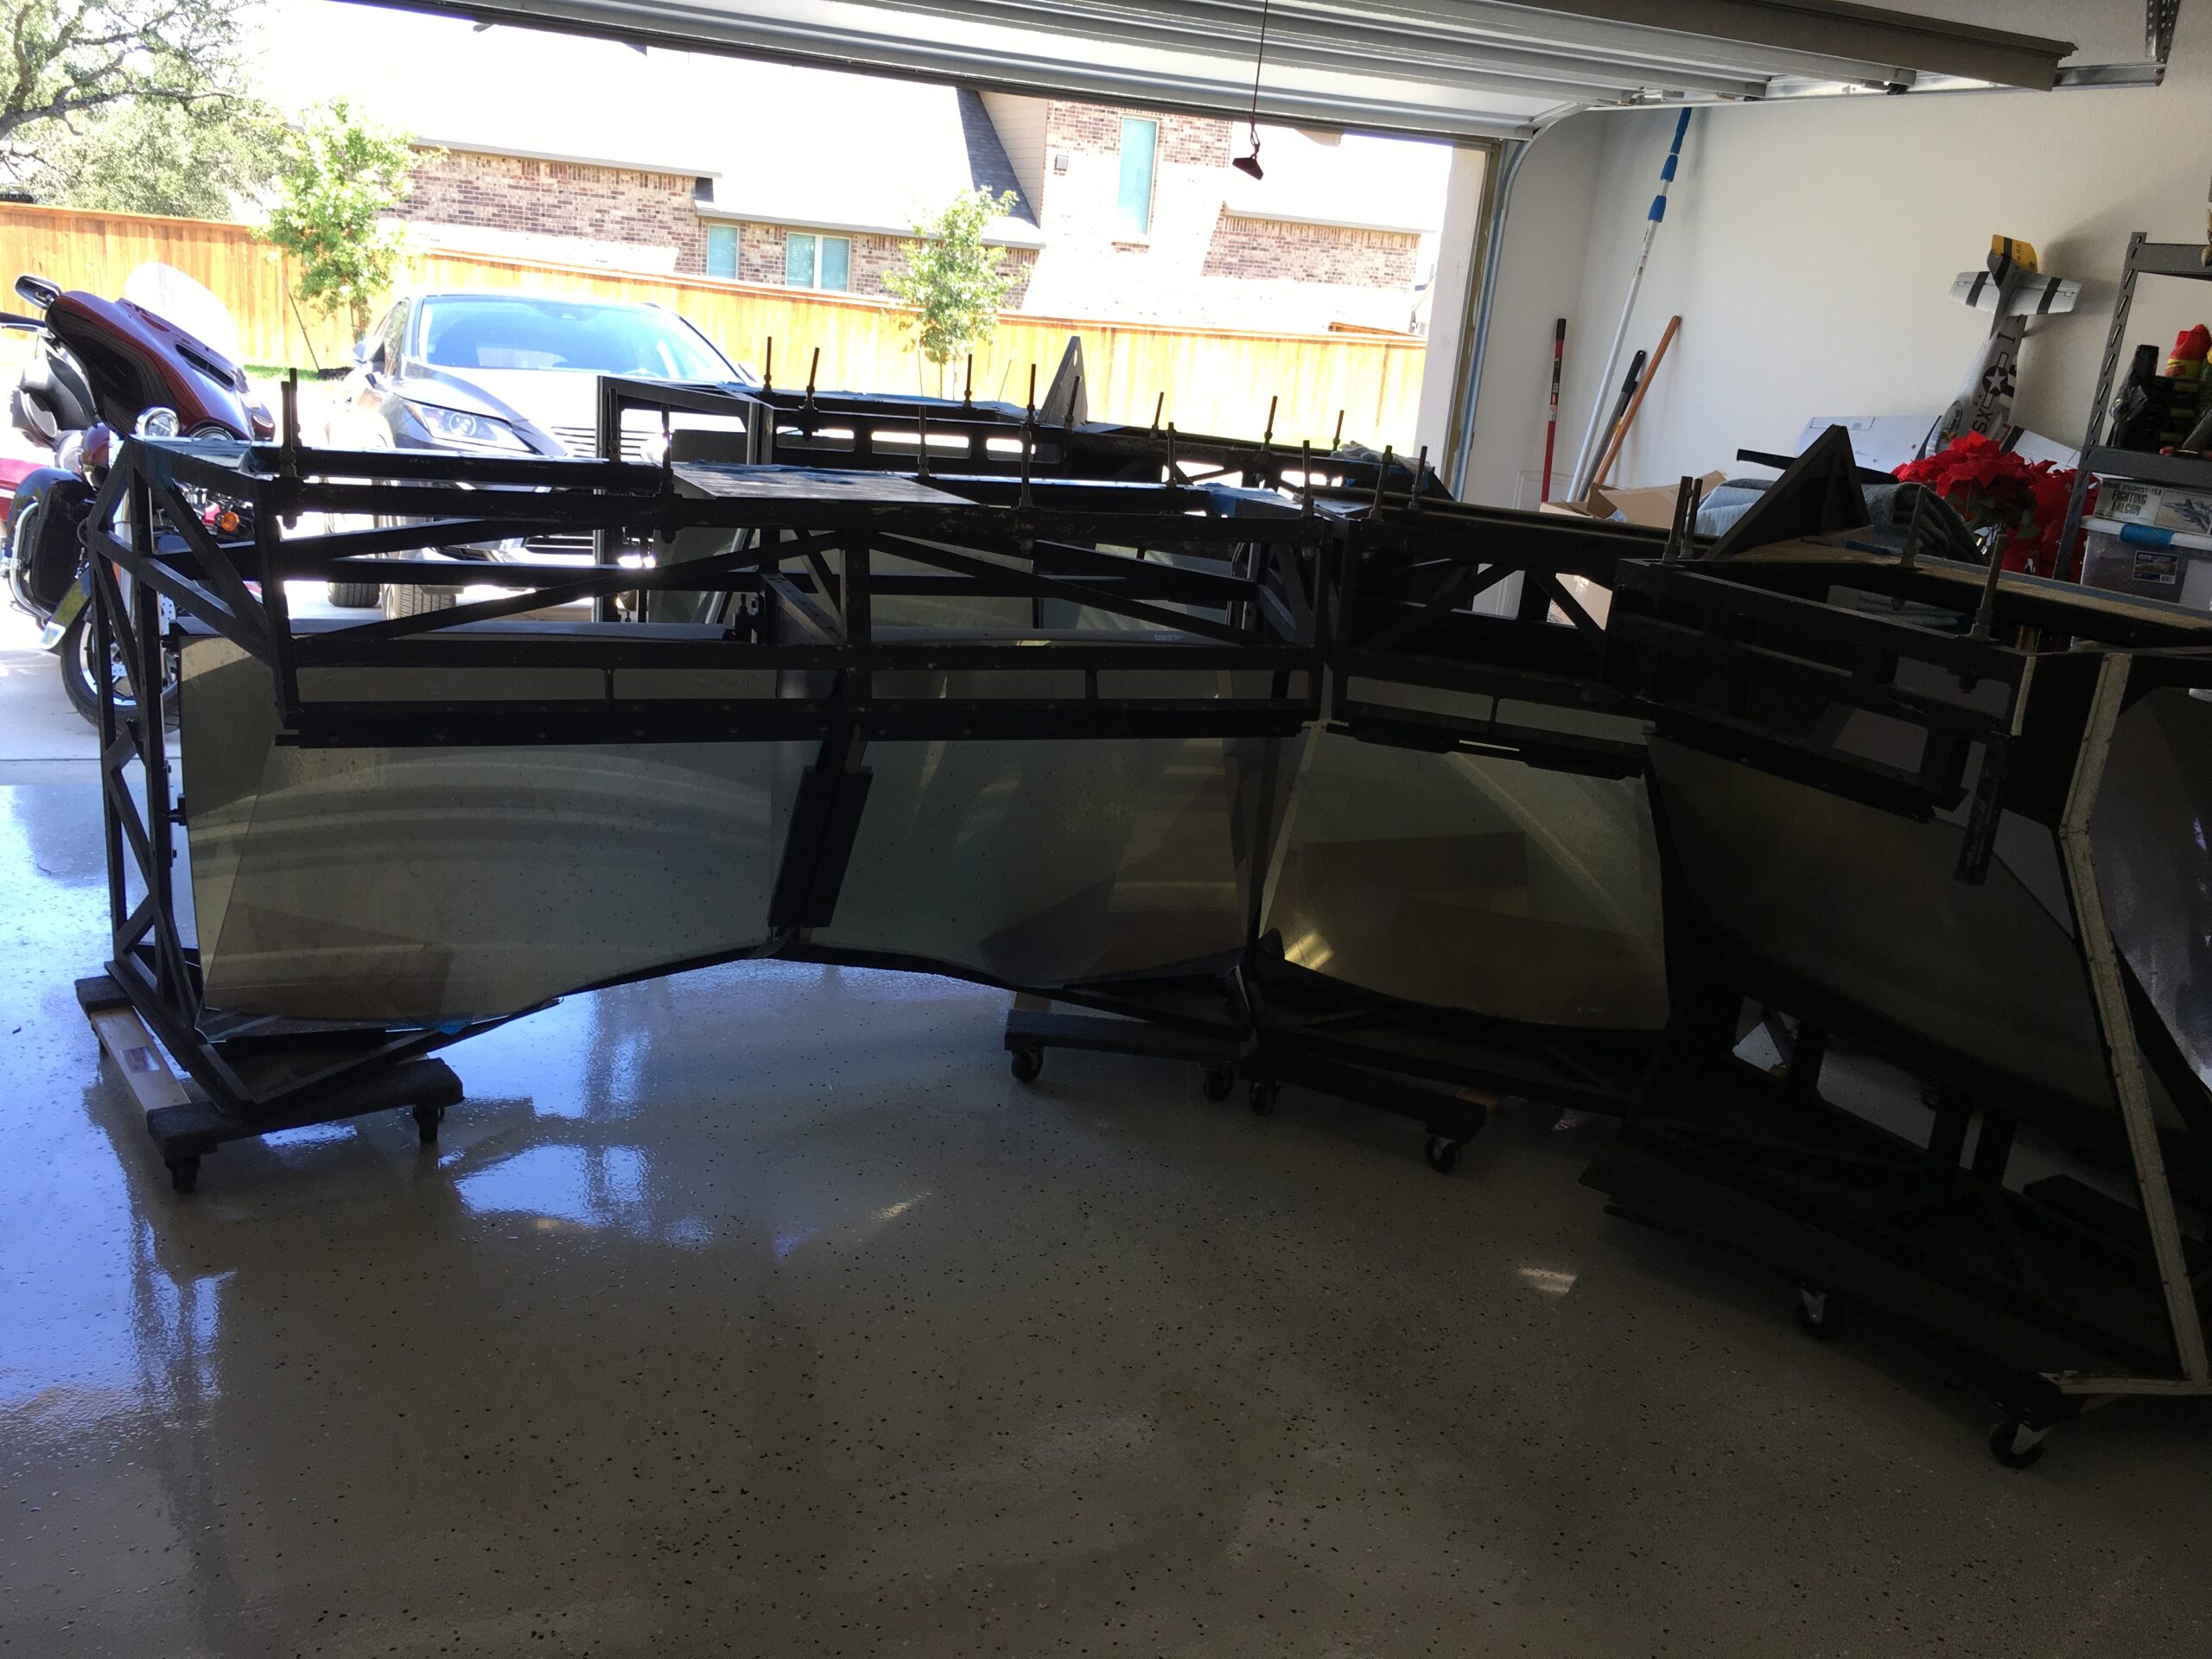
With some help, I got these massive pieces into the garage and there they stayed until I could figure out what to do with them. Each of the three sections was probably around 500-600 pounds. They were awkward to move around , even on dollies. And they took up a lot of space as you can see in the following pictures.
Almost a year went by until, with help from my engineer dad who came to visit from afar, we worked out a way to get them lifted and mounted on some framework underneath. We ended up rigging up a Harbor Freight 2-ton chain hoist through the ceiling and over one of the ceiling beams. That was plenty strong enough to easily lift each of the three display sections (with two mirrors in each) high enough to get to work building supports.
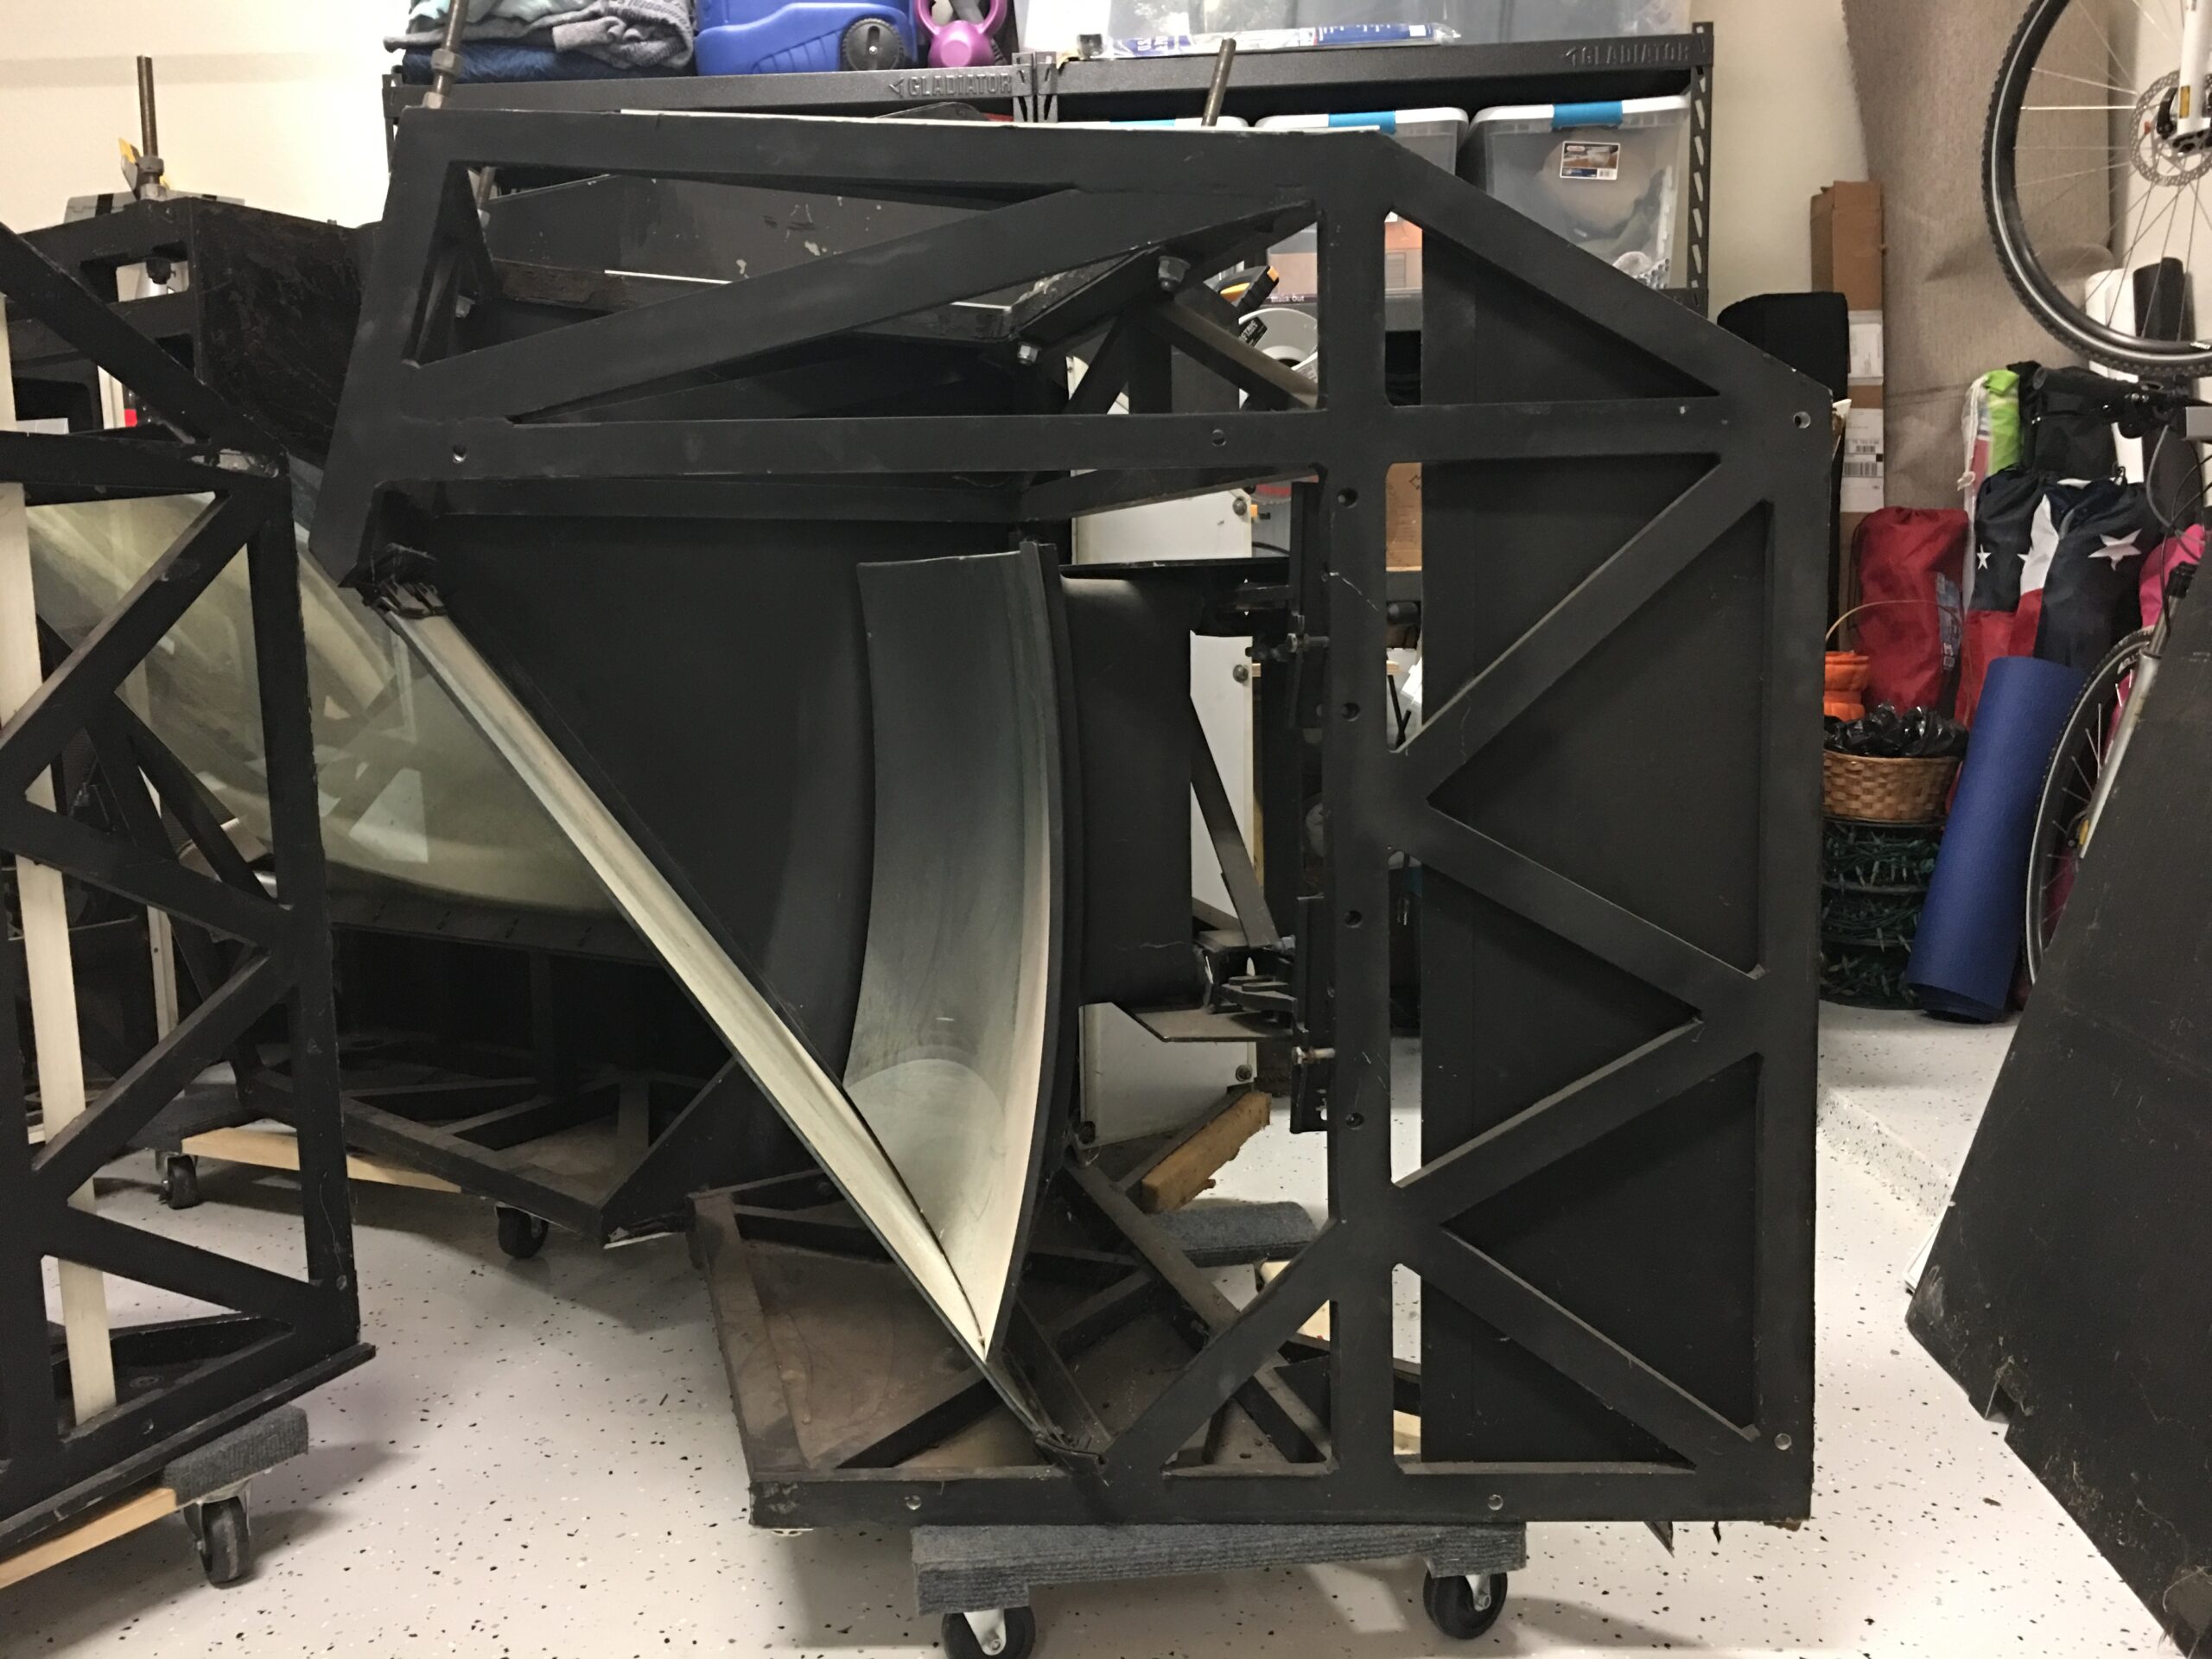
You can see the progression below as we first tested attaching the center display, lifted it up high enough to get an idea of the right position and height, then lifted the side mirrors and created paper templates of the bases to guide the building of the side supporting tables.
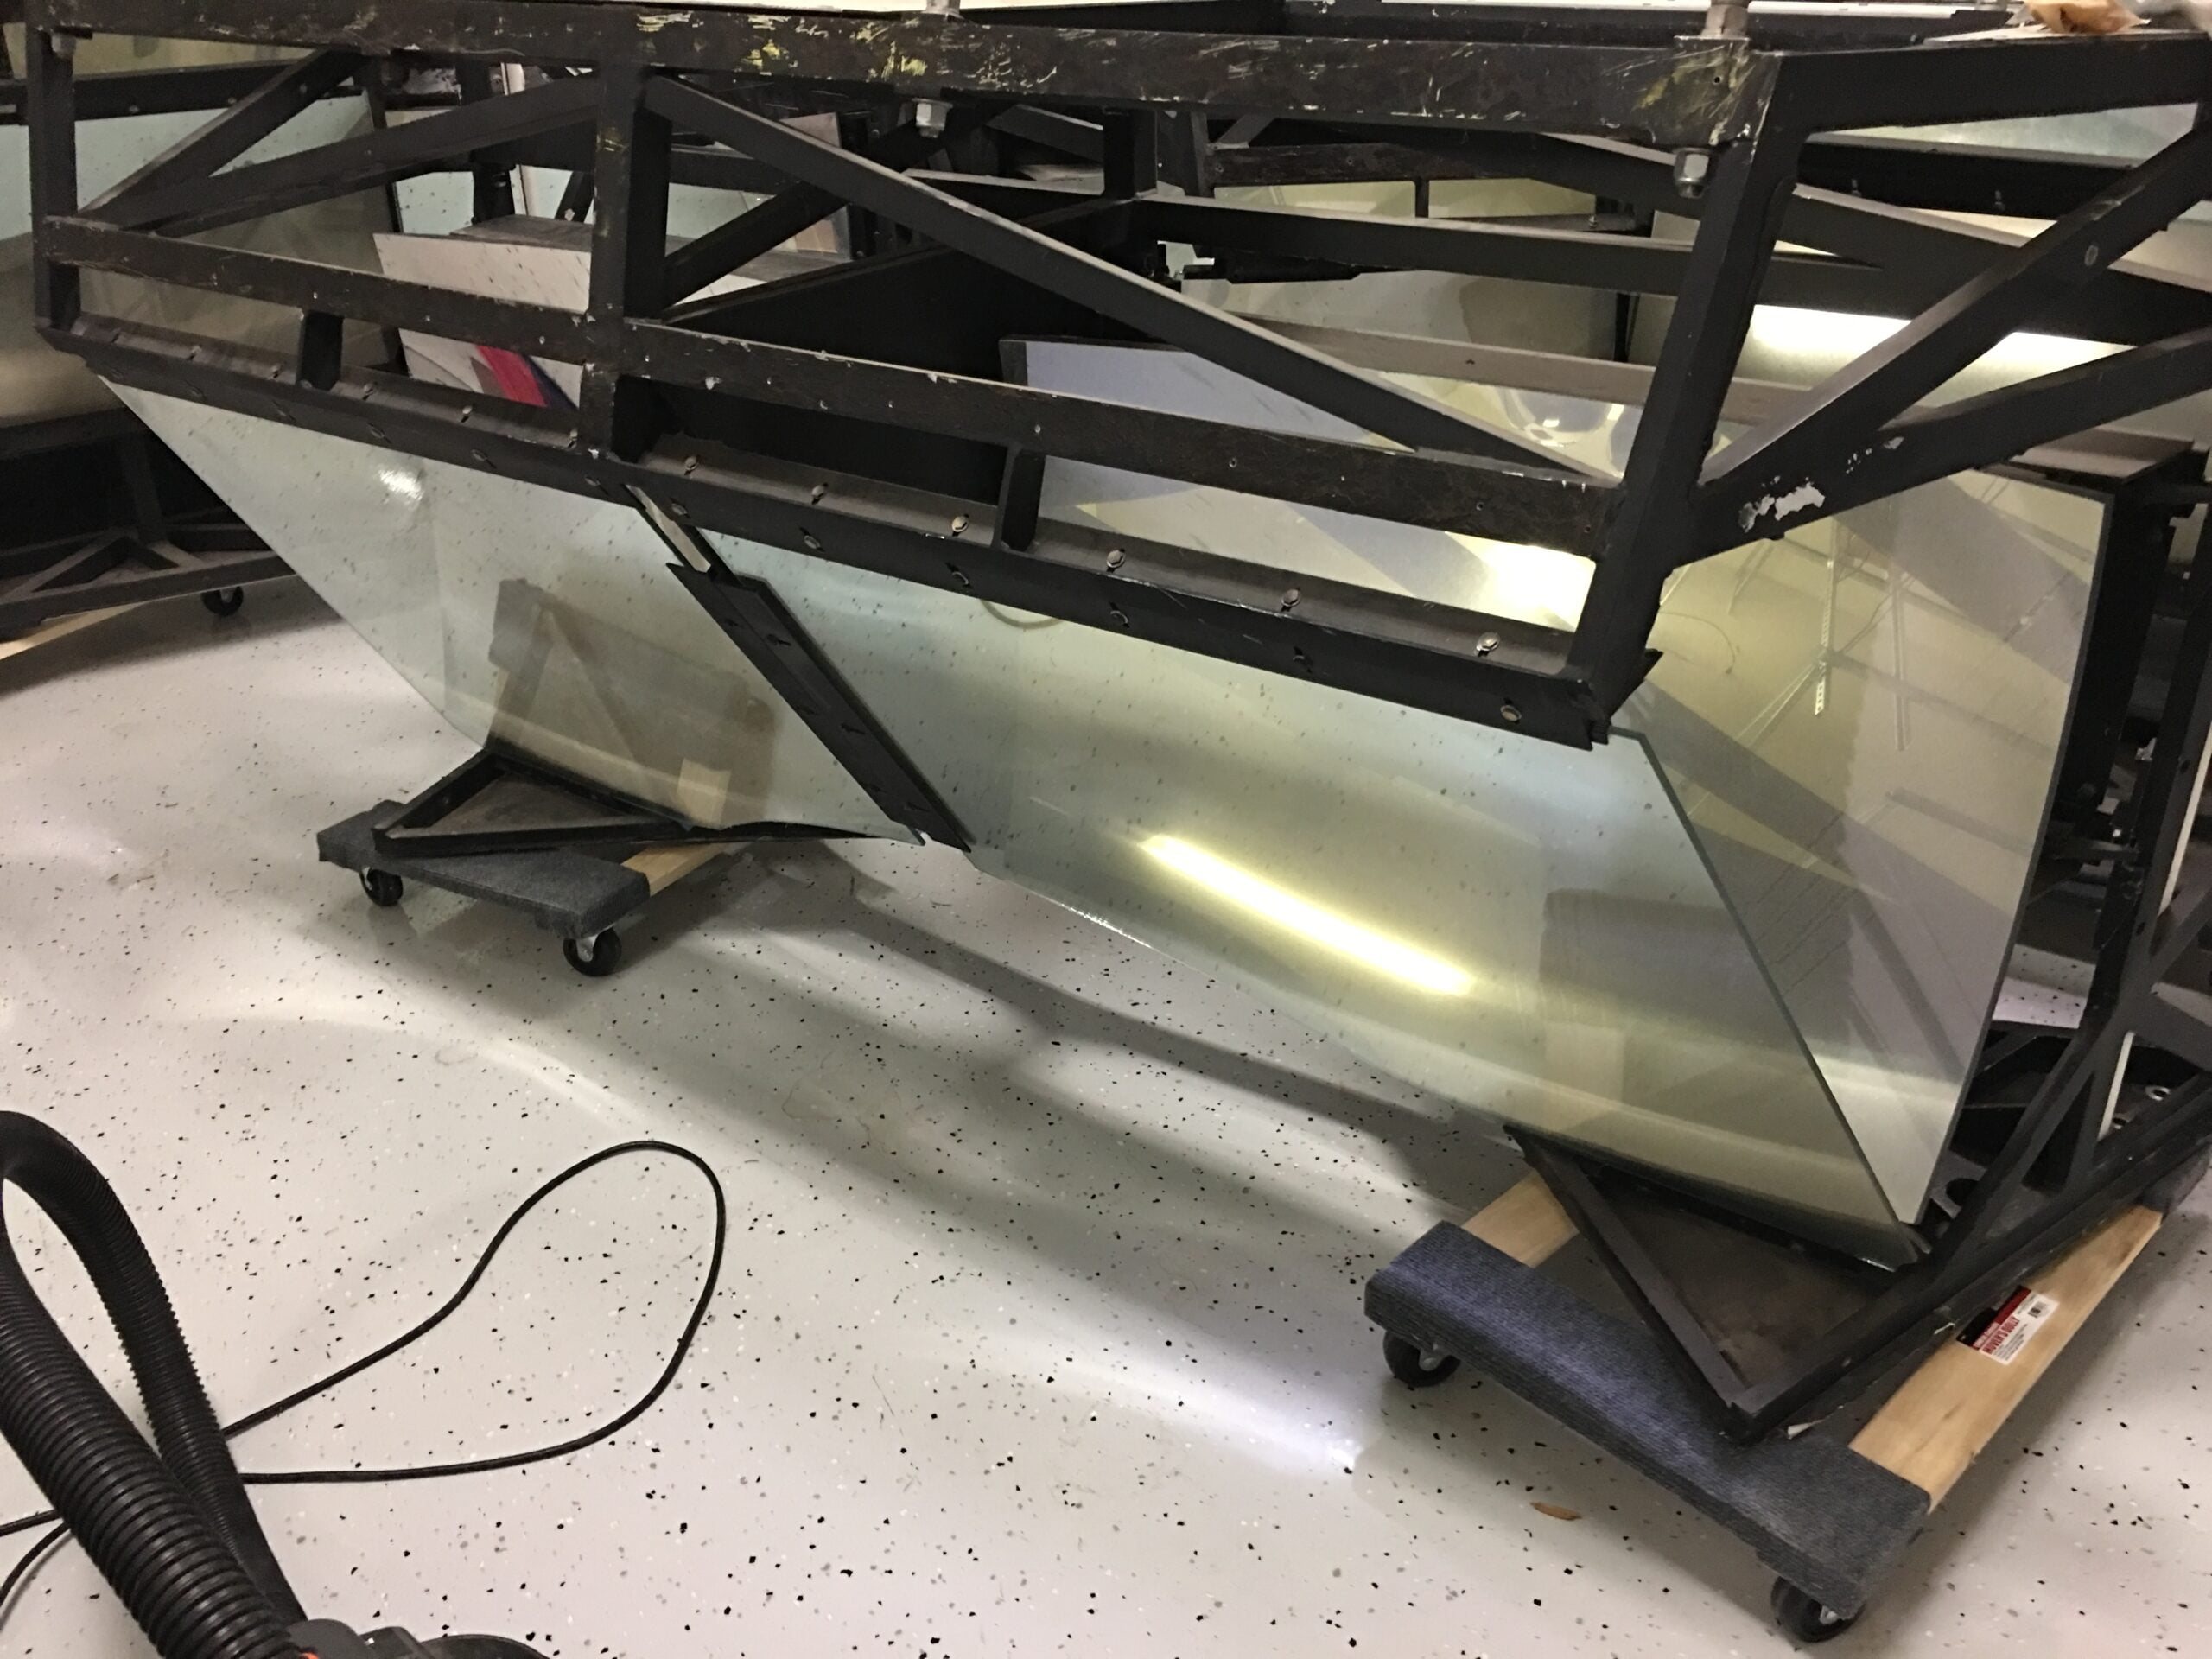
Once the side stands were built, making sure to add proper bracing to prevent flexing, we lifted each set of side displays onto its respective rolling stand. Finally, we raised the center section and bolted everything together. The center display does not need to be supported because it bolts securely to the side displays. So as long as the side displays are supported properly the center display creates a nice bridge, leaving room underneath to get to the front of the cockpit shell for maintenance. Everything ended up nice and solid and could be rolled around as one giant “U” shape.
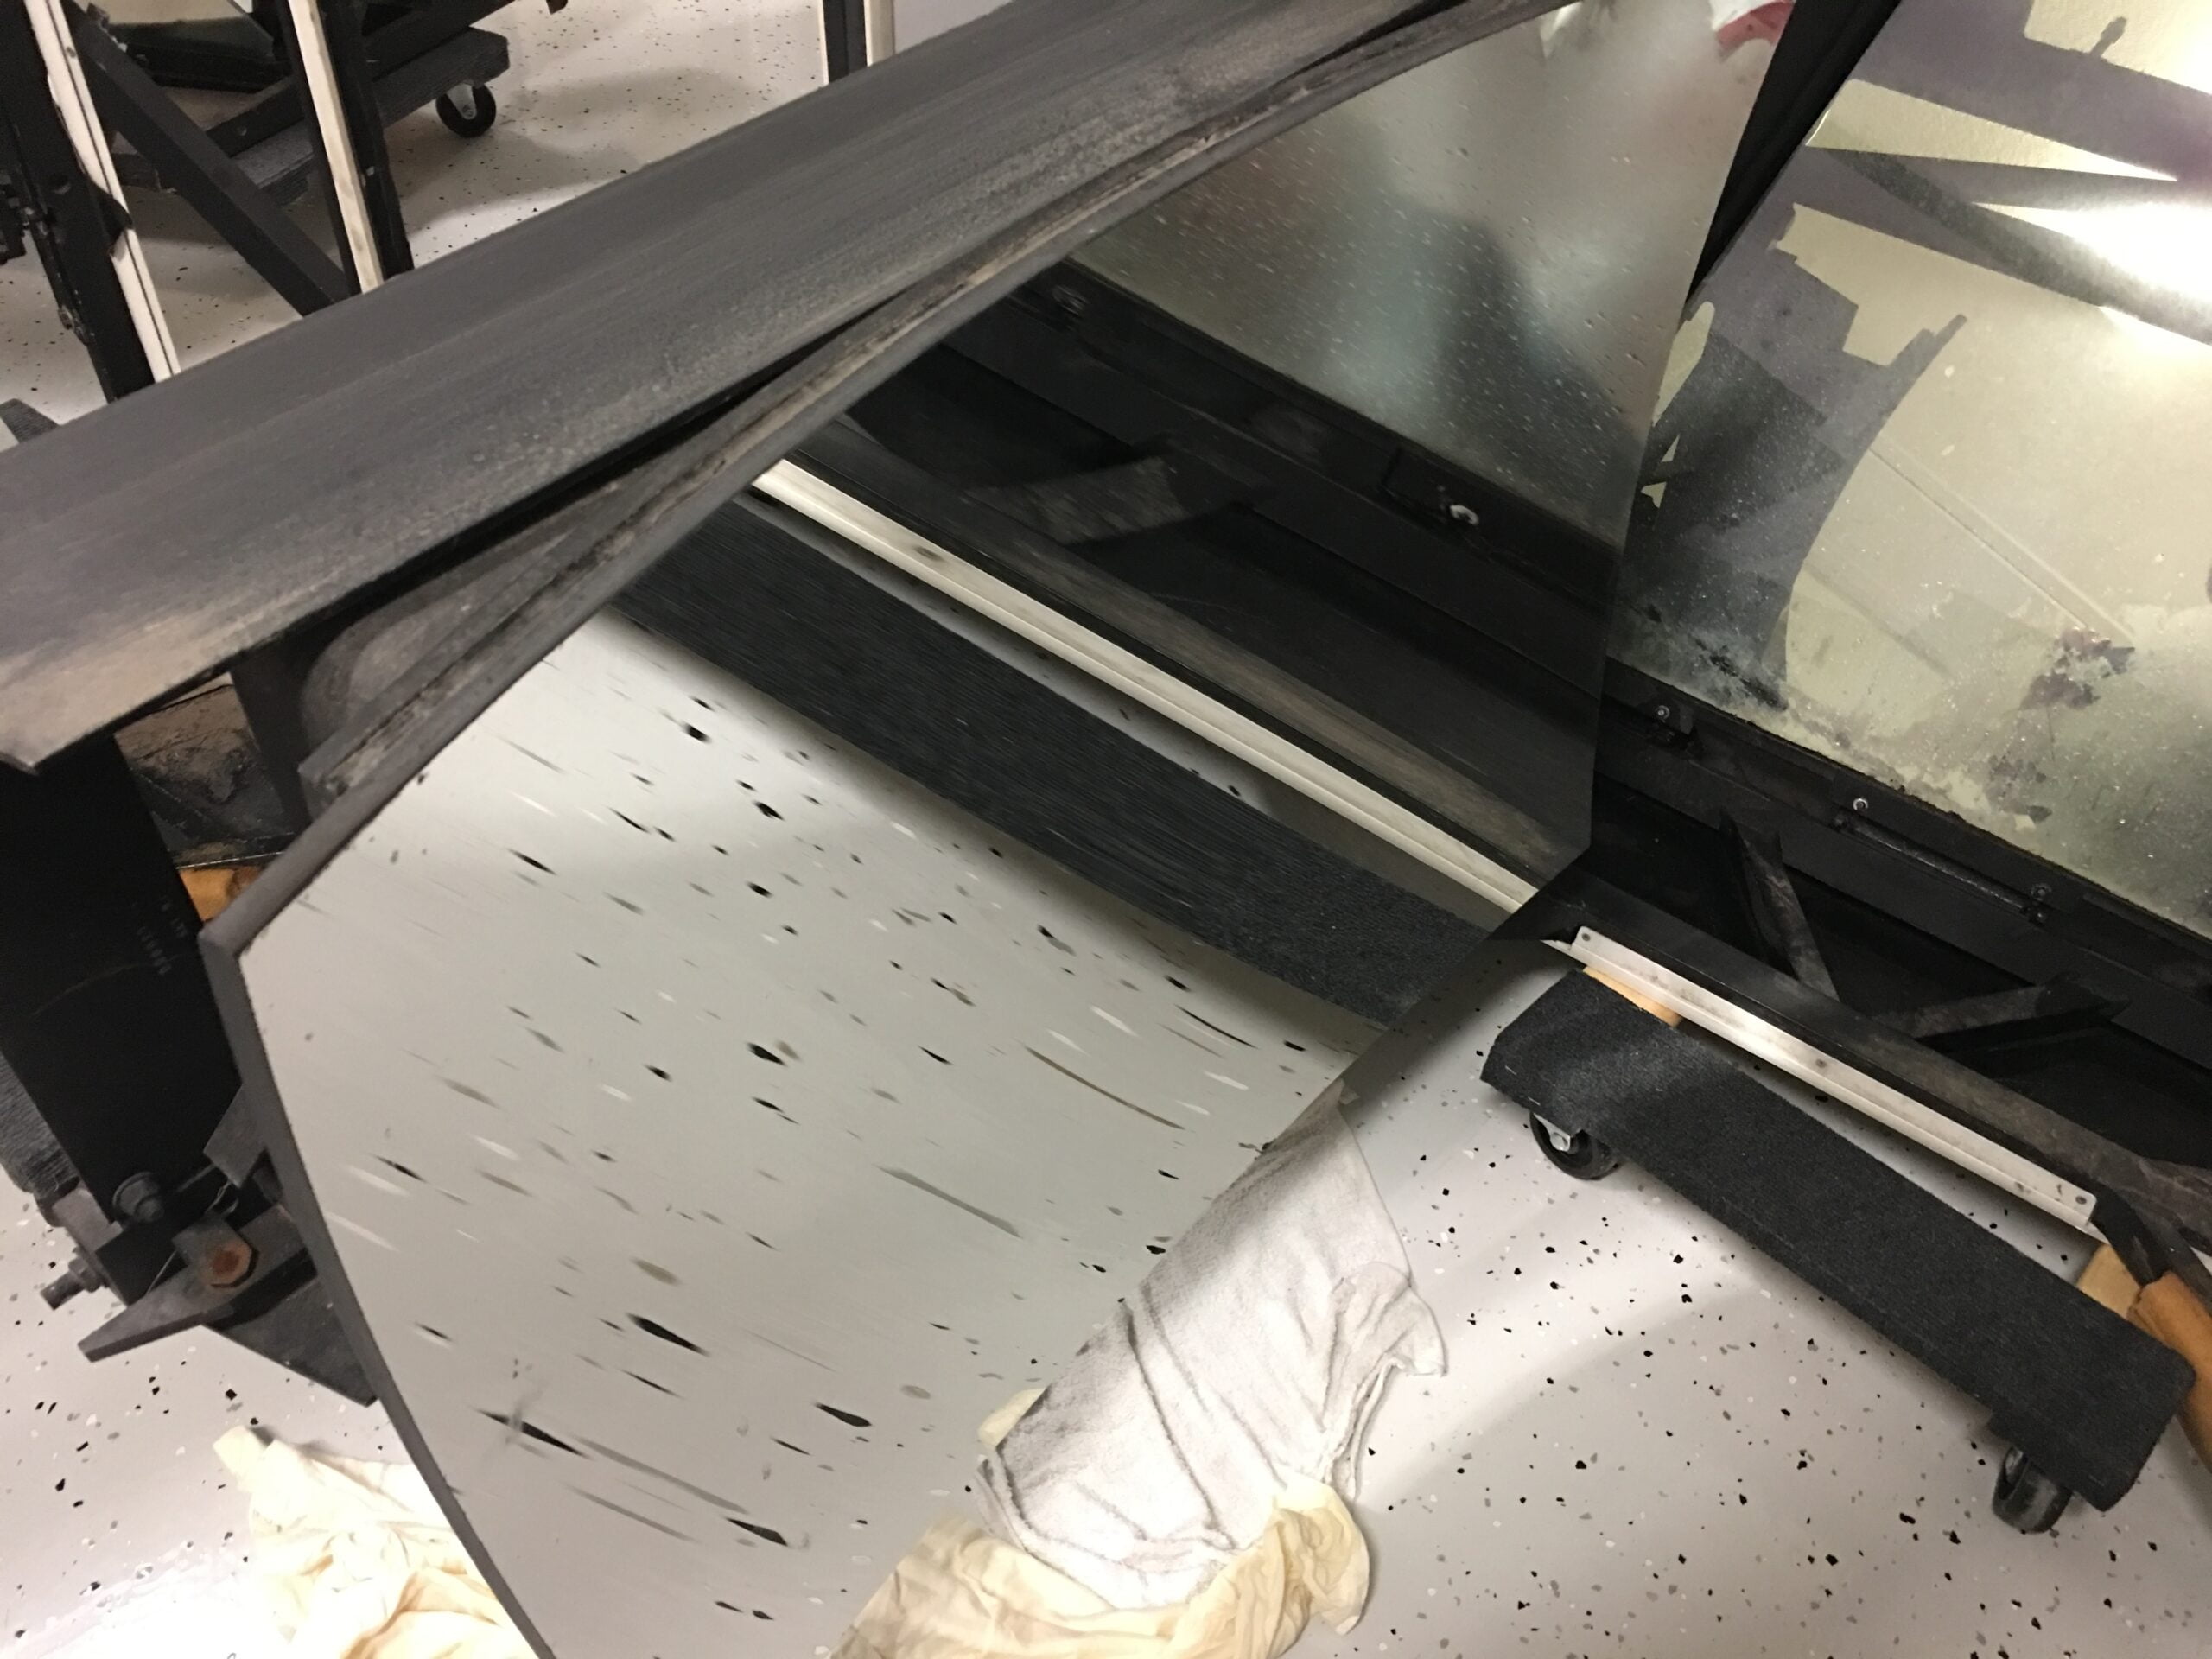
Then, it was time to clean the mirrors and beam-splitter glass very carefully to avoid scratches and swirls and add the LCD displays that would create the images in the mirrors. With many, many cotton balls, distilled water, and diluted Dawn dish soap in a spray bottle, I very carefully and gently cleaned off the dirt and grime until the mirrors were near perfectly cleaned. I then finished with some nearly pure alcohol and some lens cleaning paper to finish the job and bring the mirrors to a clean shine.
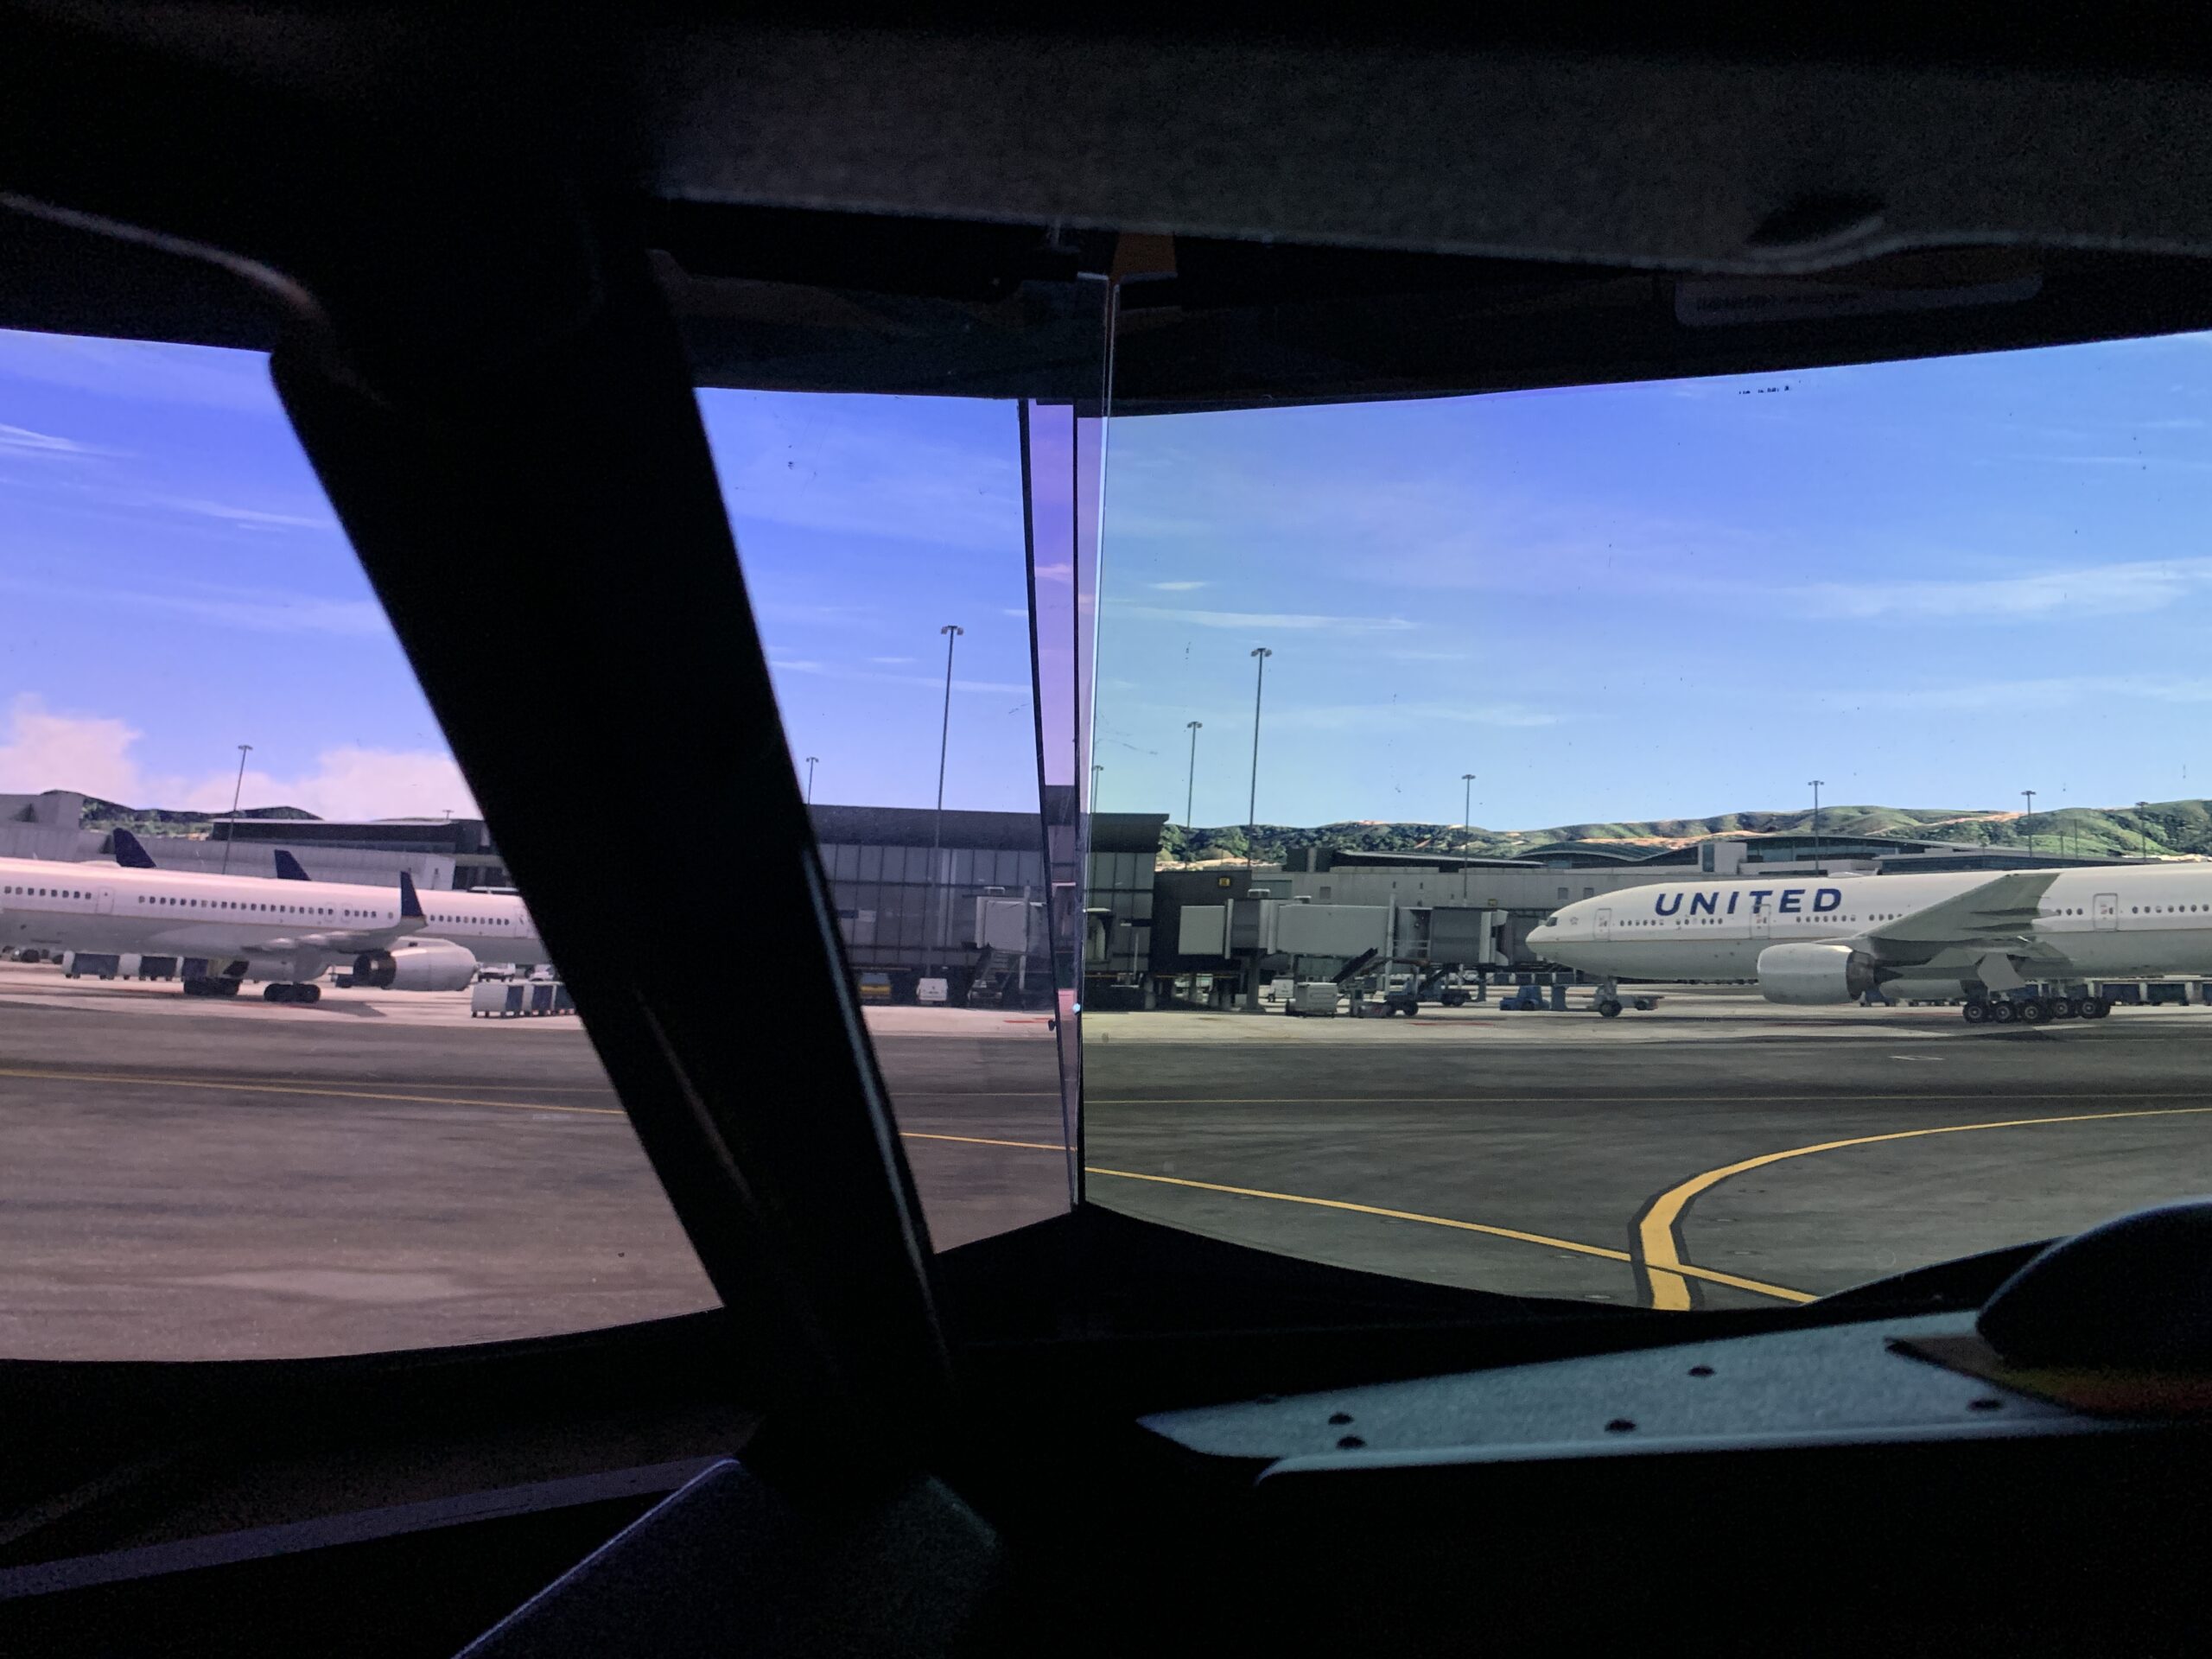
Lastly we rolled up the cockpit to the mirrors like sunglasses. The final result is these displays are fantastic. The pictures just don’t do it justice but it gives a whole new immersion level to the sim experience and I can’t see going back to anything else after this. Being able to better judge distance on takeoff and landing is invaluable. And it really does feel like far away is truly far away, especially during night flying. If you’ve ever worn a pair of Virtual Reality glasses it’s a similar effect without needing the VR headset on your head.
The full visuals gallery can be found below.


")

