
Last Updated on July 24, 2022
It has been a while since I have posted an update. Not a lot has happened with the sim over the winter/spring. In the meantime I have been waiting for my real Boeing 737 Circuit Breaker panels and other miscellaneous parts to arrive. Fortunately, they recently came in so work has started on finishing out the rear bulkhead.
Boeing 737 Circuit Breaker (CB) Panels
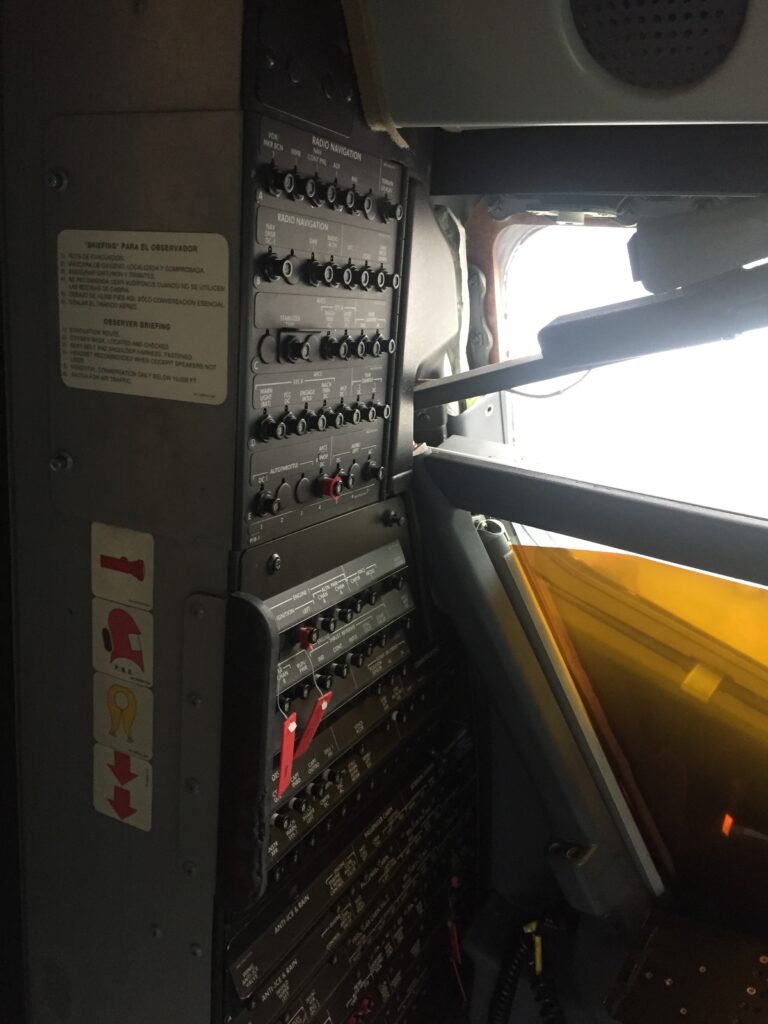
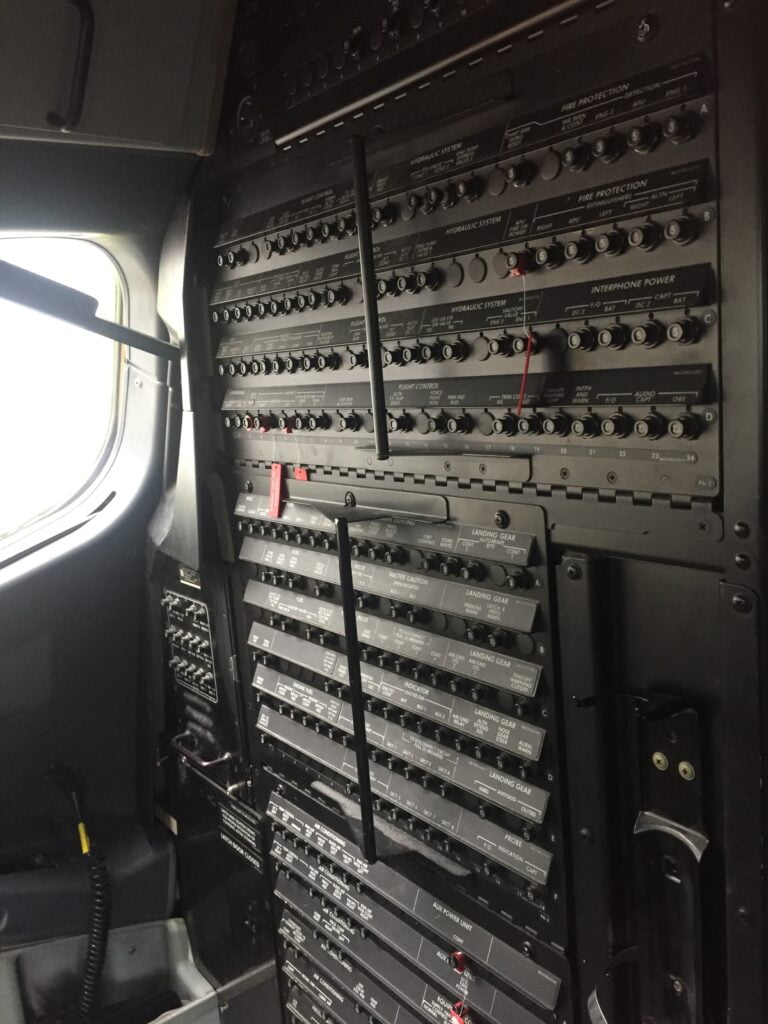
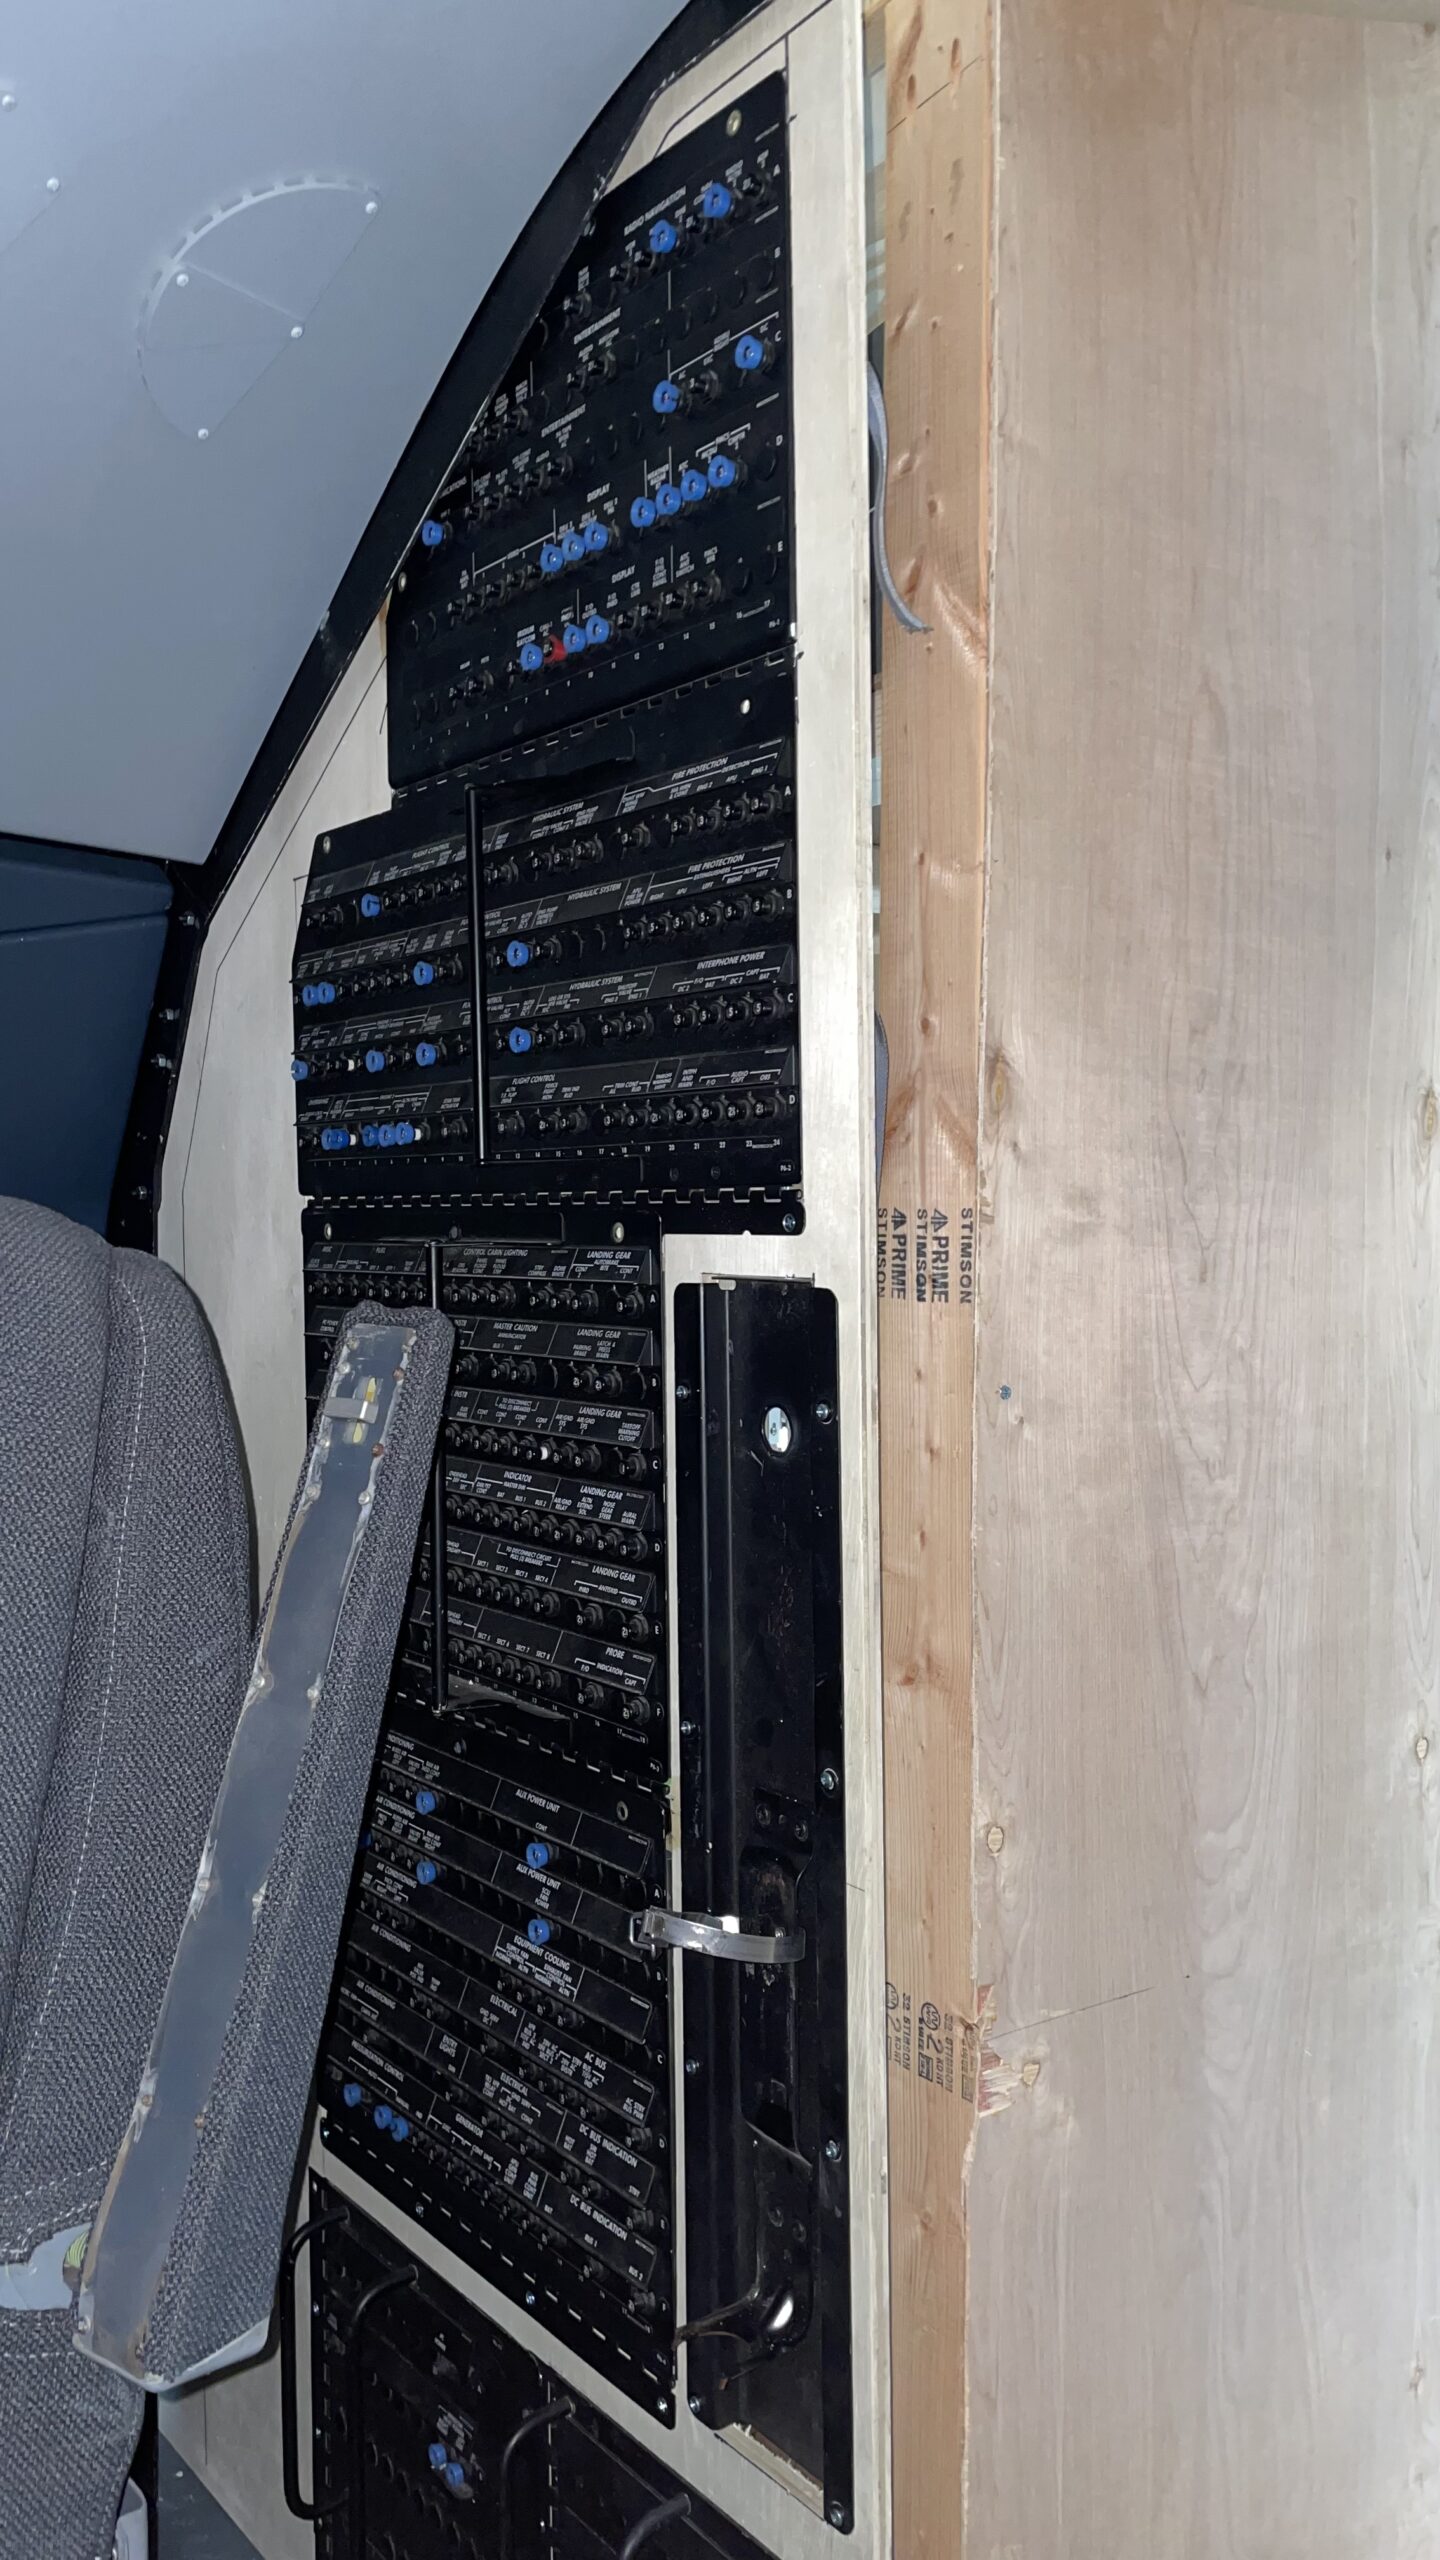
First, if you’re not aware, behind the Captain and First Officer’s seats are the aircraft’s circuit breaker panels. These panels provide circuit breakers for most of the aircraft’s critical electrical systems.
Here’s a look at the real panels from a 737-800.
CBs have little value-add for casual simmers. They are rarely, if ever, used by pilots unless it’s an absolute emergency. And, from what I understand, it’s usually in coordination with maintenance personnel.
However, some people like myself feel that CB panels still add a significant level of immersion to the cockpit, even if they are non-functional. Hence why I decided to put them in.
Considerations and Challenges
Here are some things to think about if you choose to create Circuit Breaker panels.
- How do you make the panels? There are obviously a lot of circuit breakers. Some options could be:
- Try to recreate them on a 3D printer. This can be quite tedious and time consuming. Not to mention if you want to make them functional.
- Buy pre-made CB caps from a sim vendor to save you time. I’d say this is the best compromise between time and money.
- Buy real Circuit Breakers. The ultimate in realism but this can get expensive depending on how many you want working.
- Buy complete CB panels. Sourcing real panels and breakers in good condition is possible, but they’re difficult to find in complete and good shape. They might cost you a lot as well.
2. Do you want to make them functional? If so, be aware your avionics software needs to be able to interface with them. The avionics software I use, ProSim, supports them but only in their “Commercial” license which is significantly more expensive than the consumer version.
3. Wiring. If you want to make working CBs, then wiring them could be a good challenge. You’ll need a power supply to be able to pop the breakers. You’ll need relays to activate power to each breaker. And you’ll need an interface board to connect the relays to a computer. Plus, a lot of wire! Lots to think about.
Which Circuit Breaker Panel Path Did I Choose? Real or Simulated?
I originally set out to try and recreate the circuit breaker caps on a 3D printer. I quickly realized the amount of effort was more than I wanted to spend. So, I started looking for real panels. However, complete sets were very hard to find.
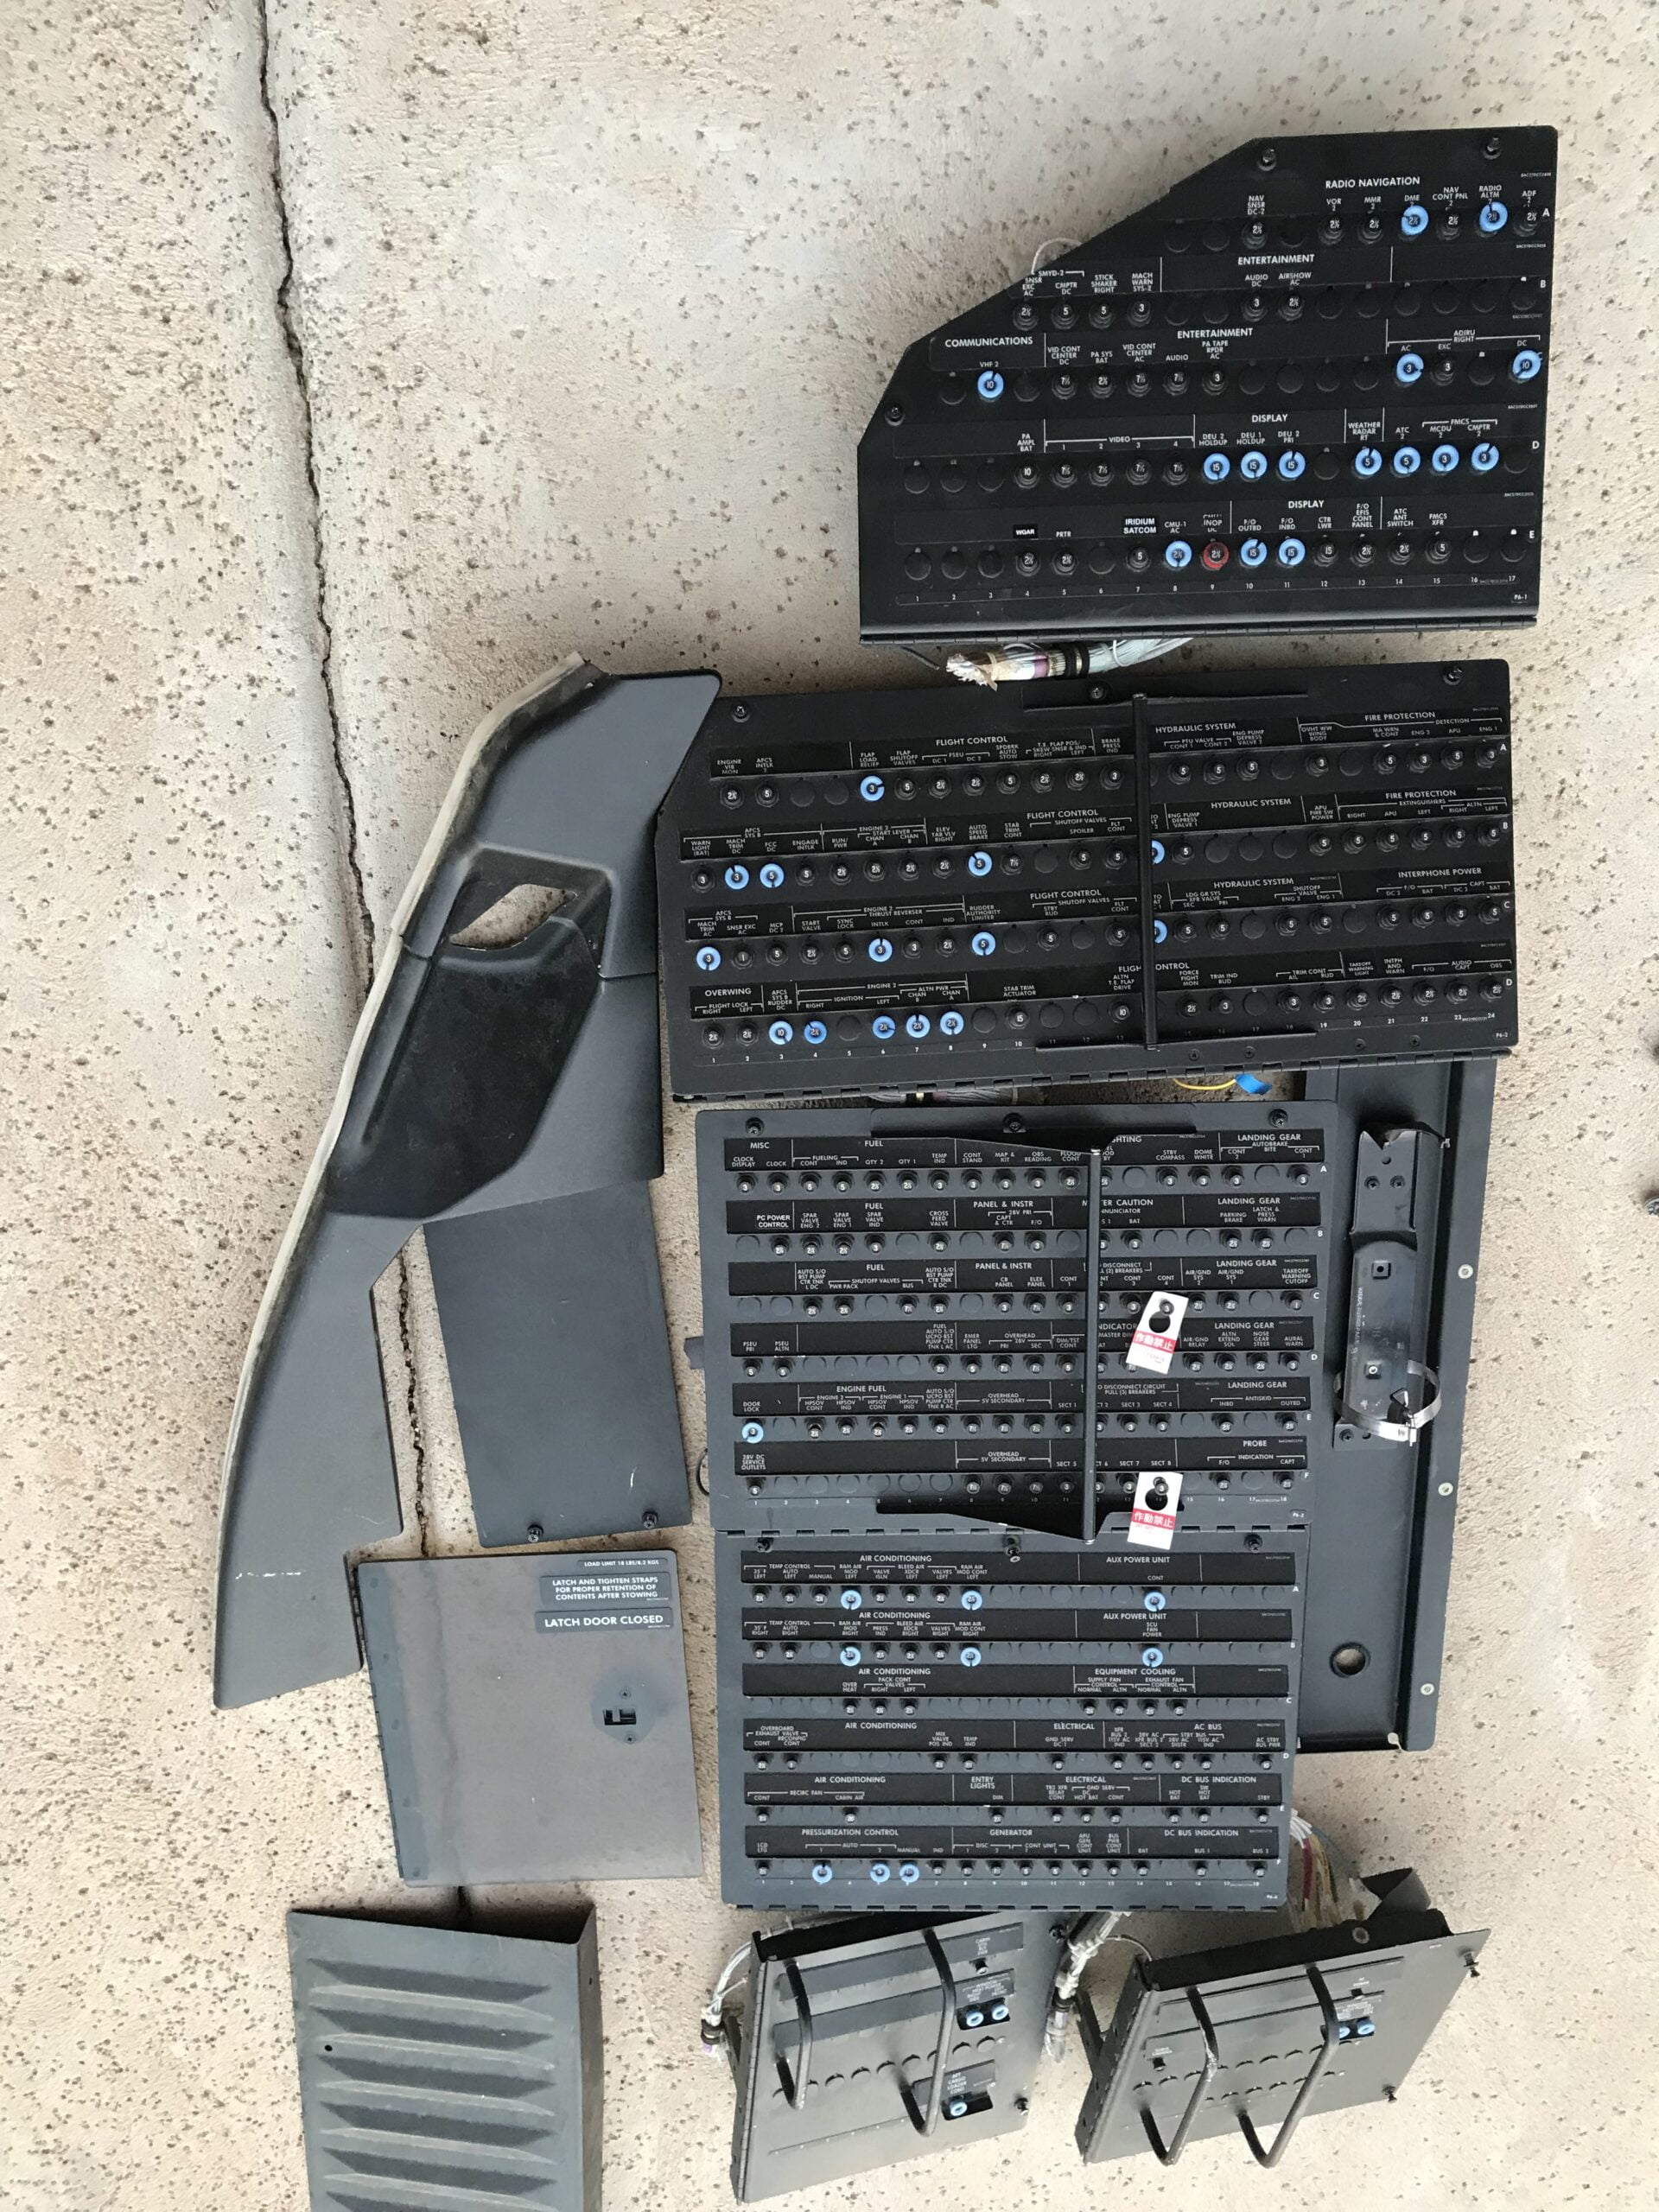
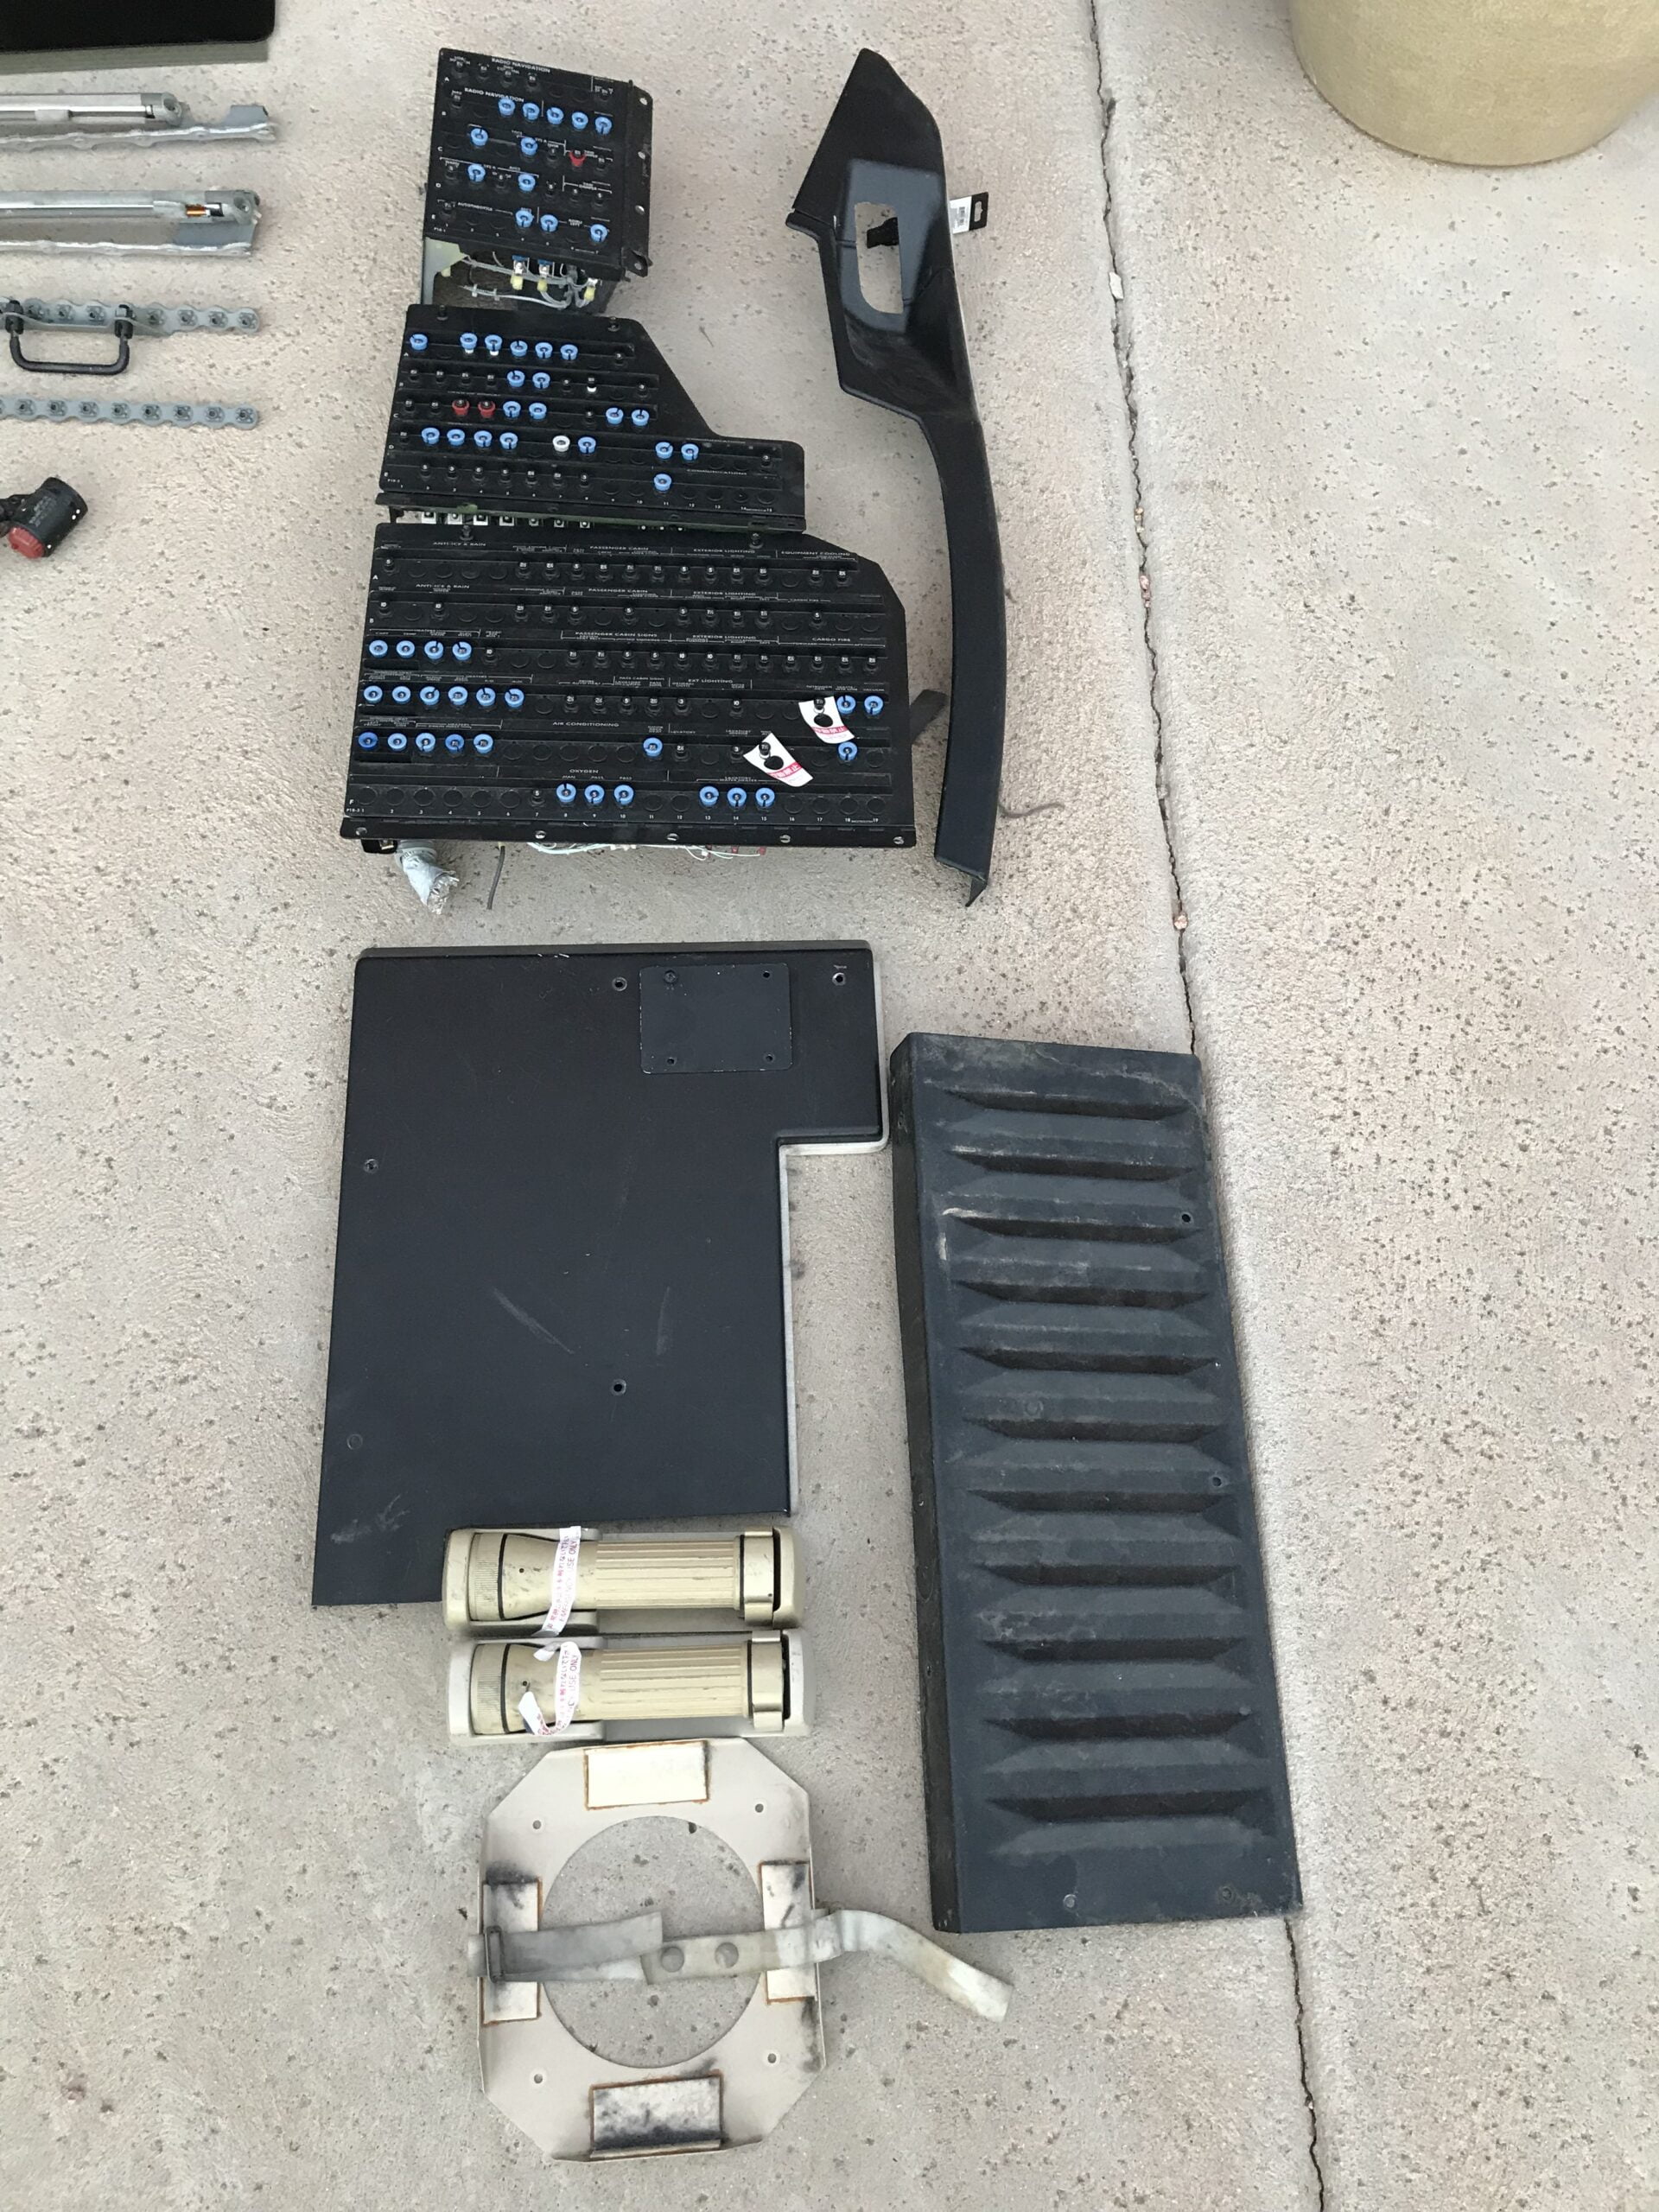
Fortunately, I had a stroke of luck and happened to meet an aircraft salvager through a mutual friend. He just happened to be tearing apart a 737-700 that had a full complement of CB panels in fantastic shape. He was able to grab them for me, complete with all the working circuit breakers and original wiring. Even the CB collars to lock the CB from being used were there (see below). Talk about winning the lotto!
For now, I won’t make them functional. They will only be used for added visual interest and immersion, primarily because my avionics software version doesn’t support them. However, I always can make them functional in the future should I choose to.
Circuit Breaker Panel Installation
Once the panels arrived, next came the challenge of figuring out how to get them installed.
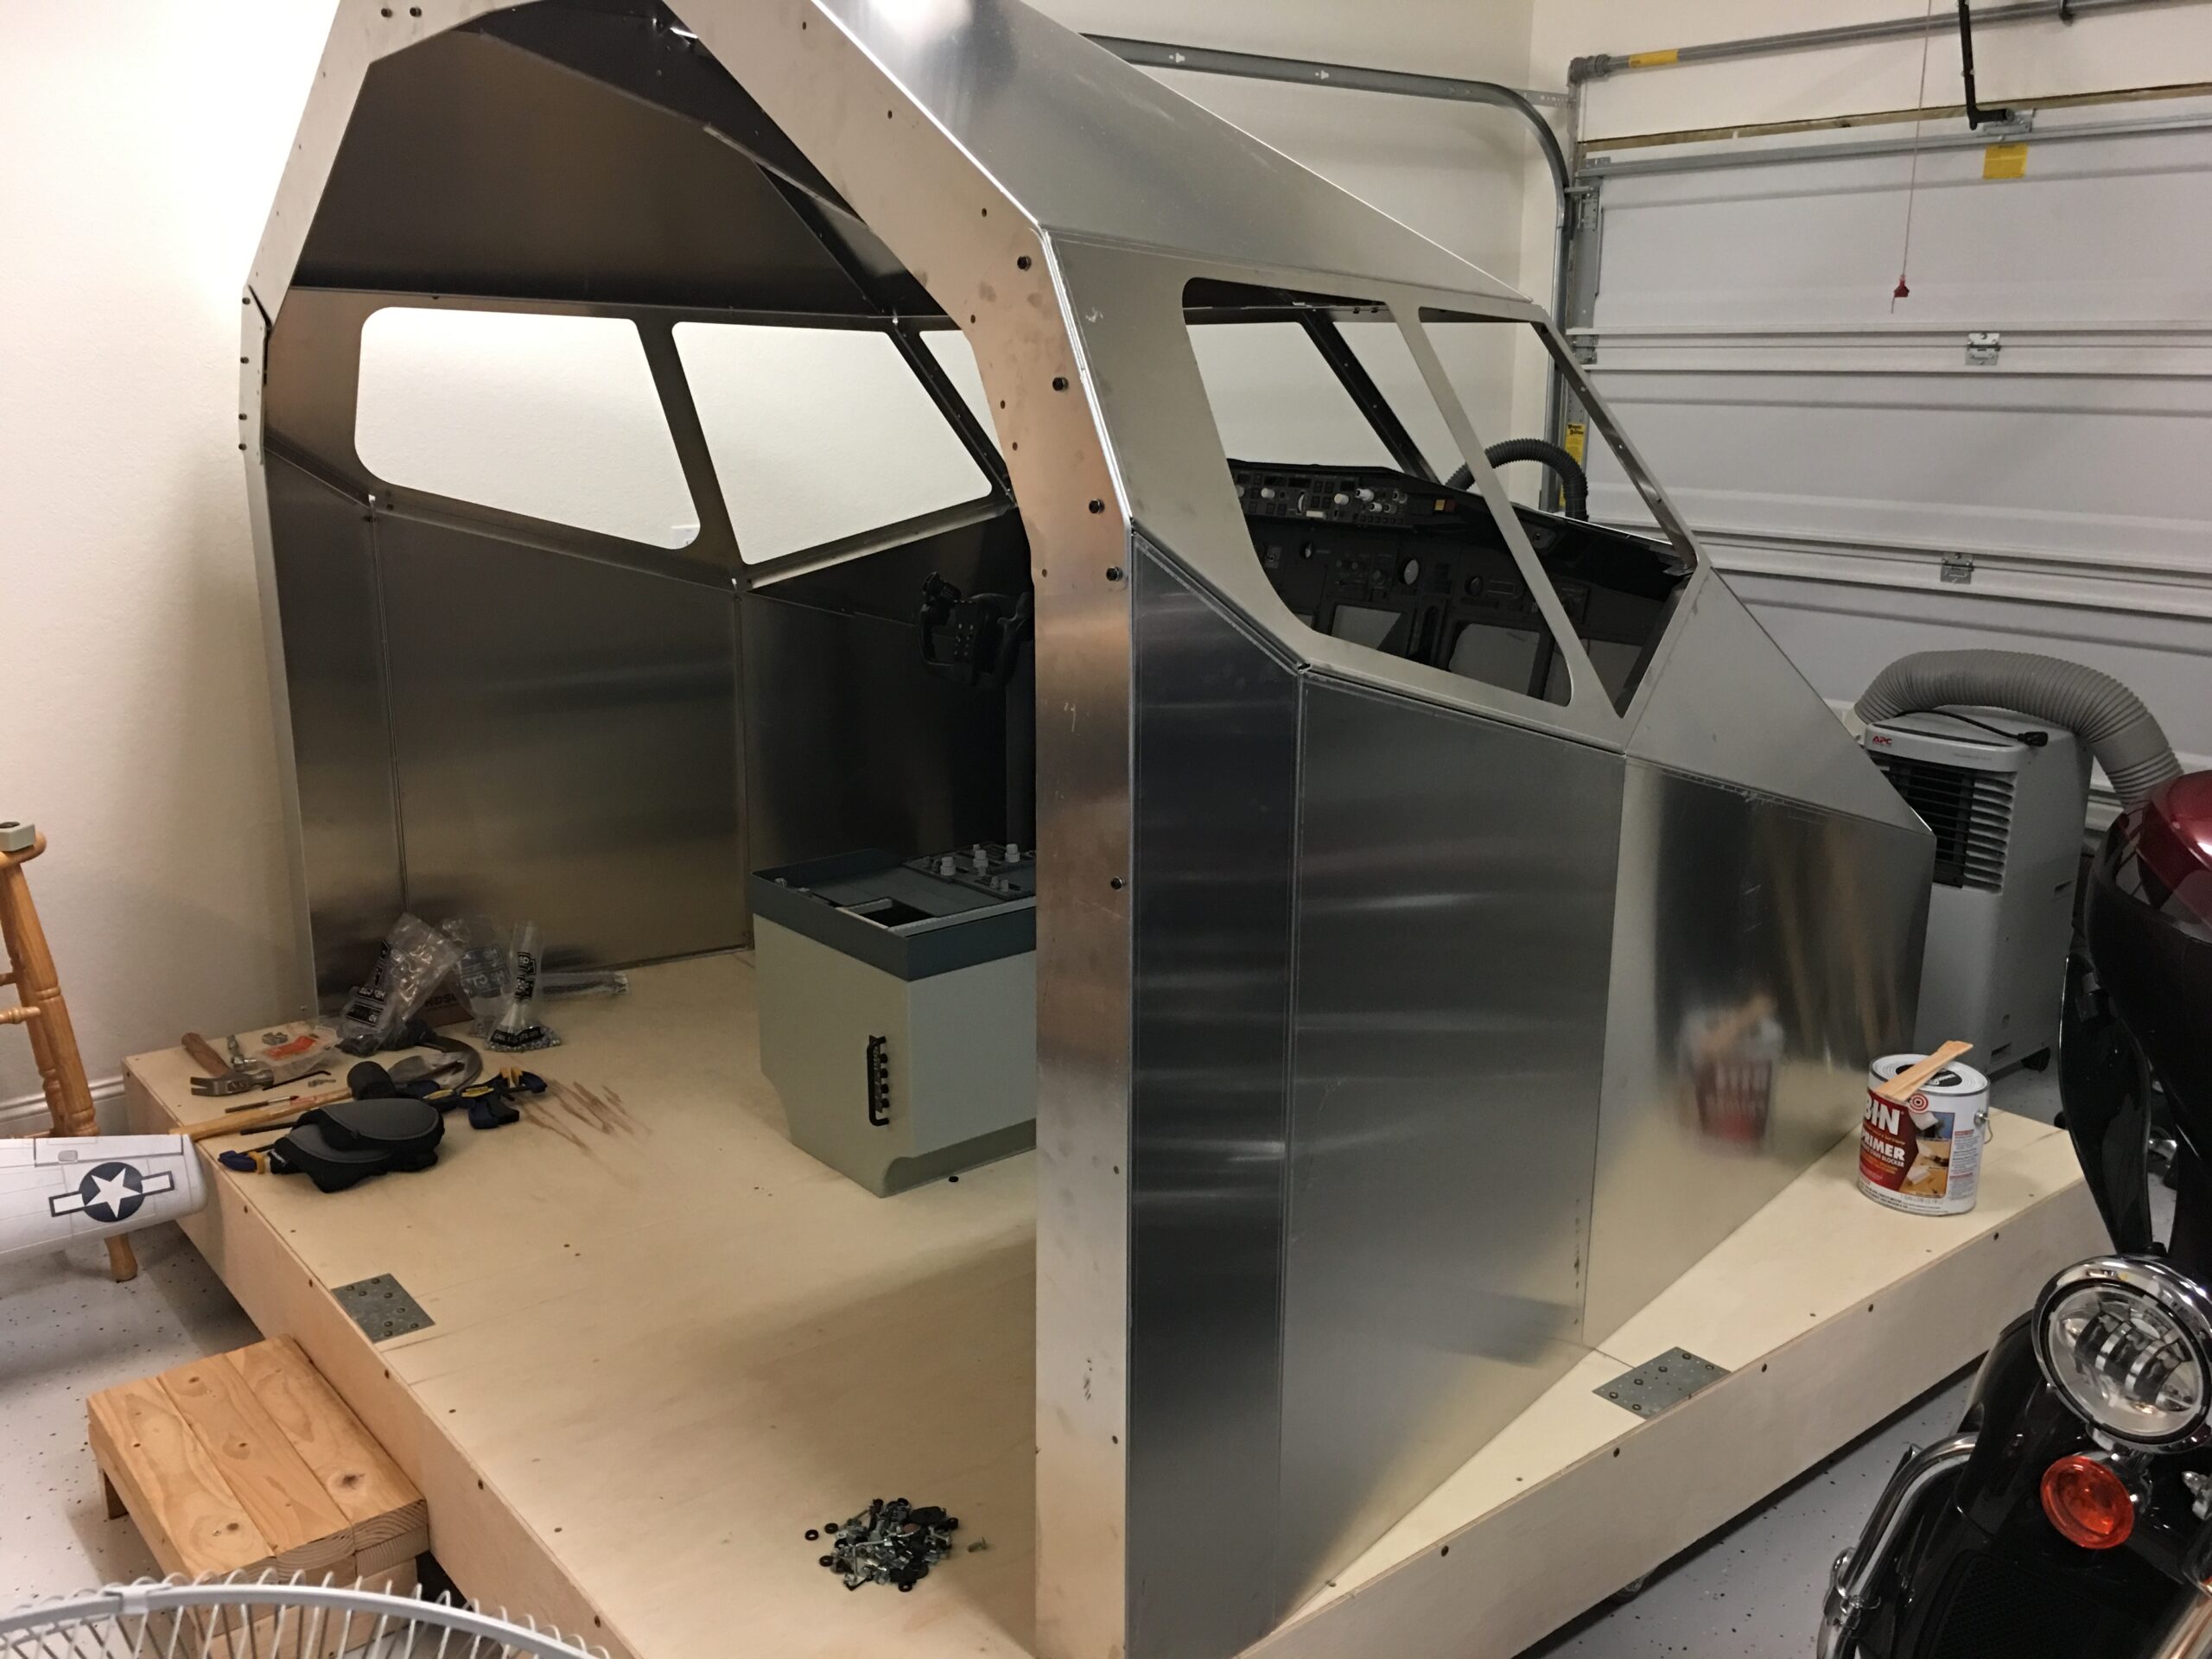
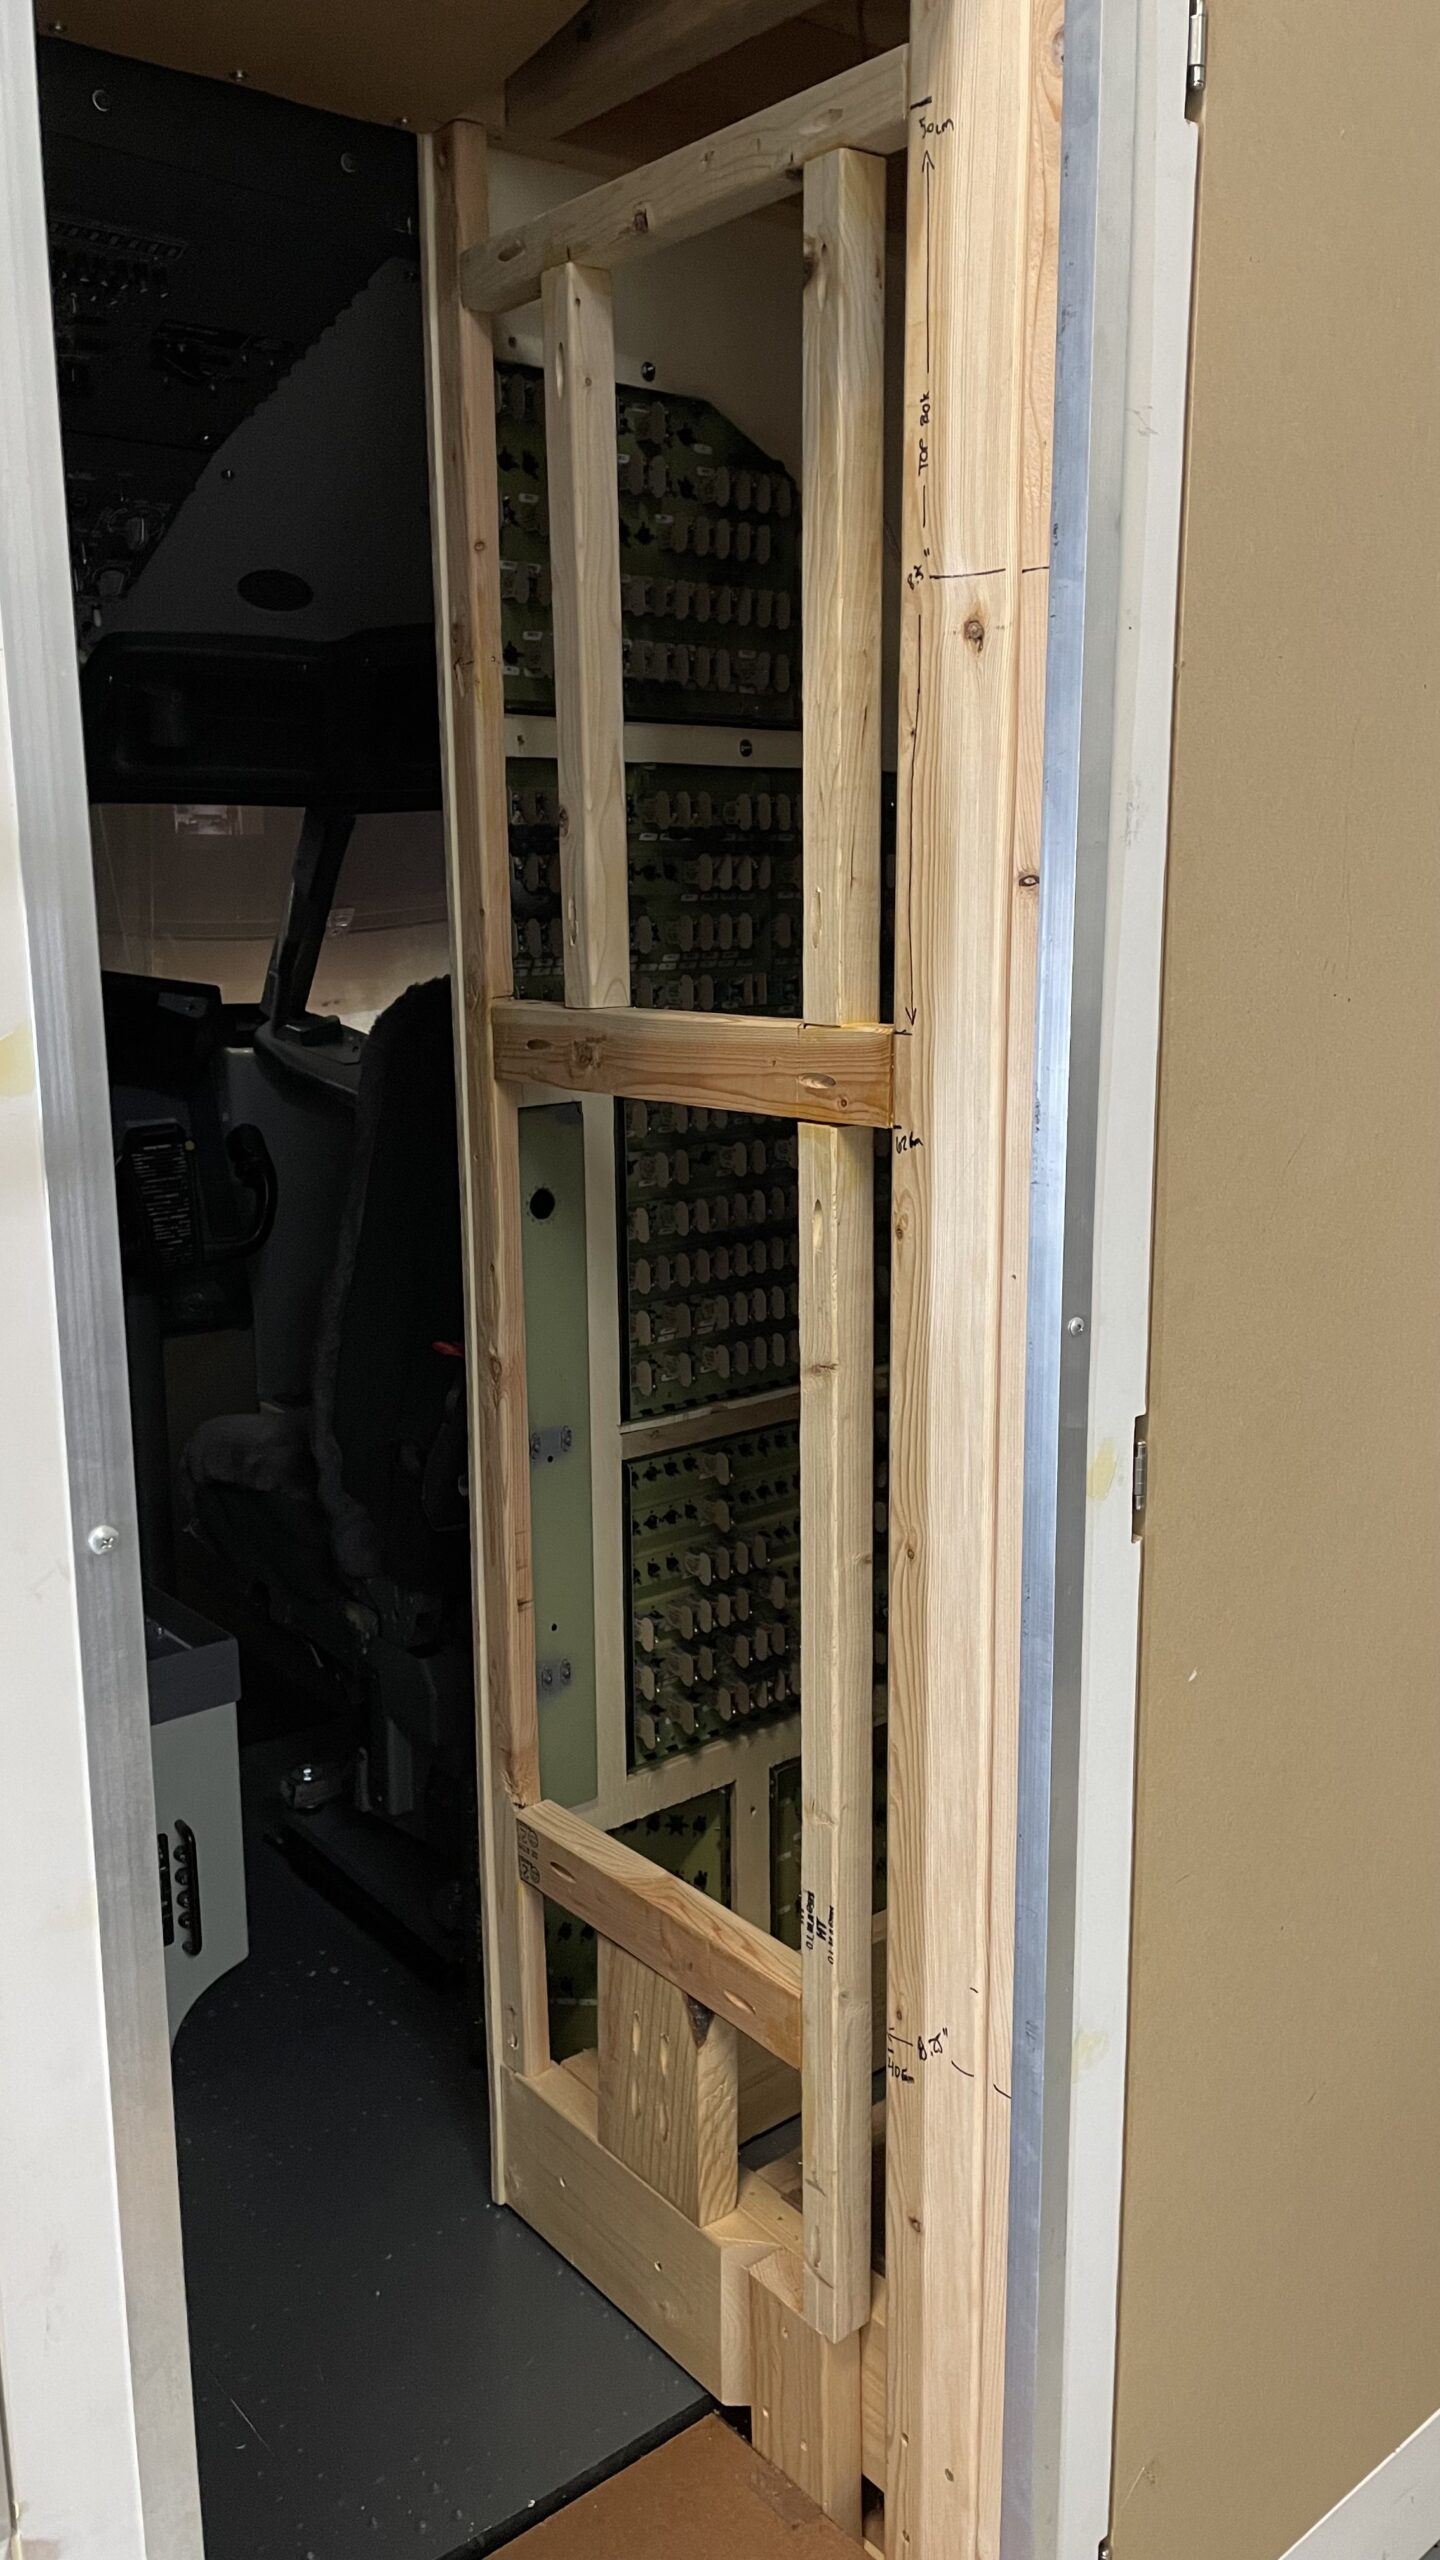
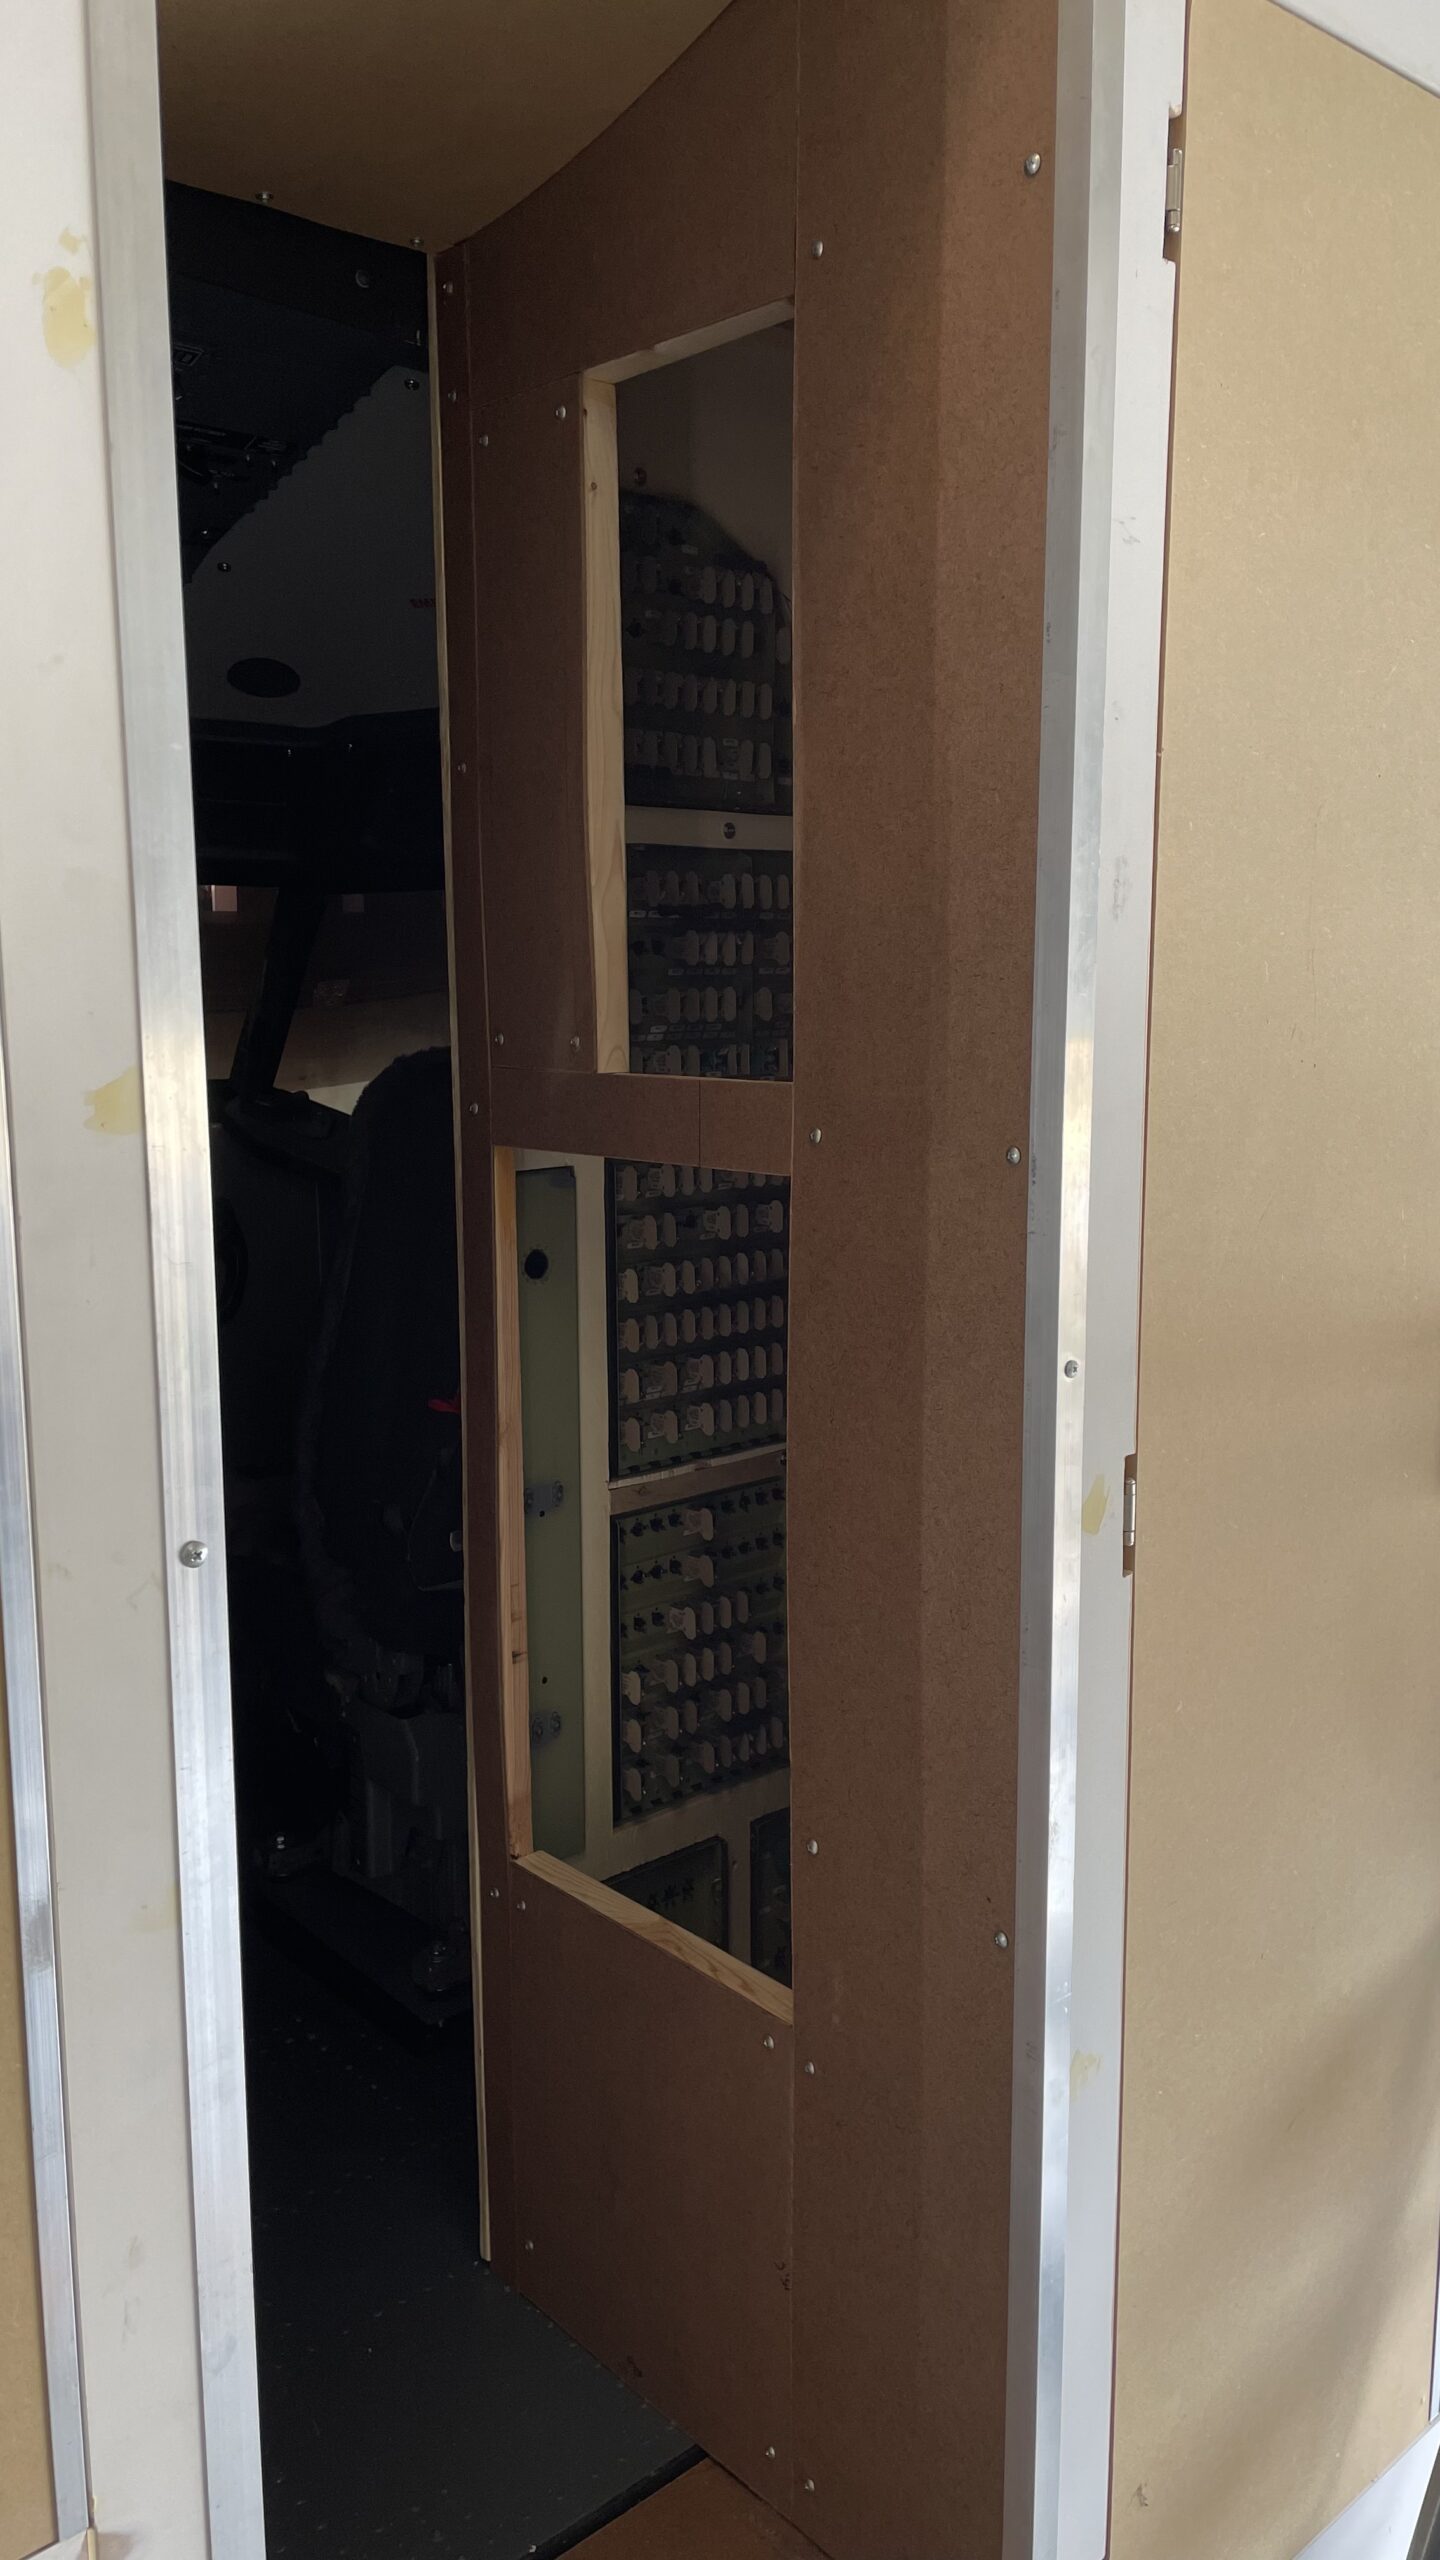
I have already been working on a roll-away rear bulkhead. This is so when I need to do cockpit maintenance I can just roll away the entire bulkhead, CBs and all, and the cockpit becomes completely open and accessible. It also means if I ever wire the CBs, the electronics can be self-contained within the bulkhead.

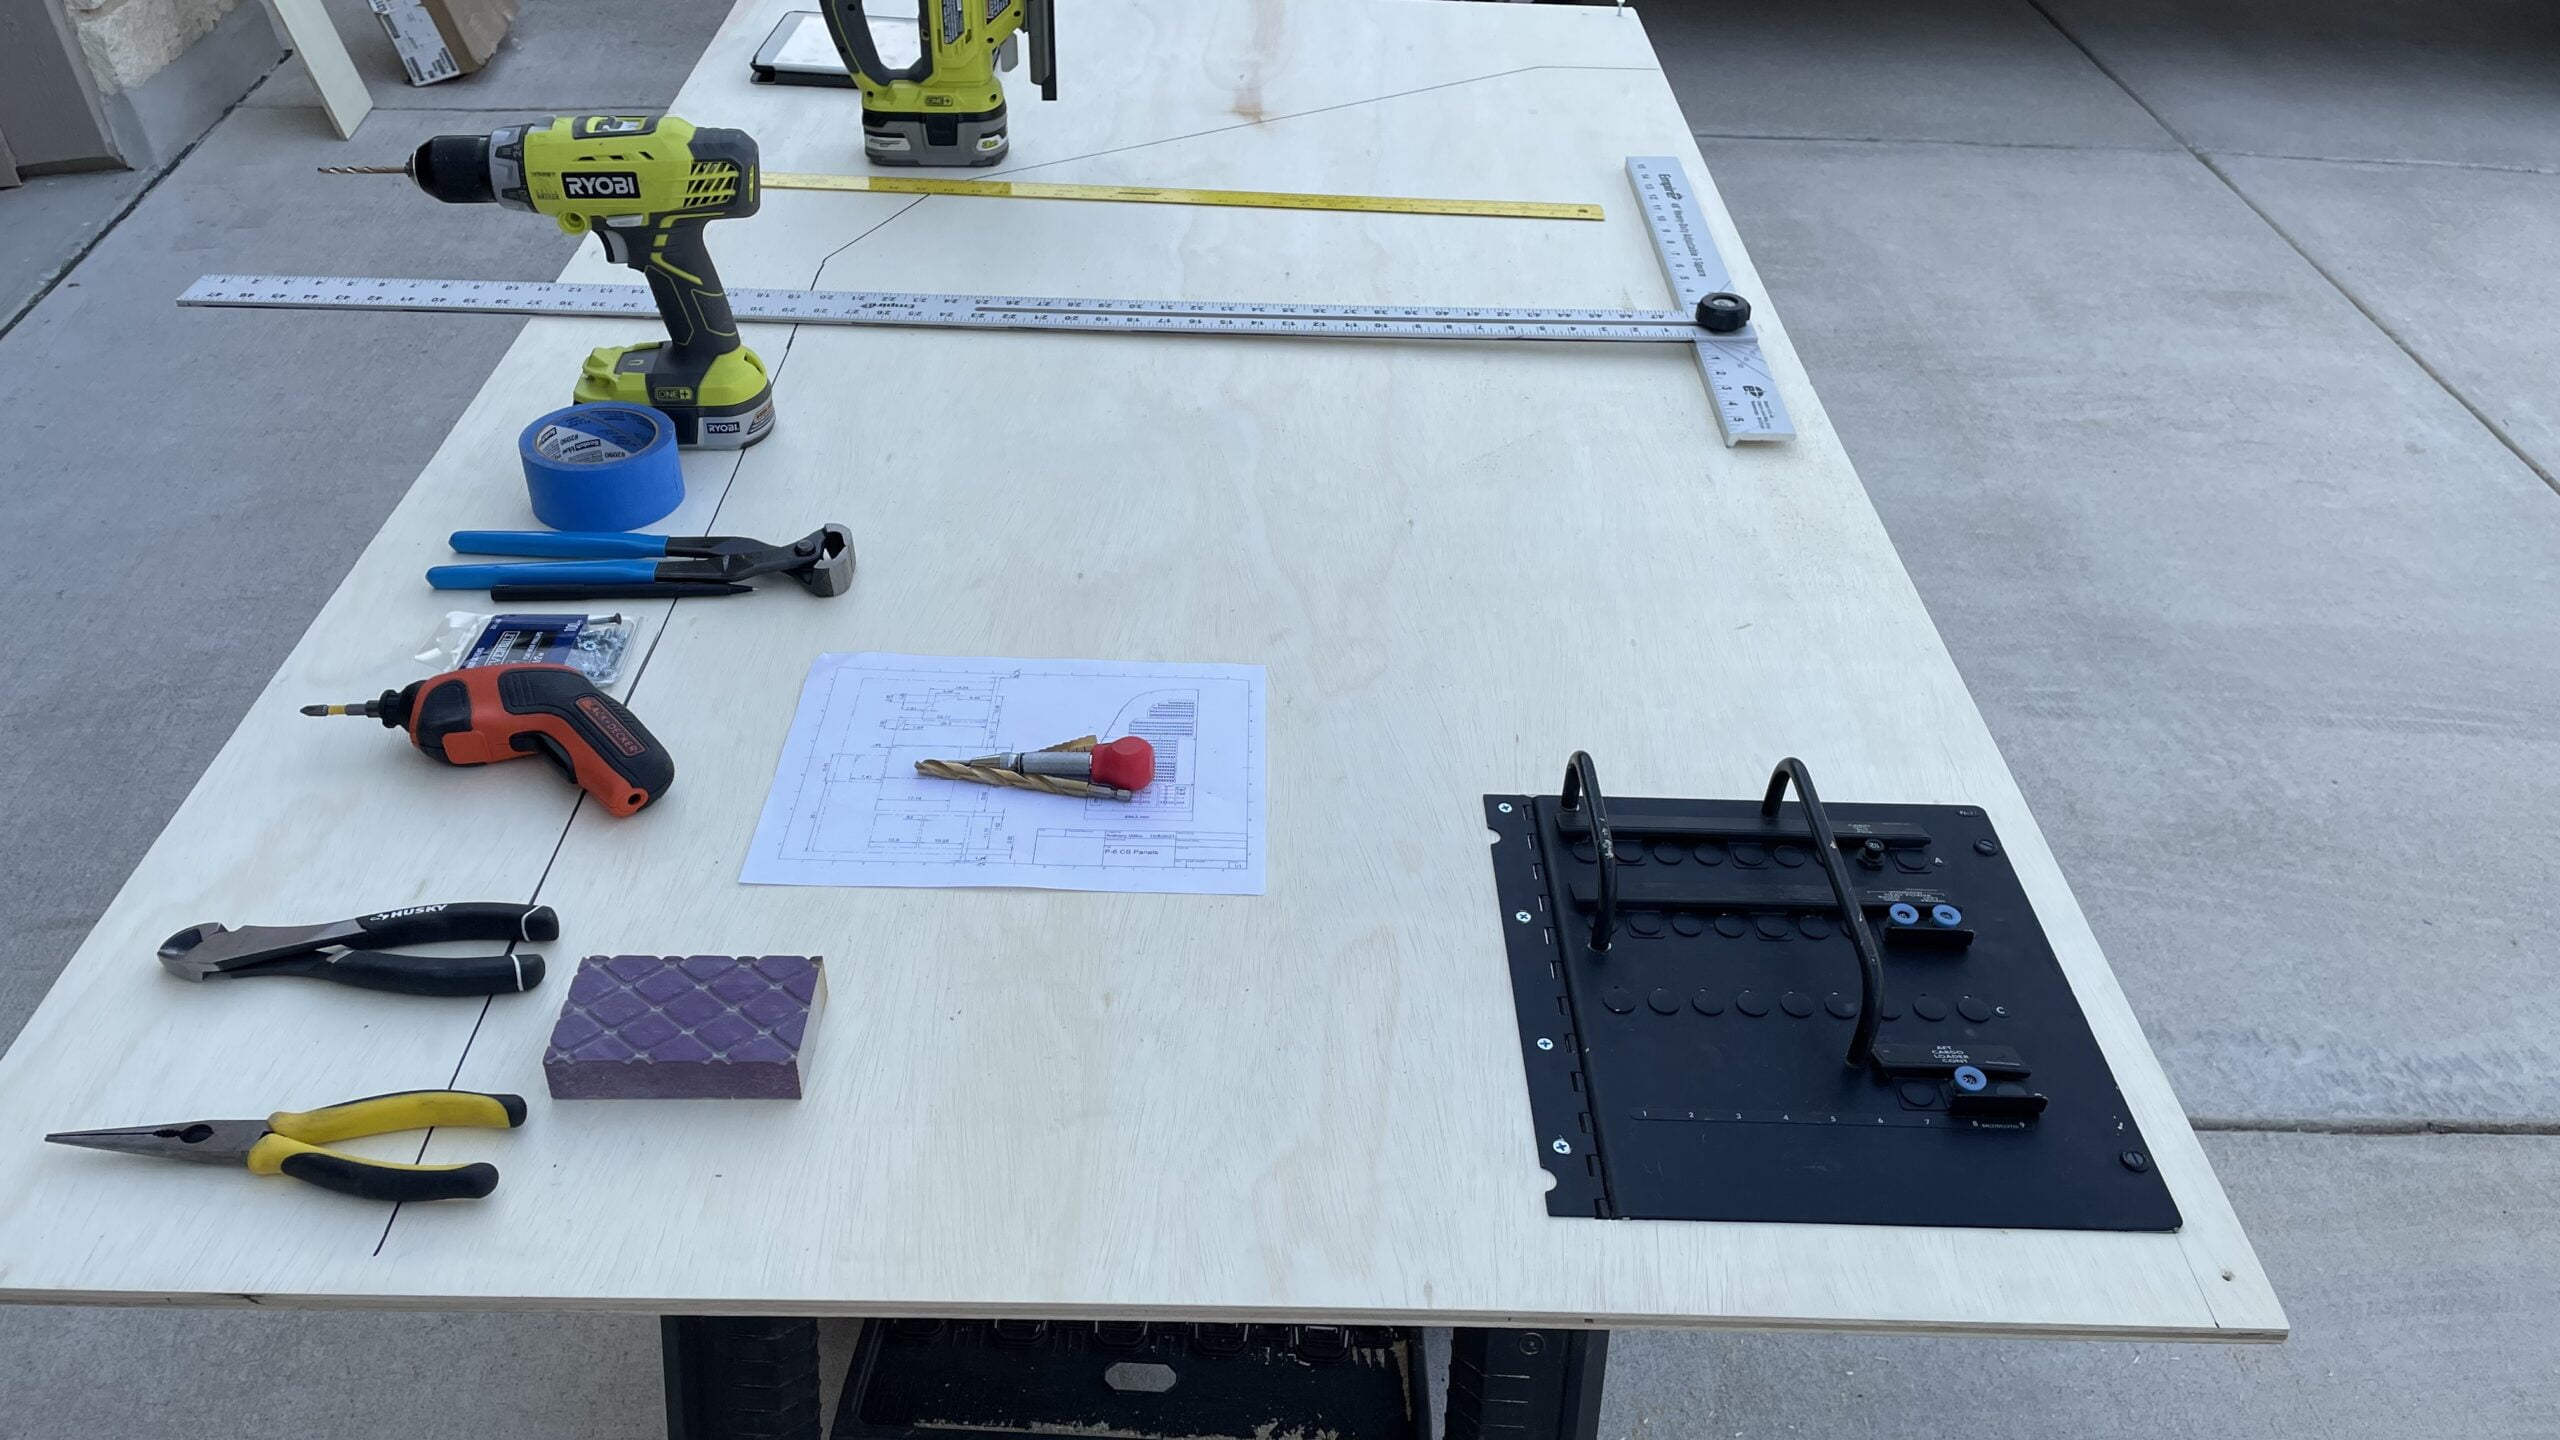
To begin making the wood panels that will hold the CB panels, I used 1/2″ thick sanded plywood sheet. This created a frame strong enough to support the fairly heavy panels.
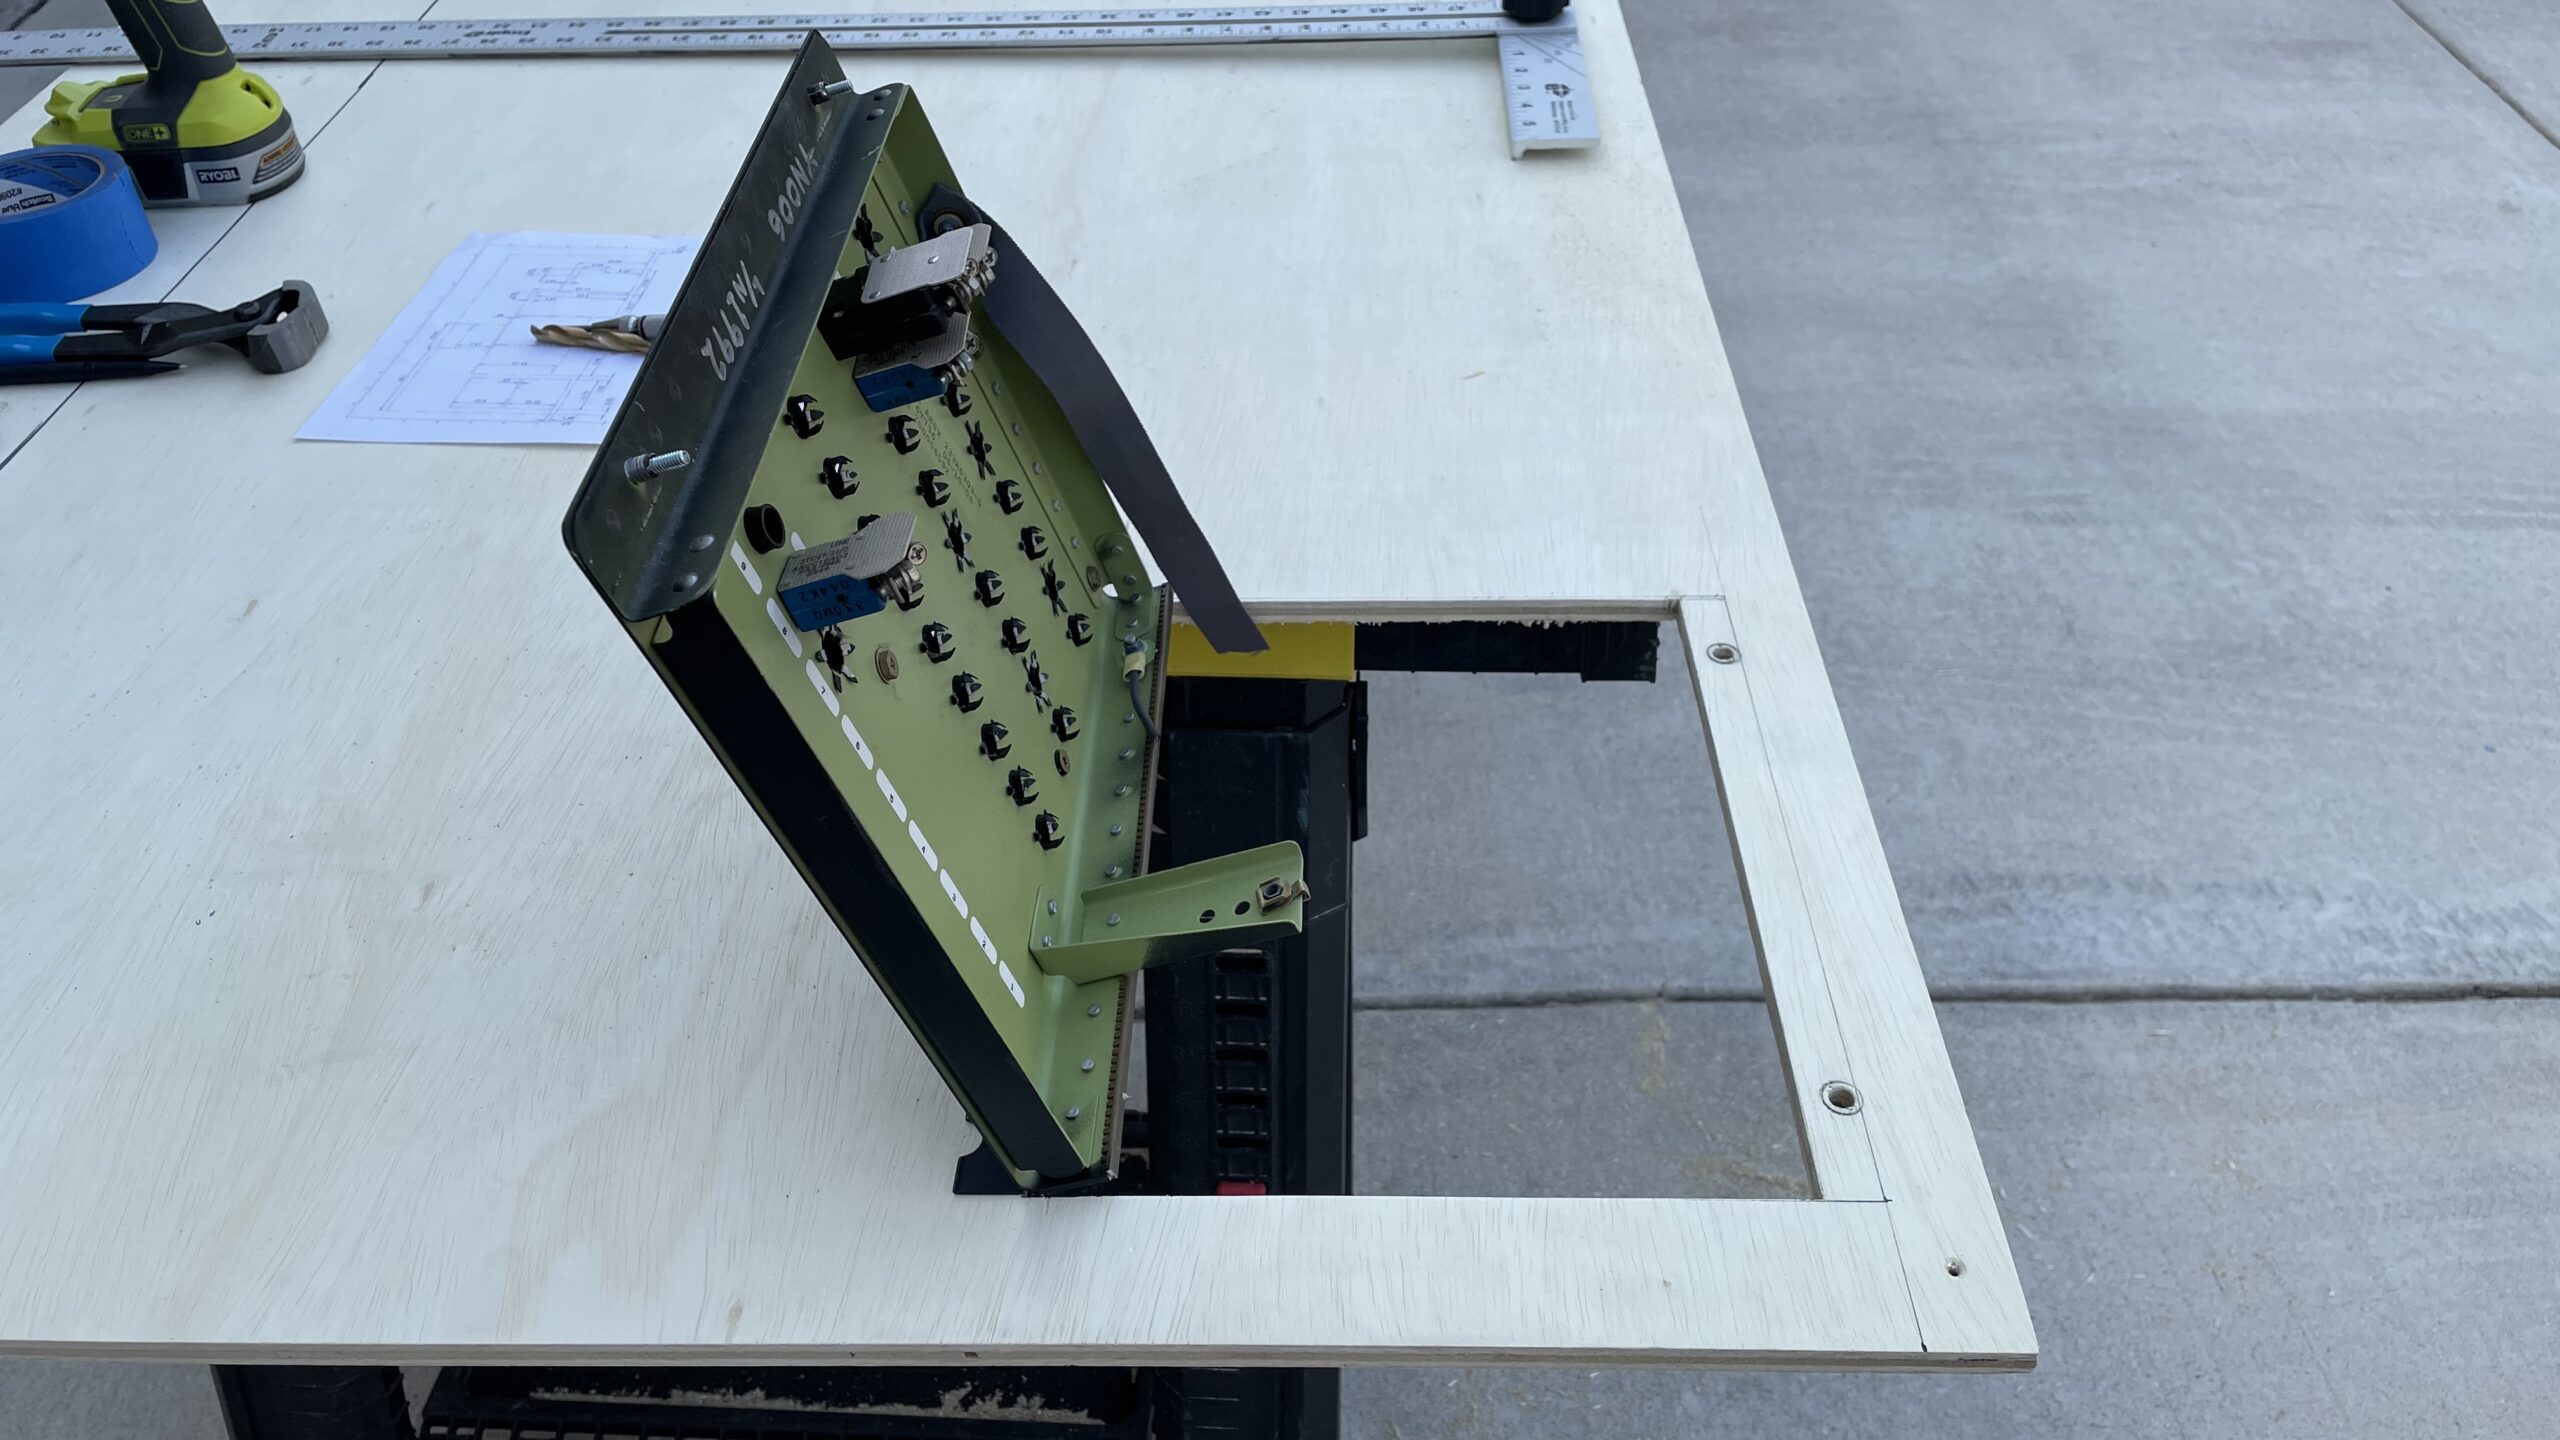
Then starting from the bottom panels and working my way up I traced each panel, then cut the hole. I used that panel as my reference for the start of the next panel. And so on. I used a large drill to make starter holes in the corners, then starting from those holes I used a power jigsaw to cut the rest of the opening.
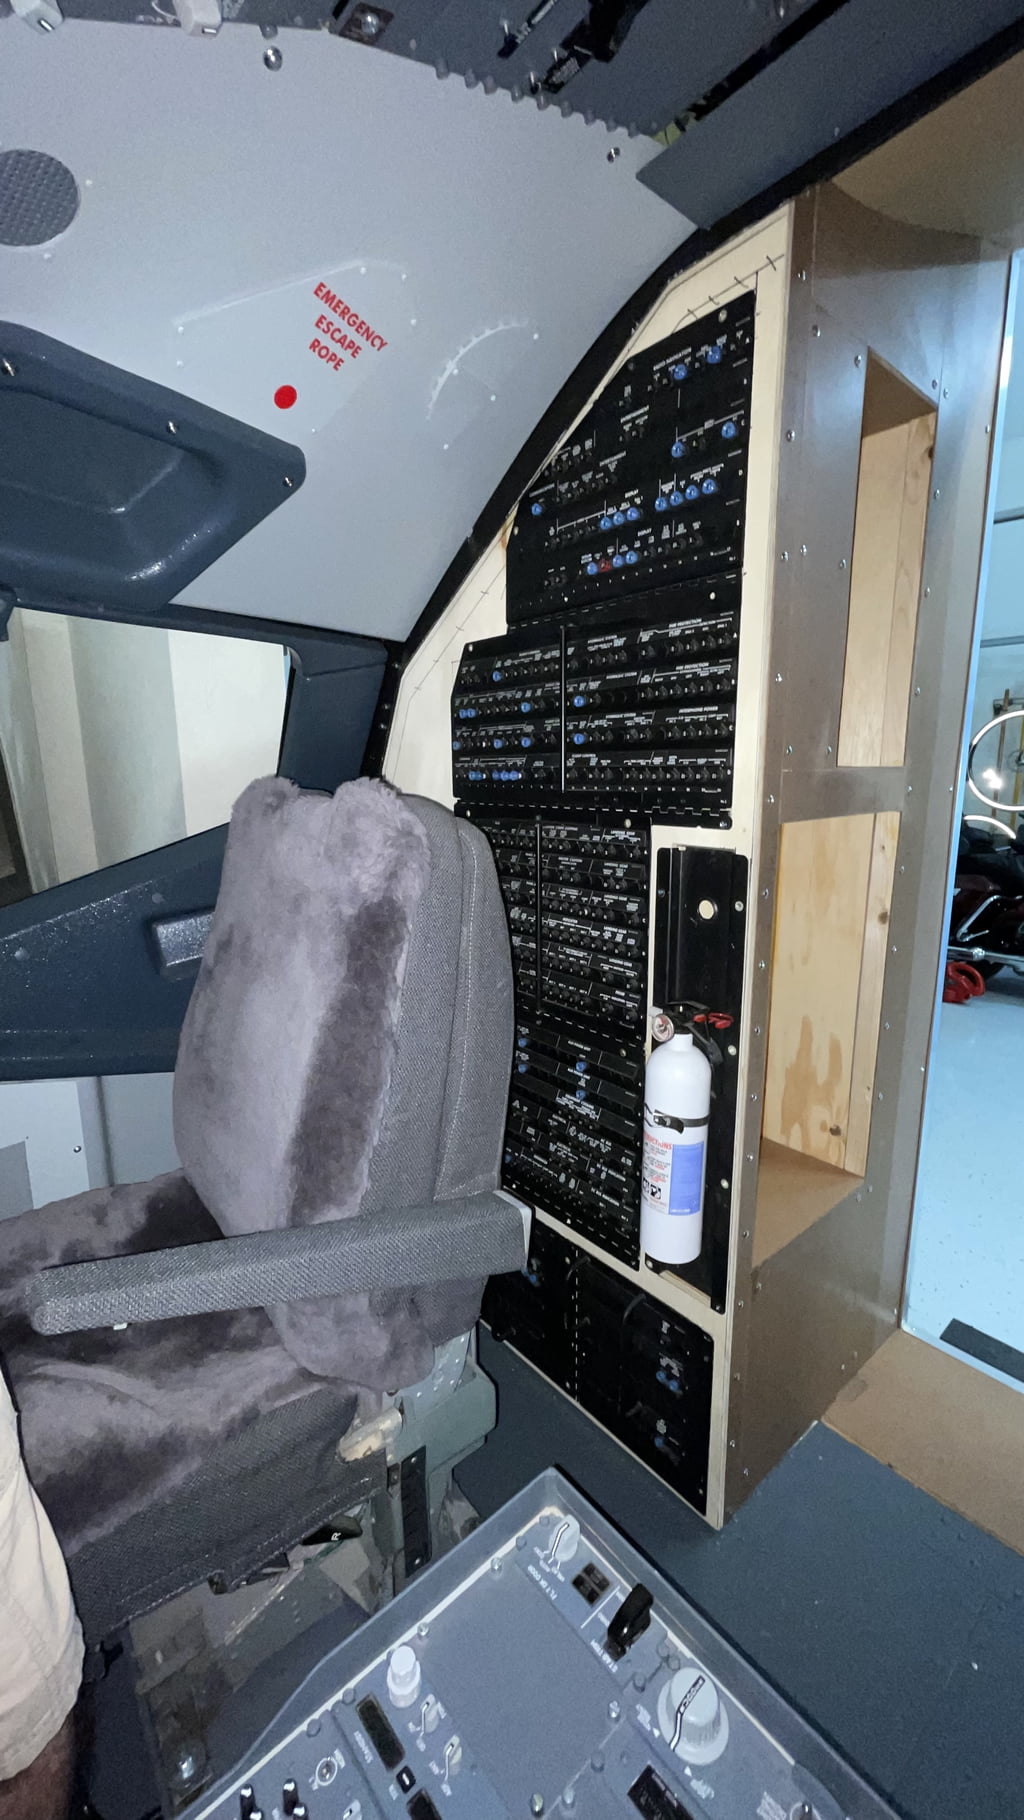
Eventually all the panels were fit correctly and could swing down on their hinges as needed for later maintenance.
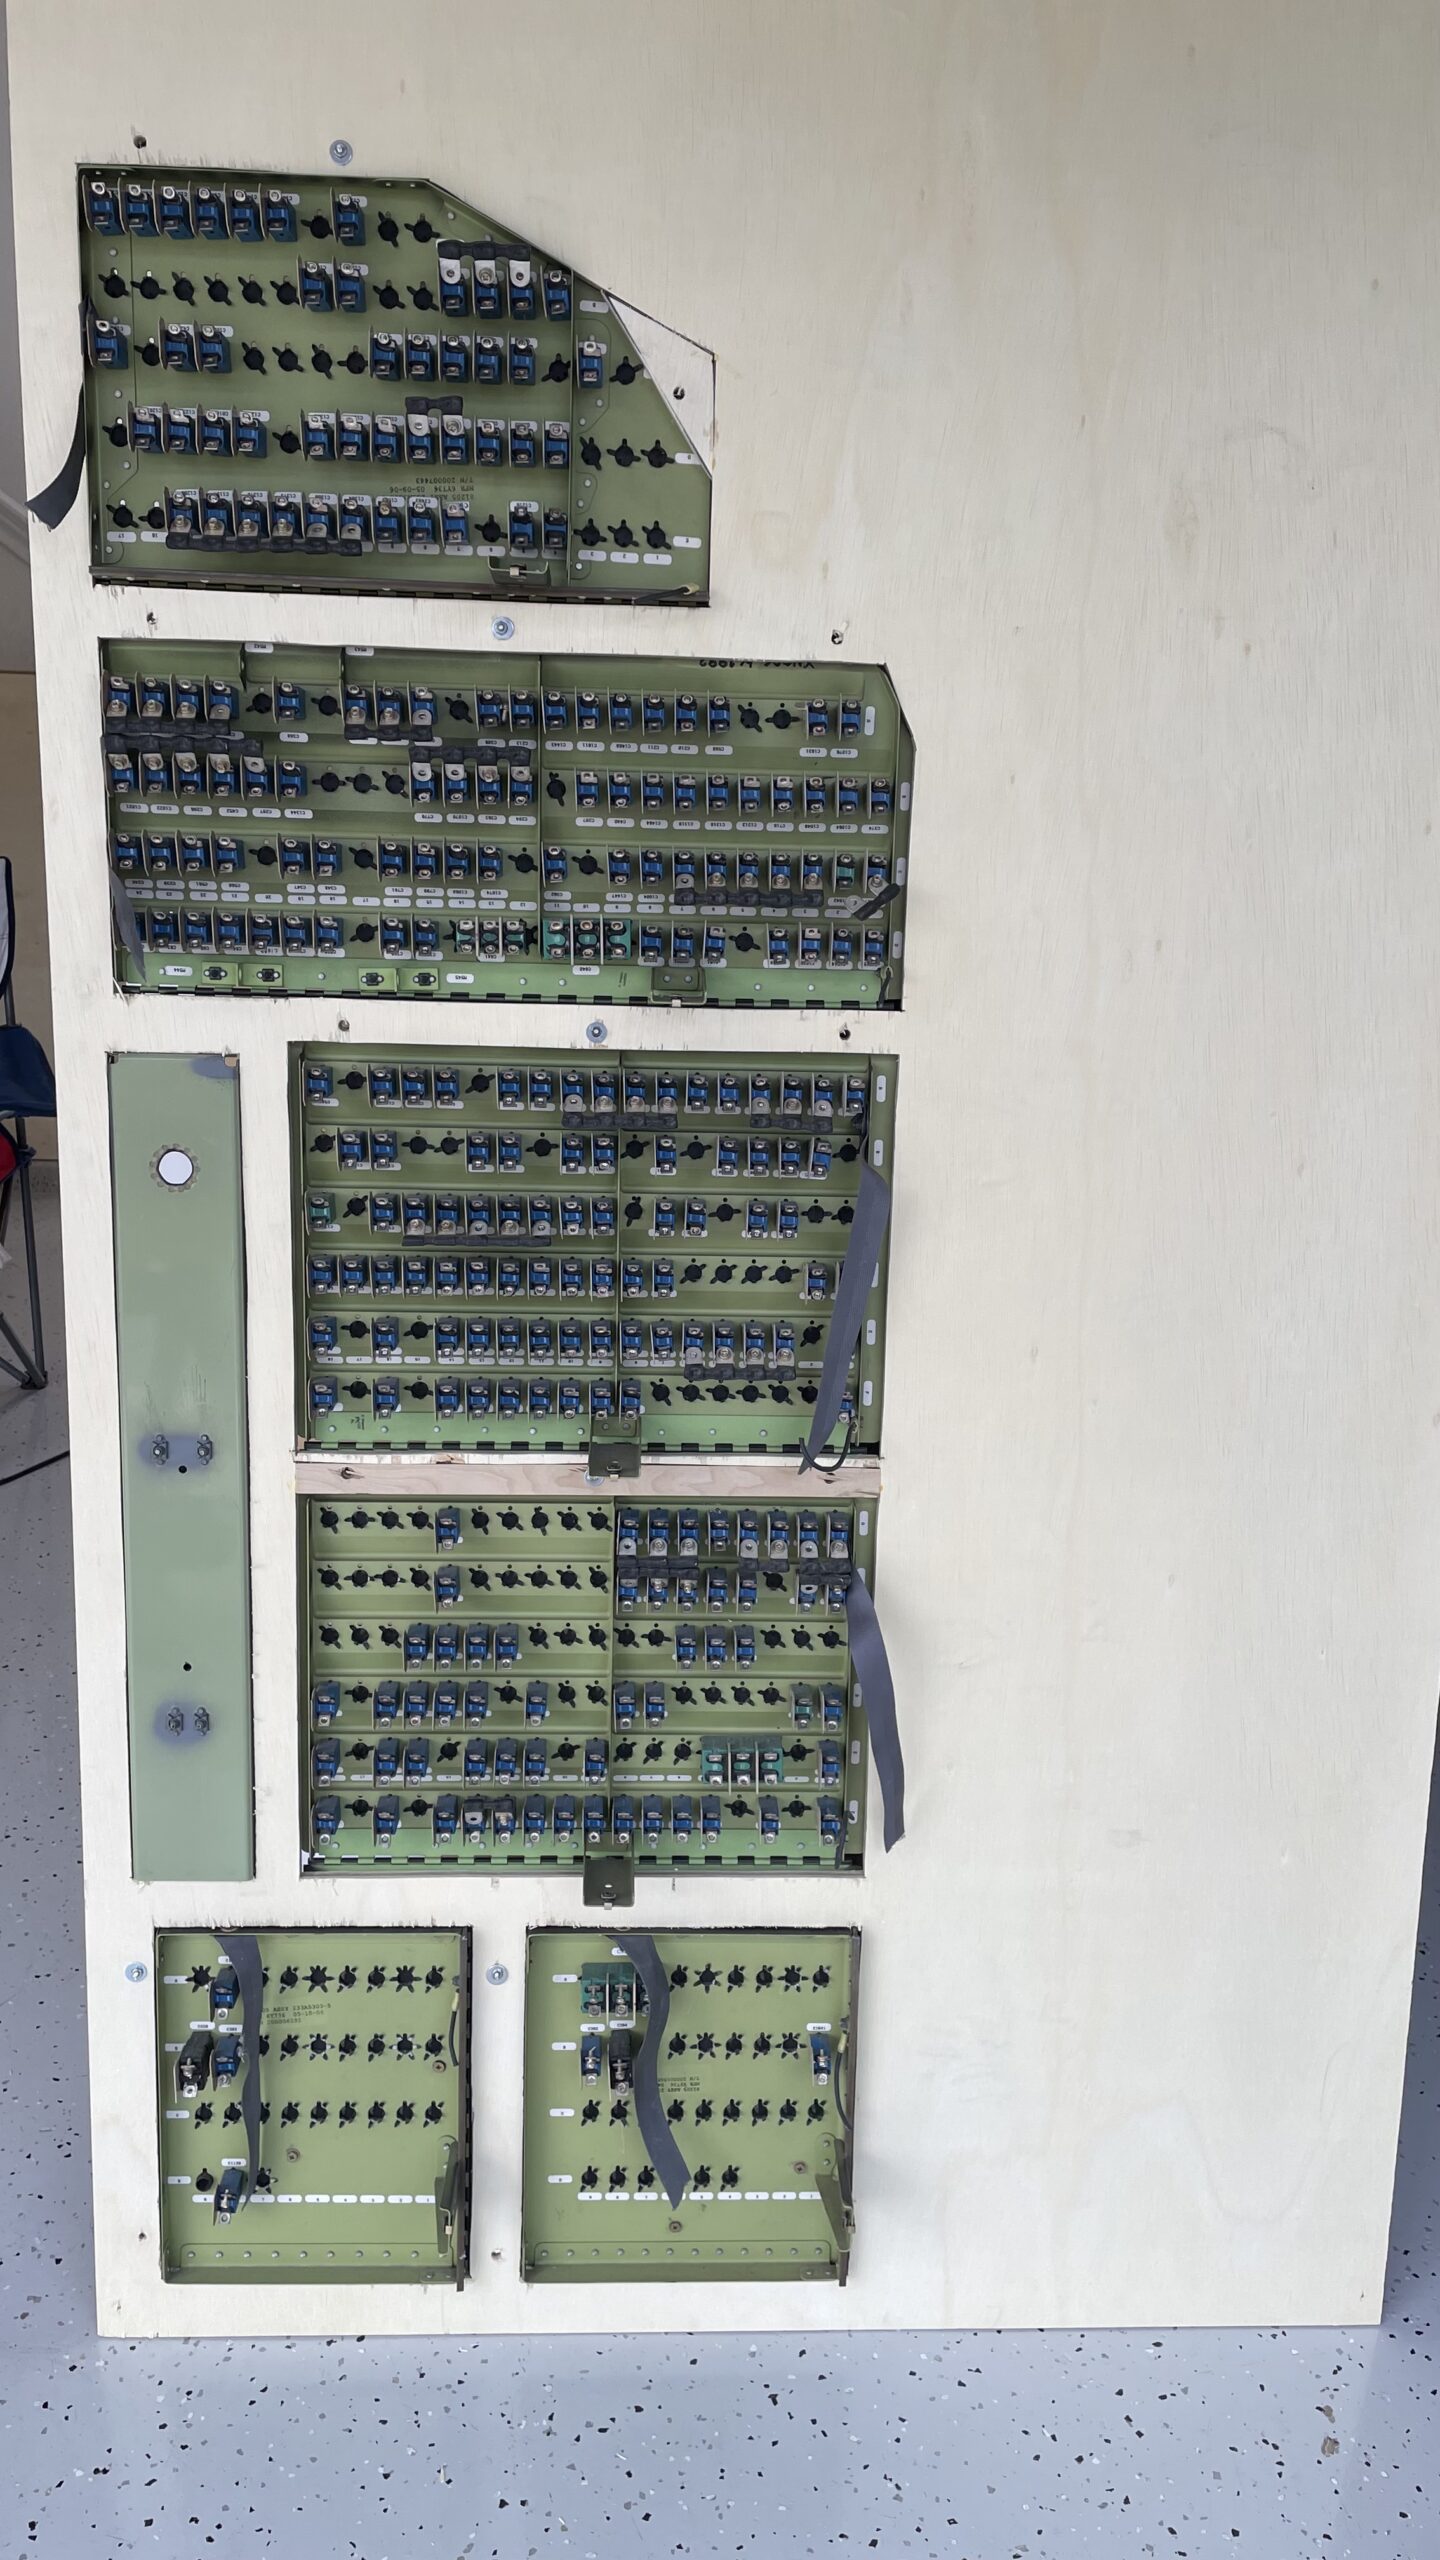
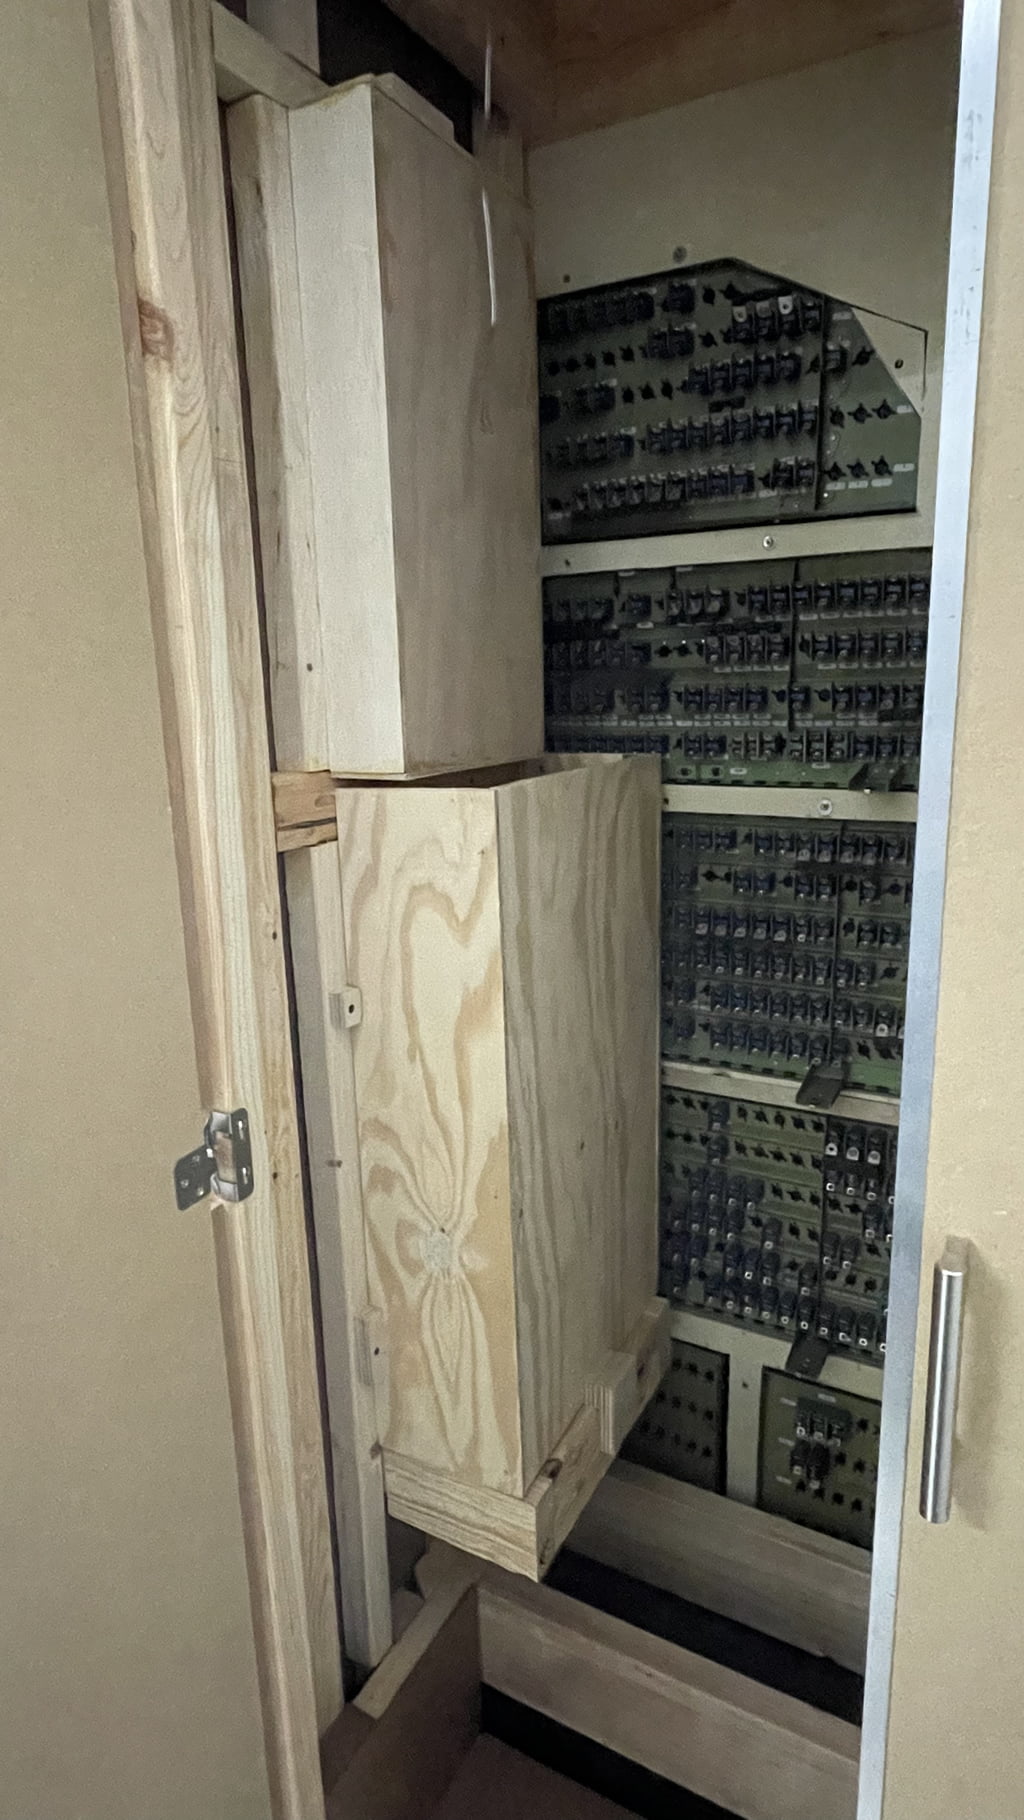
You’ll note in the pictures above that many of the panels have a bracket that sticks rather far out. That created a clearance problem when I tried to mount the wood panel with fitted CBs to the bulkhead. The brackets ended up bumping into some of my bulkhead wood framework. To resolve this, I had to remove the brackets by drilling out the rivets. I then made some modifications to the bulkhead to ensure proper clearance of all the panel frames and Circuit Breaker mechanisms.
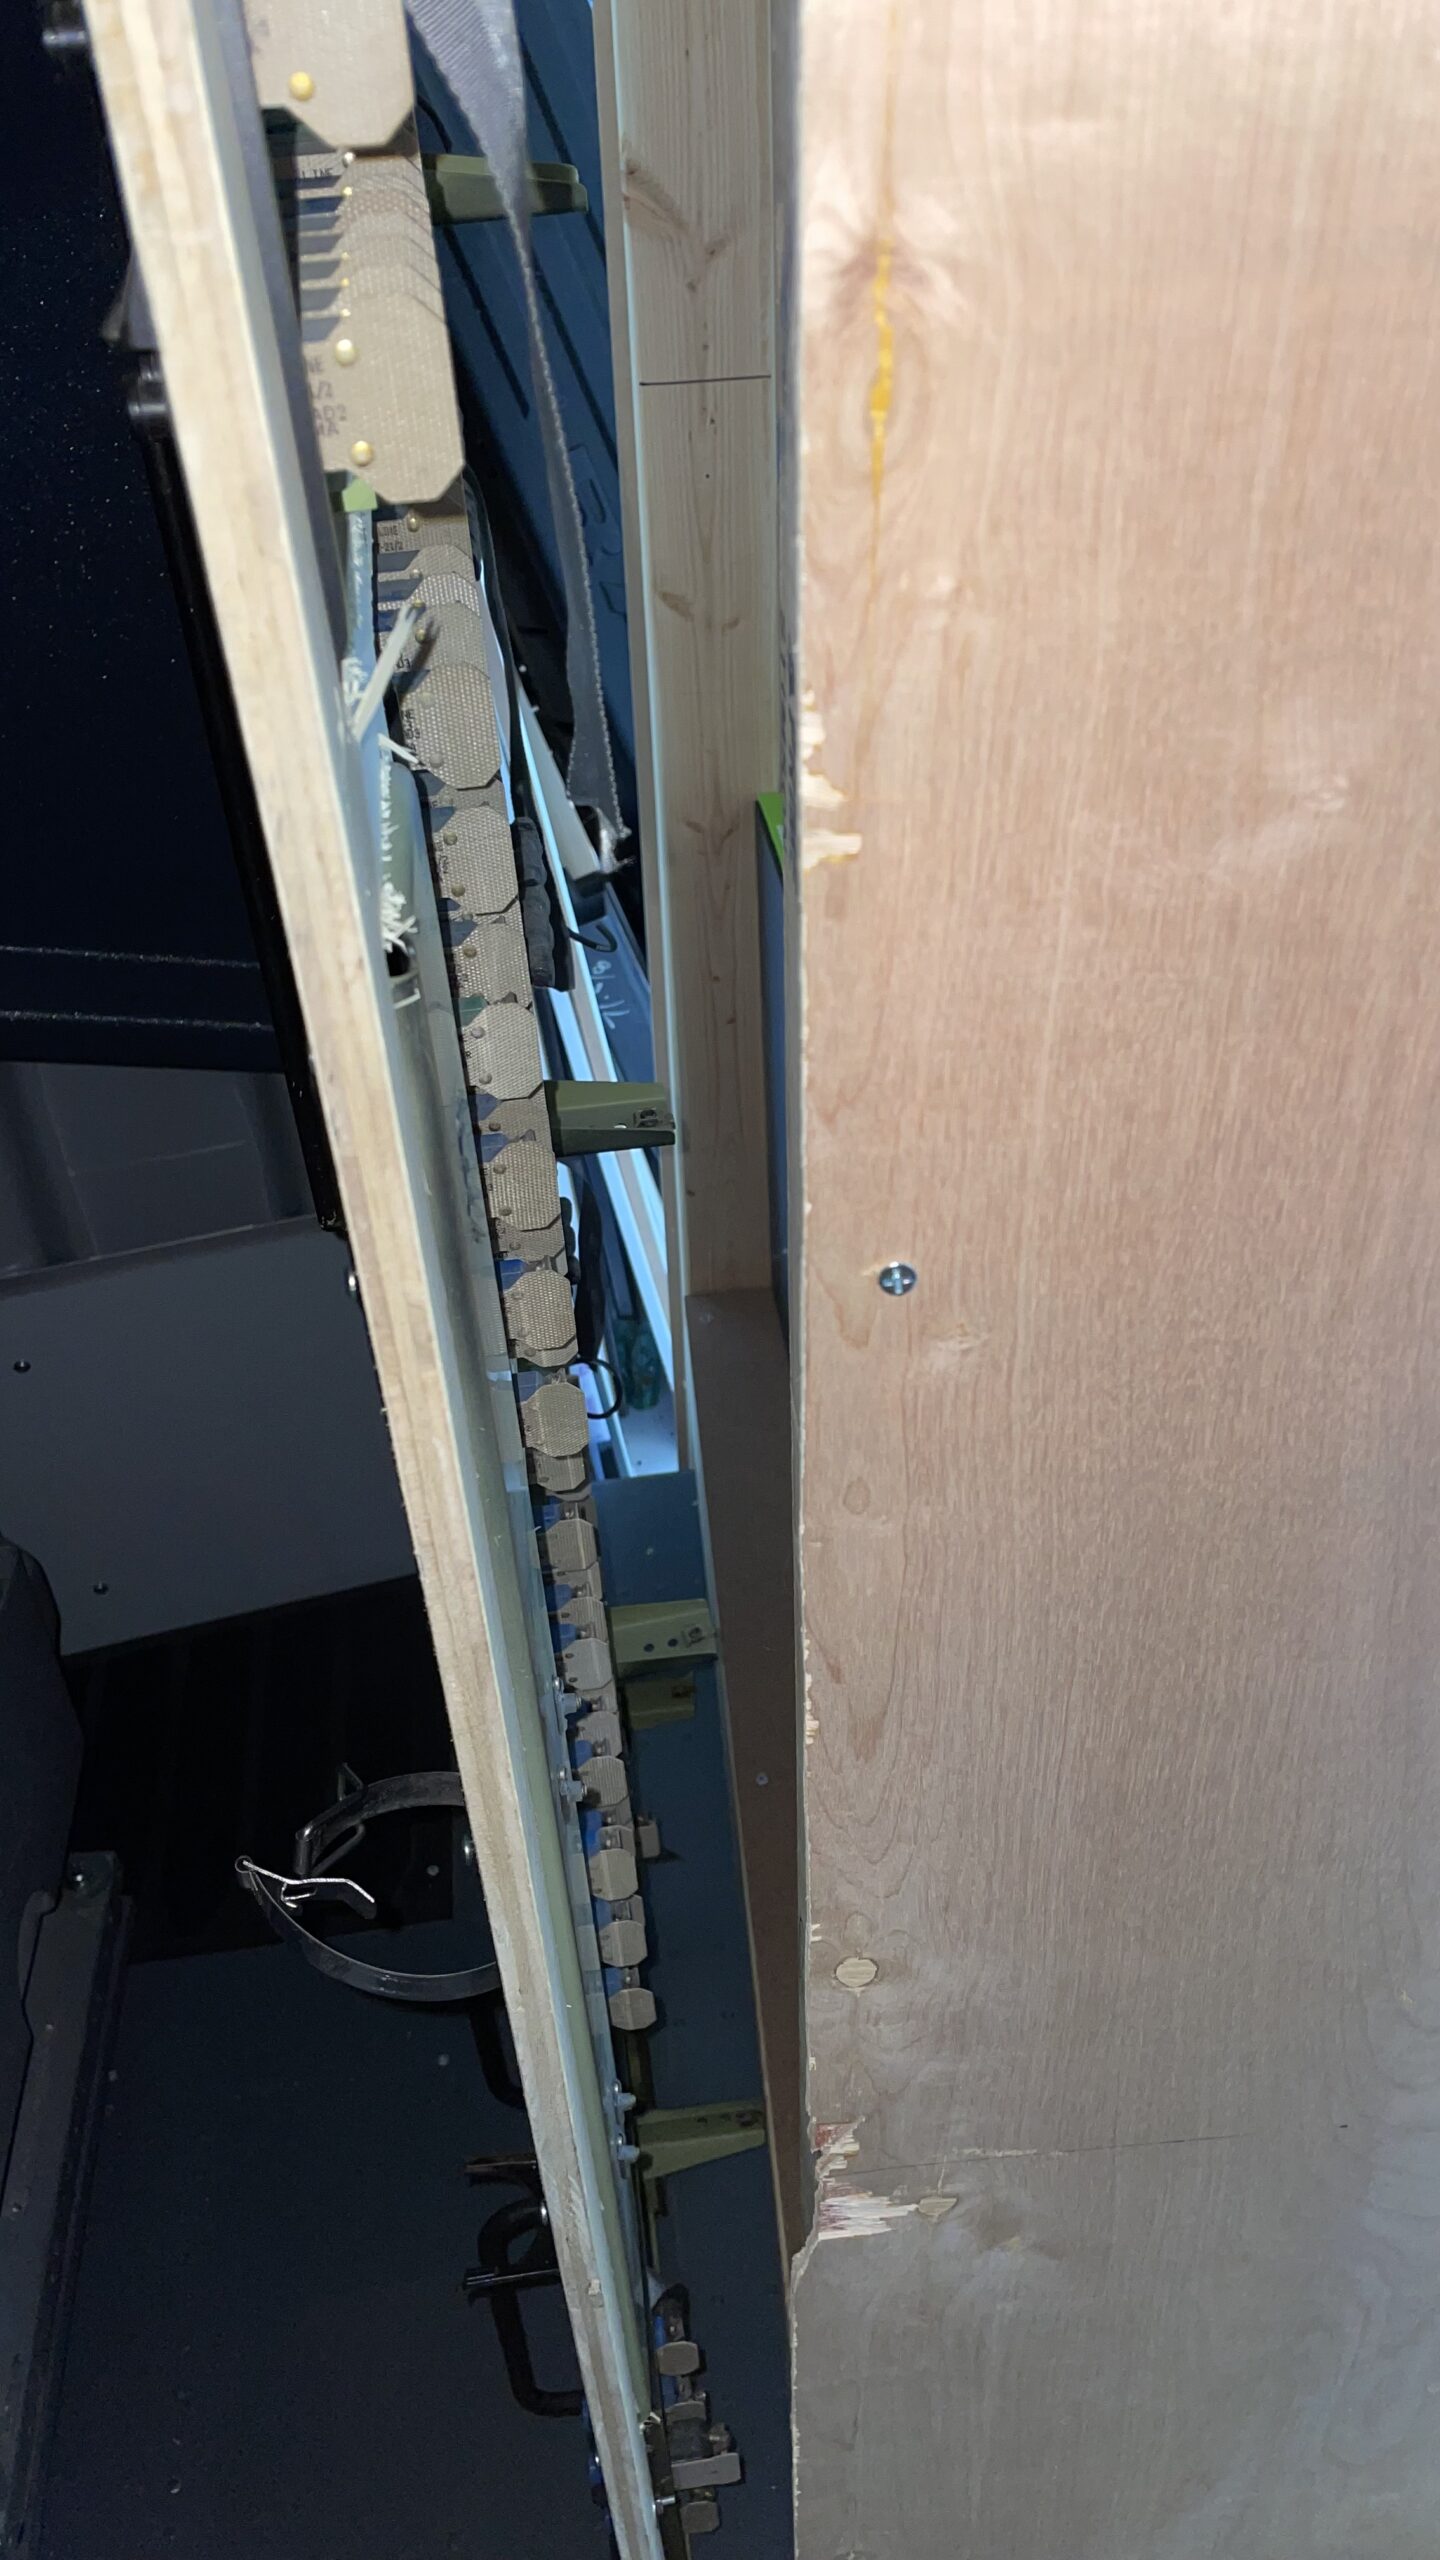
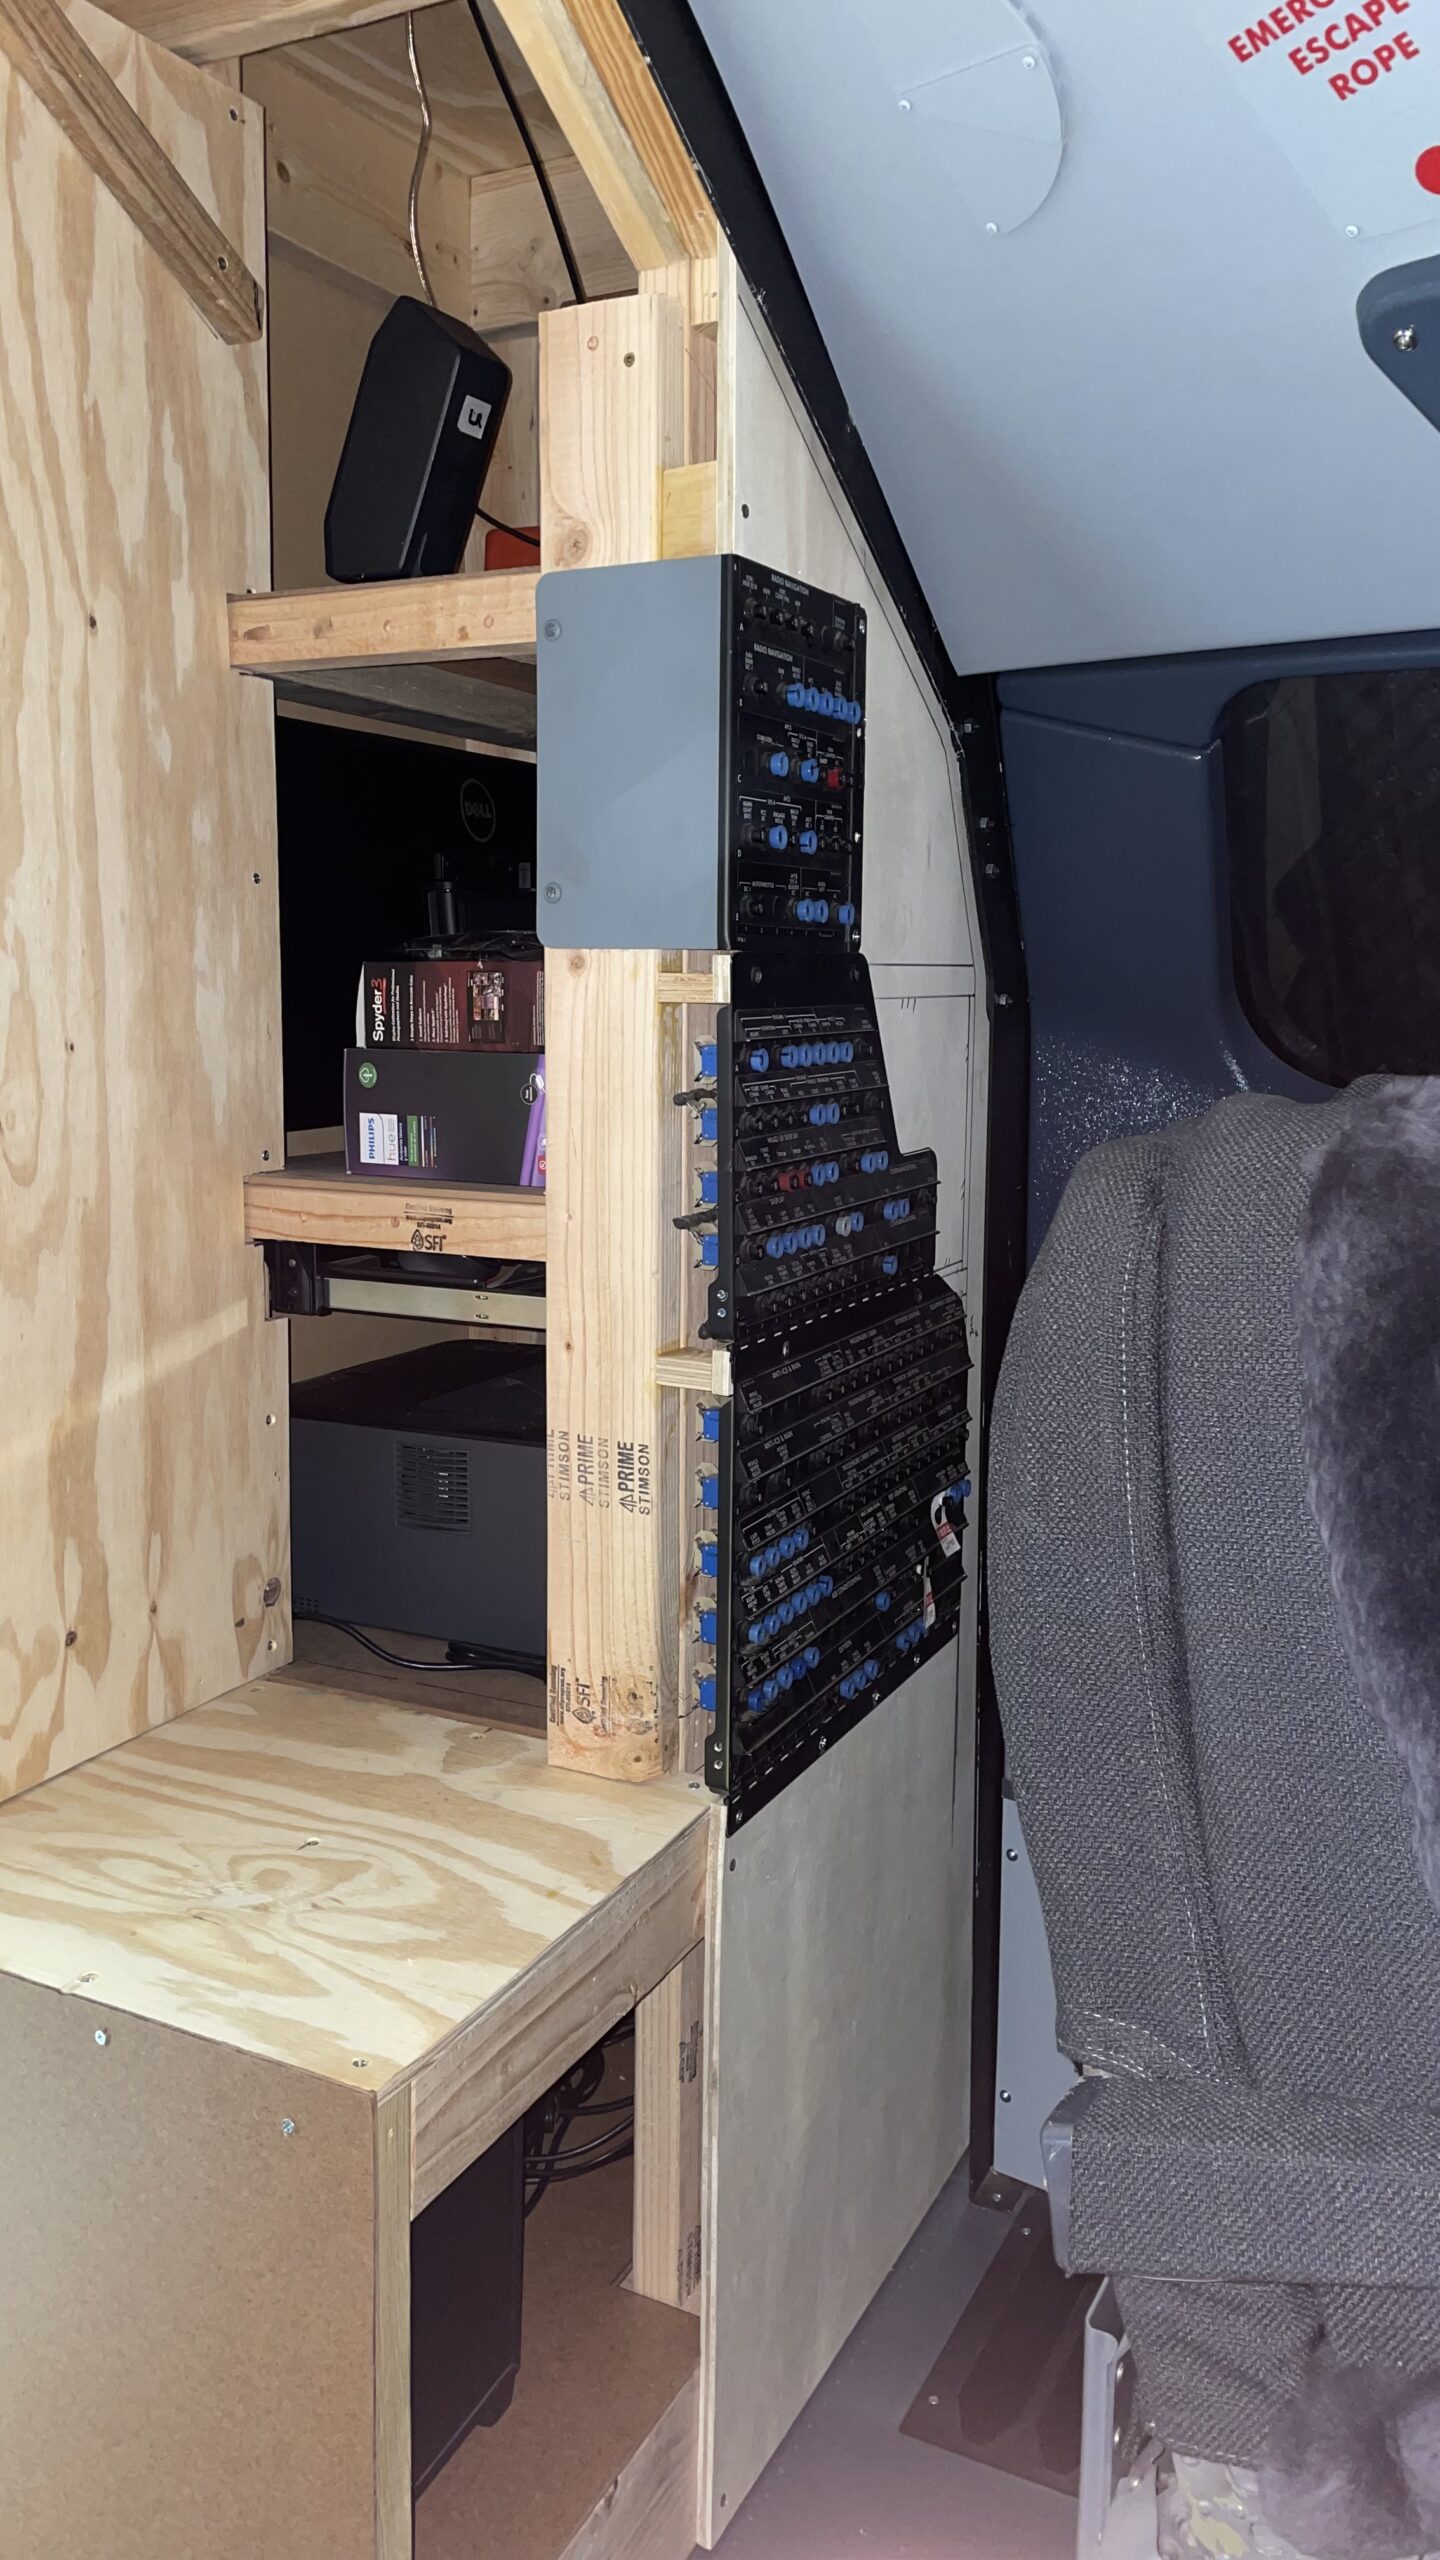
I also ran into an issue with the FDS shell once I started fitting the panels in their proper locations. The FDS shell has a 5 inch wide brace around the rear edge of the shell, used to stiffen the structure. You can see it in the image below. FDS’s idea is to mount their CB panels from the inside of the cockpit against the edge so in that case it wouldn’t interfere. Makes sense. But in my case, to accommodate the roll-up design the braces interfered.
Since I didn’t want to cut into the FDS bracing, I tweaked the wood frame supporting the CB panels to move the entire panel inward and down enough to clear the bracing.
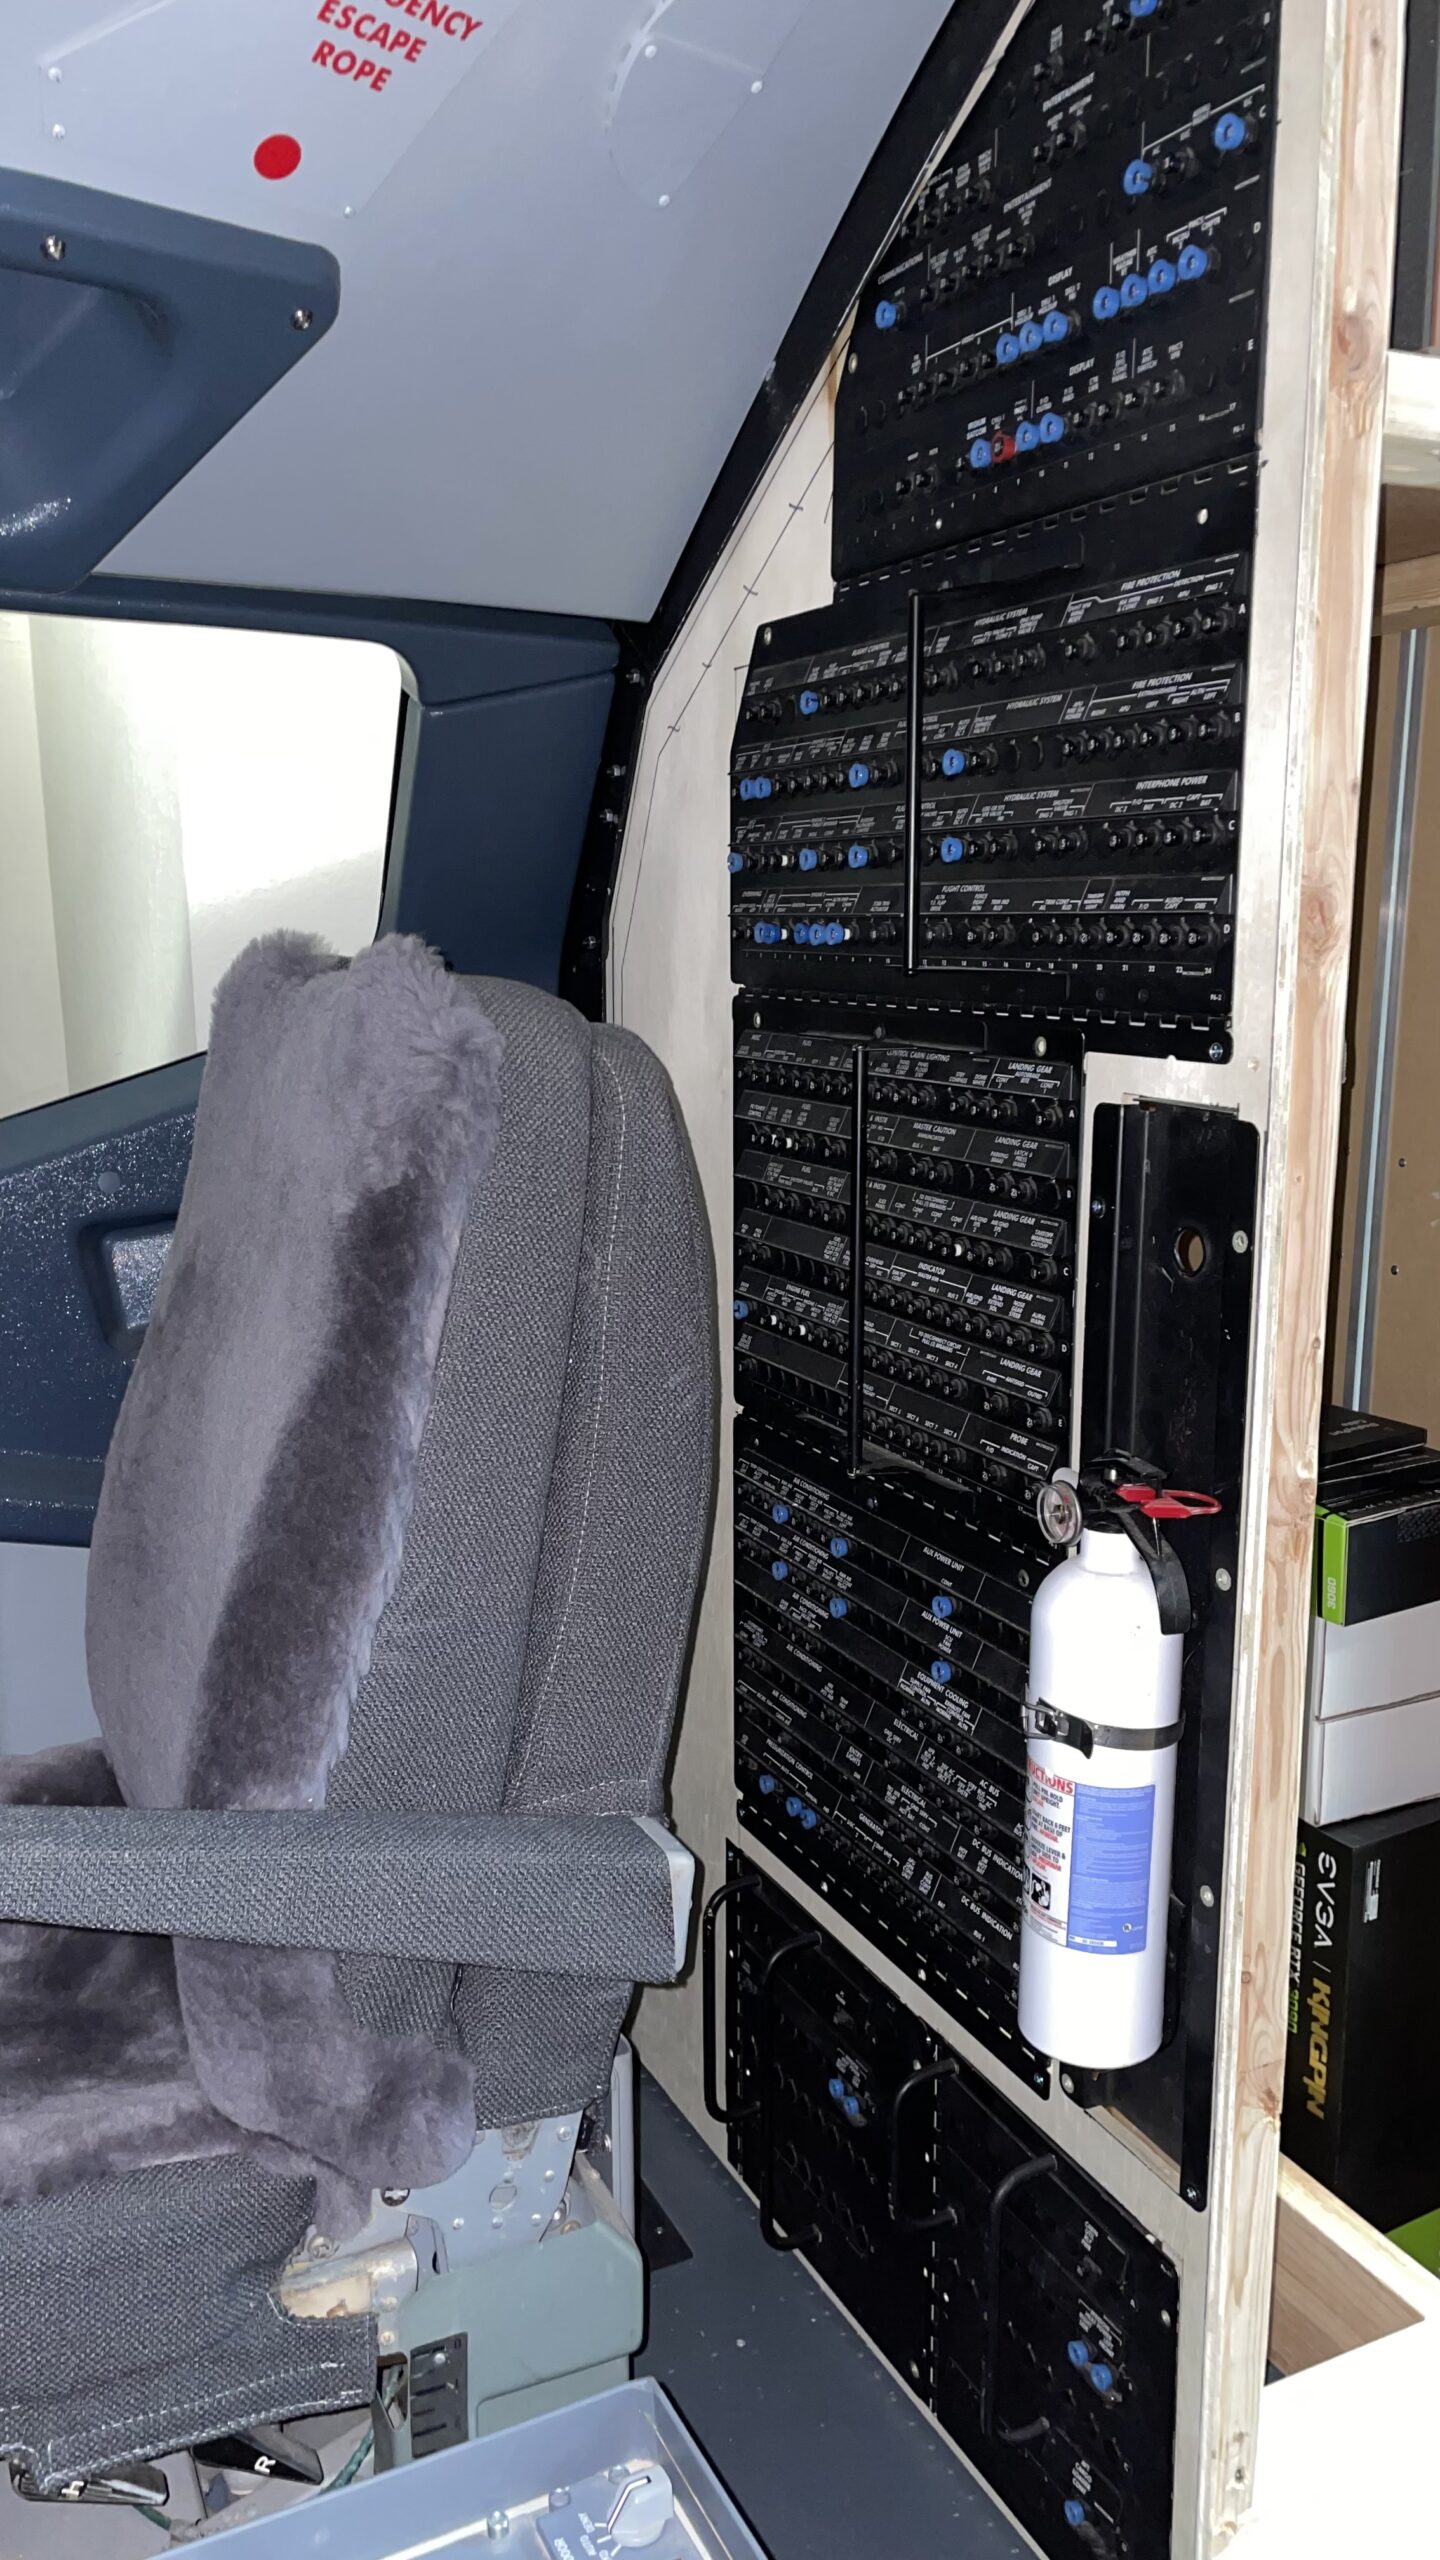
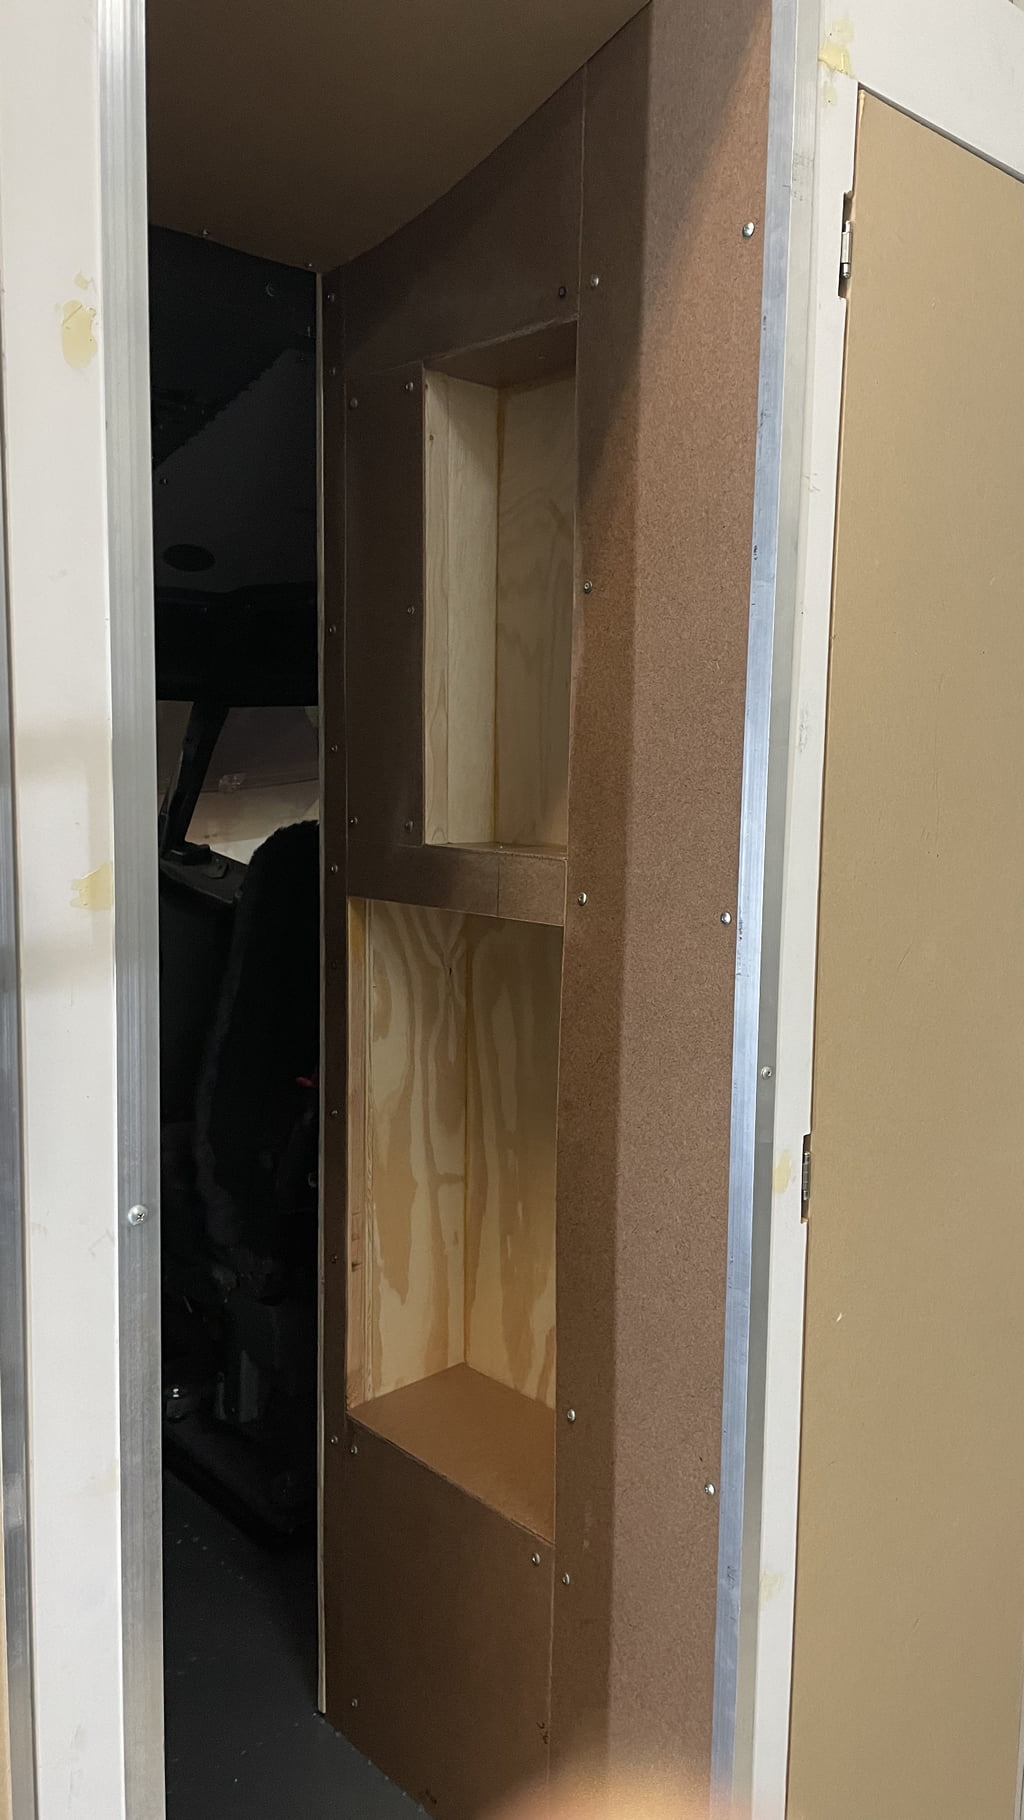
Once the panels were properly fitted I started building out the jump seat areas. I built the upper and lower cubby holes for the first observer jump seat (folds down into the aisle), and oxy panels/data loader panel. Then I closed up the space around the first second observer jump seat (behind the captain seat).
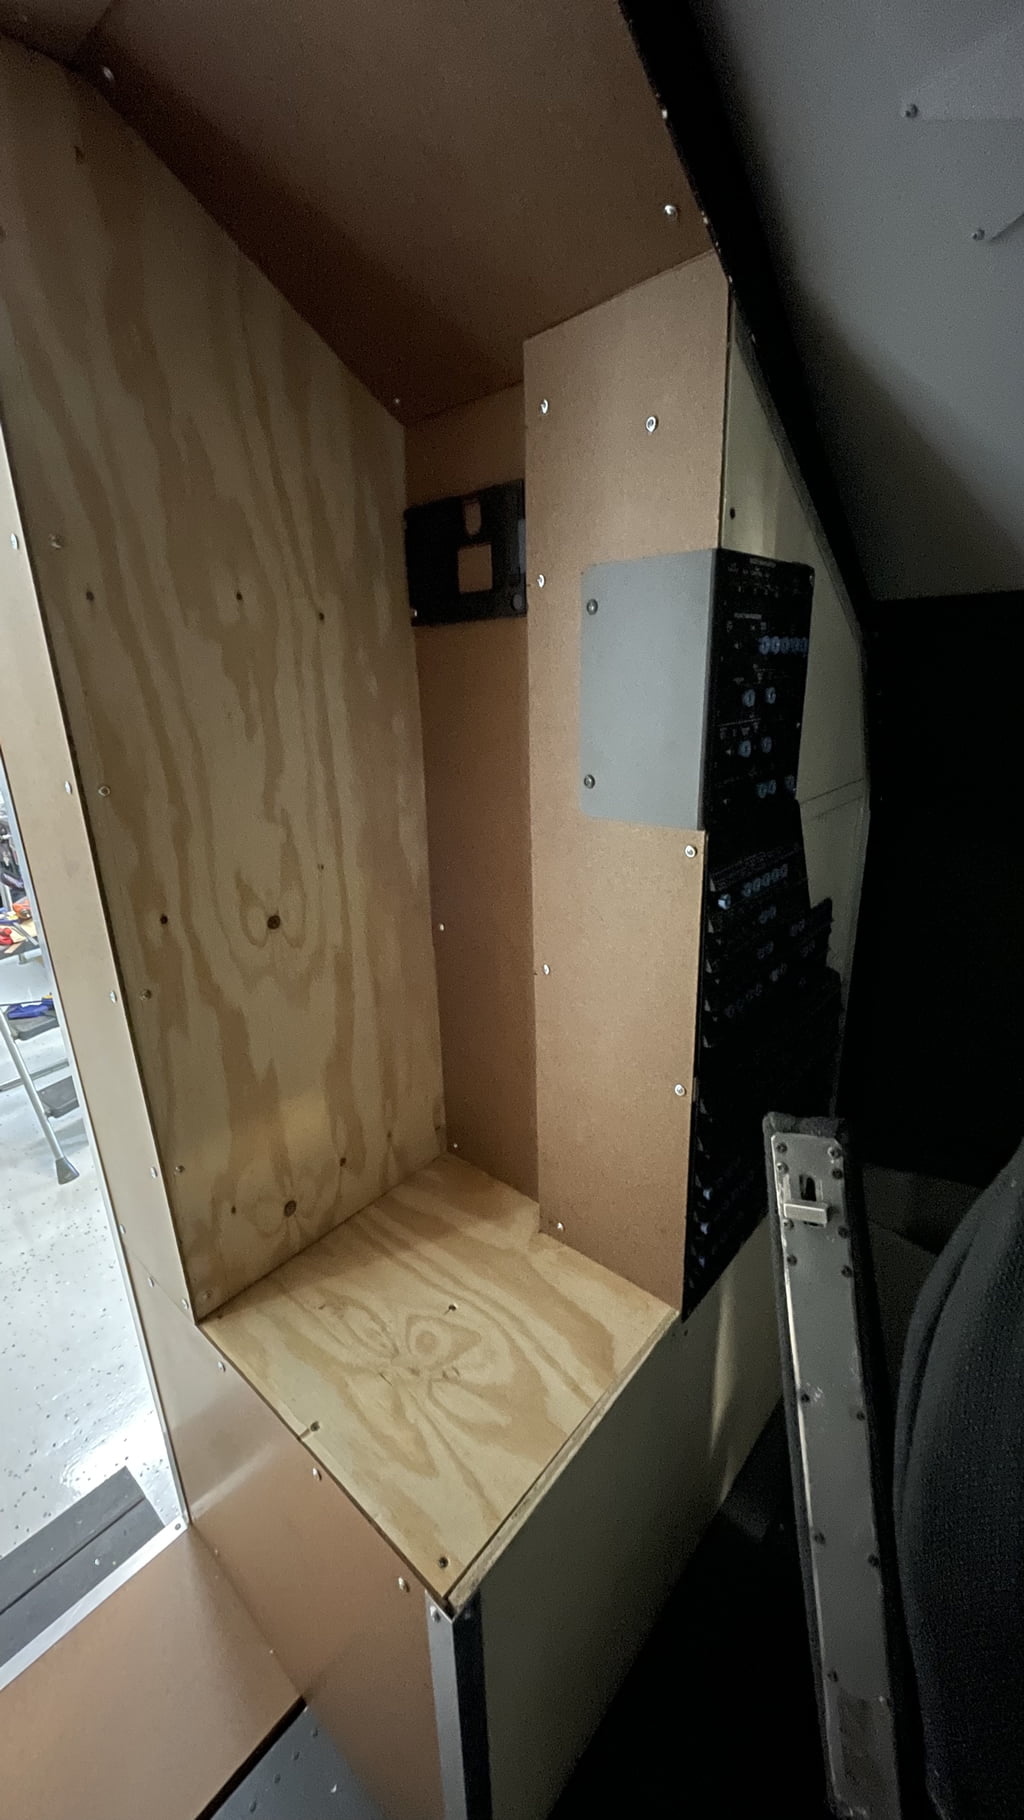
More to Come
There’s still a lot more work to do on the bulkhead. I need to sand and paint. Then either make or source the first observer fold-down jump seat. I also need to have seat cushions made. I’ll finally add some dummy oxygen panels, placards, hat hooks, and remaining details as needed.
And lastly to top it all off I need to build a cockpit door. I’ll be using Clement Stals’ fantastic breakdown of how he build his cockpit door.
I’m really looking forward to the end product which I think will look quite good. Not quite 100% accurate, but authentic enough that when you’re sitting in the pilot seats the additional realism will be significant.
Stay tuned!


2 comments
Just one word. Awesome! Keep up the good working
Author
Thank you very much!