Last Updated on December 12, 2023
Over the last months, as I was waiting for parts to come in and taking a little break from the flight sim, I decided to take a detour and build a fun new side project, a virtual pinball machine.
My Pinball “Sim” (aka Virtual Pinball or VPIN)
I had always wanted a real pinball machine. They’re fun to play, challenging, and they look cool with all the bright lights and sounds. But, real pinball machines have some drawbacks:
- Real pins are very expensive. Current new release tables run around $6-8K.
- You’re stuck playing just one game.
- Over time, real tables will require maintenance and parts will eventually need to be replaced.
Don’t get me wrong. I’d LOVE a real pinball table or two some day, but for now I decided a virtual table is a great way to have a similar experience.
What is a Virtual Pinball Machine?
A virtual pinball machine is a life-like recreation of a real pinball table running on a gaming computer and displayed on monitors within the body of a real-sized pinball machine frame. Various parts such as real buttons, a powerful sound system, solenoids to replicate flipper and bumper feeling, and LED lighting effects contribute to as close to a real experience as you can get.
What Does it Cost?
A full-sized nicely-equipped virtual pinball machine will still set you back a good $3-7K USD. That’s cheaper than a real machine but not too far off. With a virtual pinball machine, though, you can literally play hundreds of community built tables without needing a different machine. The volunteer community regularly releases original and replica real tables for free, much like the sim community puts out freeware scenery, so you can continue to enjoy new releases for the foreseeable future.
Maintenance
Virtual pinball machines need minimal maintenance once set up since there aren’t many moving parts and replacement parts are fairly easy to come by should, say, a button or light go bad.
There are lots of things you can add to make your own table personalized such as custom graphics, vibration effects, addressable LED lights, beacons and strobe lights, complete “surround” system to simulate various effects around the table, and so much more.
Components Used
I added the following features to my virtual pinball machine:
- Replica Stern pinball frame
- Replica plunger to launch the ball
- Back-lit Launch Ball and Fire buttons
- Real flipper buttons
- 2 sound systems: Main 2.1 sound system (2 speakers, 1 subwoofer), Surround Sound system under playfield to simulate sounds emanating from various areas of the playfield and the movement of the ball around the table
- Real working coin mechanism
- Addressable LED strips along the sides that light up and change color according to game play
- 5 RGB LED “beacon” lights at the rear that light up and change color according to game play
- 43″ 4K TV for main playfield
- 15″ LED Score Display screen
- 32″ 2K Backglass artwork monitor
- Shaker motor that shakes the table during game play
- 10 solenoids strategically placed under the main playfield to add tactile feeling of the bumpers and flippers operating
- Rotating beacon
- Custom artwork
- Hand-build Pinscape controller boards (had the PCB boards made and soldered everything per Pinscape guide)
- Windows 10 OS on an AMD 5600X CPU, 16GB RAM, M.2 SSD, and EVGA 2080TI video card
- Running Virtual Pinball X with Pinup Popper front end
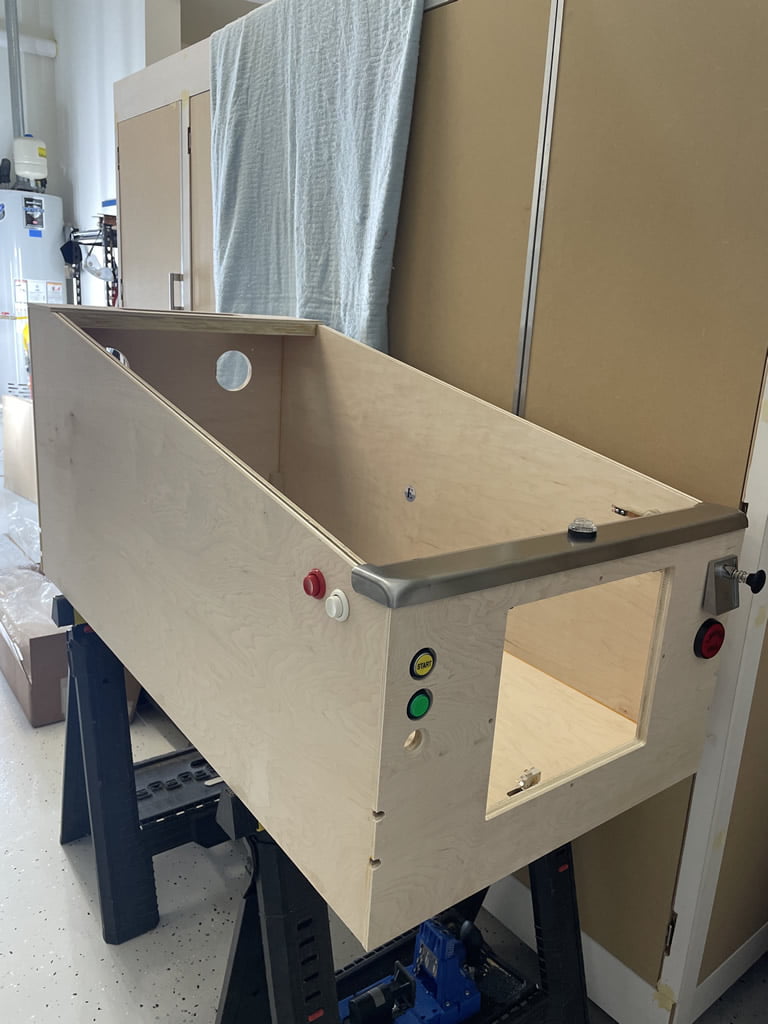
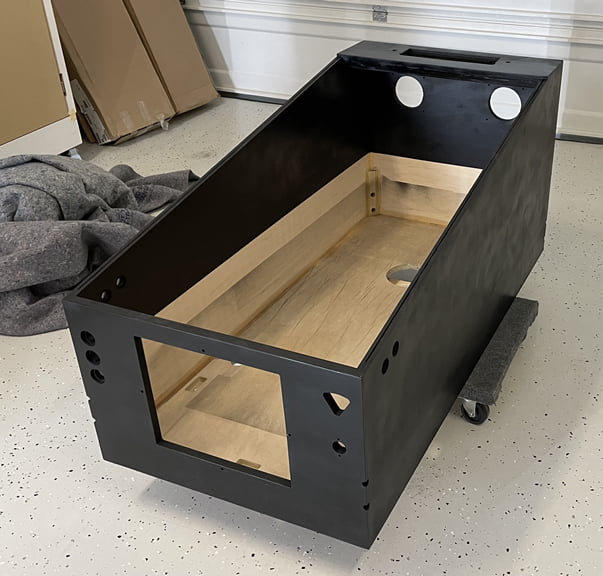
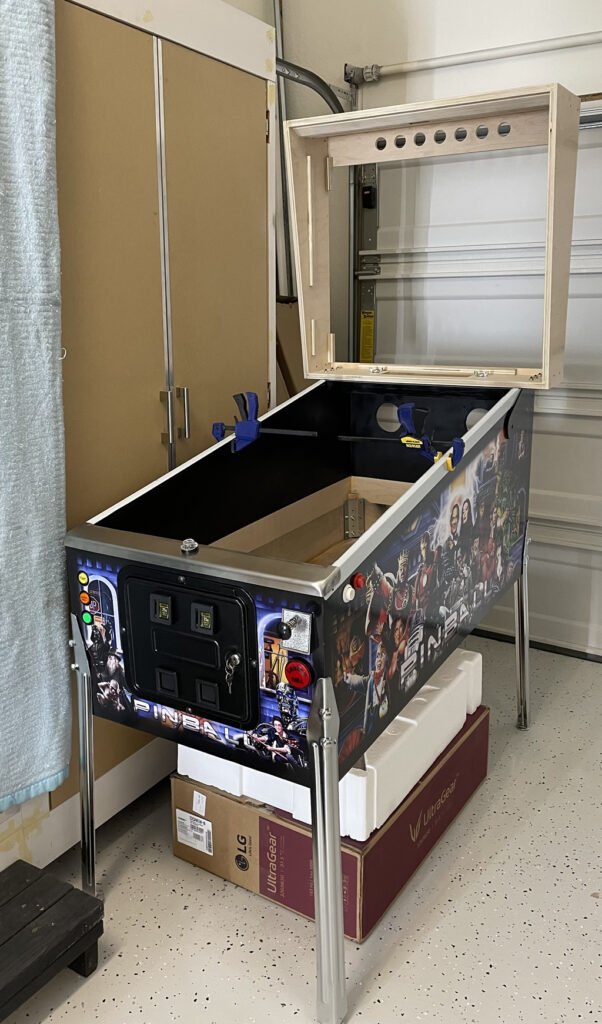
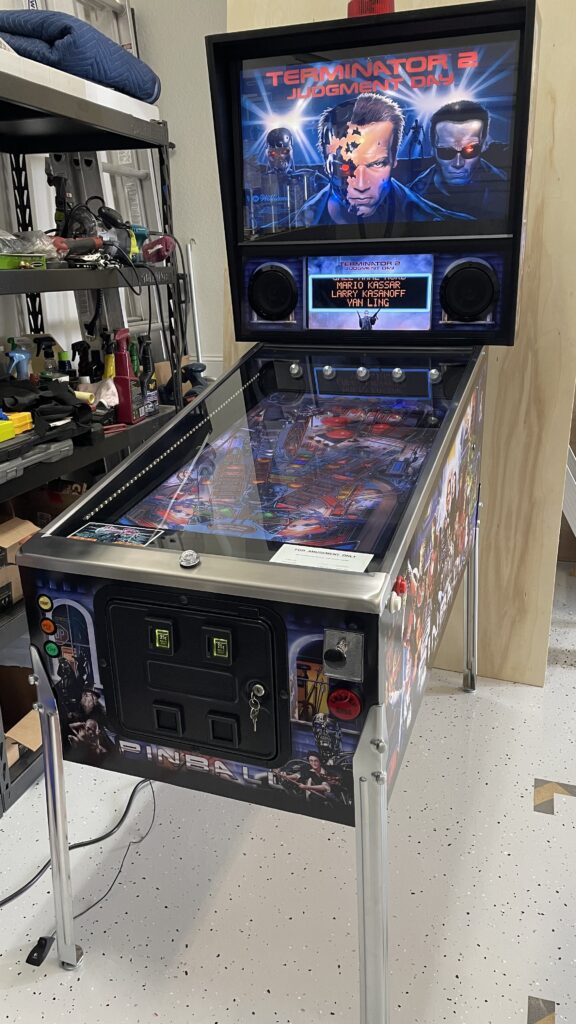
Below are a few pictures of my pinball table progression. It is a blast to play!
How to Get Started
If you want to learn more about Virtual Pinball, I’d suggest checking out the most popular community forums at vpforums.org or vpuniverse.com.
If you’d like to build your own table from scratch, there is no better reference than Mike’s virtual pinball bible, the Pinscape Build Guide. Everything you ever wanted to know about virtual pinball is spelled out to excruciating detail and is the guide I used to build mine.
Finally, a great place to buy a new, pre-built virtual pinball table is https://retro-play.com.au/ . Note, I was not paid to put this link here…they just make really cool tables!





A very useful documentation. Looking forward part 2 😊