
Last Updated on January 17, 2021
The last few months have seen the sim out of commission while I tore down and re-built my overheads with a FlightDeck Solutions (FDS) overhead kit I purchased from someone earlier this year, still un-built. The kit came with the overhead FDS swing-down frames and FDS integrated back-lighting panels (IBL) for forward and aft overheads, and had just about all the switches and knobs, electronics, etc. Since I already have a FDS cockpit shell, interior liners, MIP, and many more of their components, it just made sense. Even better was that it was for a good price so I had to jump on the opportunity.
Out With The Old (Overhead)
My original overhead panels were from CockpitSimParts. I built everything else from scratch. Just about everything worked and looked great. But the back-lighting wasn’t as good as I wanted because the panels were backlit by LED strips from behind rather than integrated bulbs in the panels so the panel lighting wasn’t as consistent as I would have liked.
Also, the clam-shell frame I designed wasn’t as strong as I would have liked and the frame supporting the panels, switches, and knobs, tended to sag a slight bit when closed due to the weight of all the components.

Completed Forward Overhead 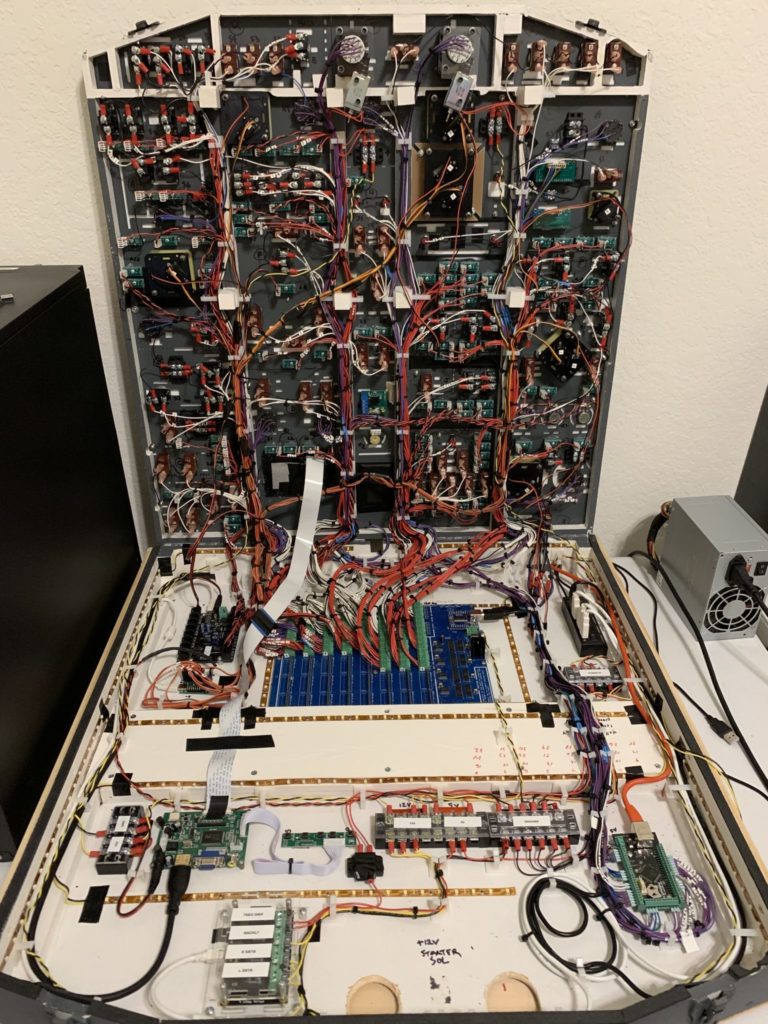
My original forward overhead, using CockpitSimParts panels and a scratch-built swing-down frame.

Still, it was a fantastic first version of overheads and overall I was quite happy with them.
The New Overhead
I’ll talk about some of the changes/improvements I made for the new overhead below.
New Overhead Frames, Better Swing-Down Design
My old overhead design was made from wood. It was bulky, heavy, and not as rigid/strong as this new FDS frame. Being metal, this one is stronger, lighter, and much less bulky. Not to mention all the right holes and spaces are built-in so it’s a no-brainer to put together. I love it.
This frame is also an older MX frame which does not have the DZUS rails which would allow you to mount real panels if you have them. That’s fine as the FDS panels the kit came with just screw on with fake DZUS screws and you almost can’t tell the difference. If you’re trying to save money, then this is a perfectly fine frame. If you’re going for total realism and want to mount some of your own real panels, then the DZUS rail version is a better bet, but comes at a higher cost.
I also separately purchased the FDS overhead mounting kit which I used to easily and correctly mount this overhead onto my existing FDS cockpit shell, and allow me to easily swing it down to do work as needed. Much better than my old design where I had to guess dimensions and figure out how to get it mounted and situated in the shell properly.
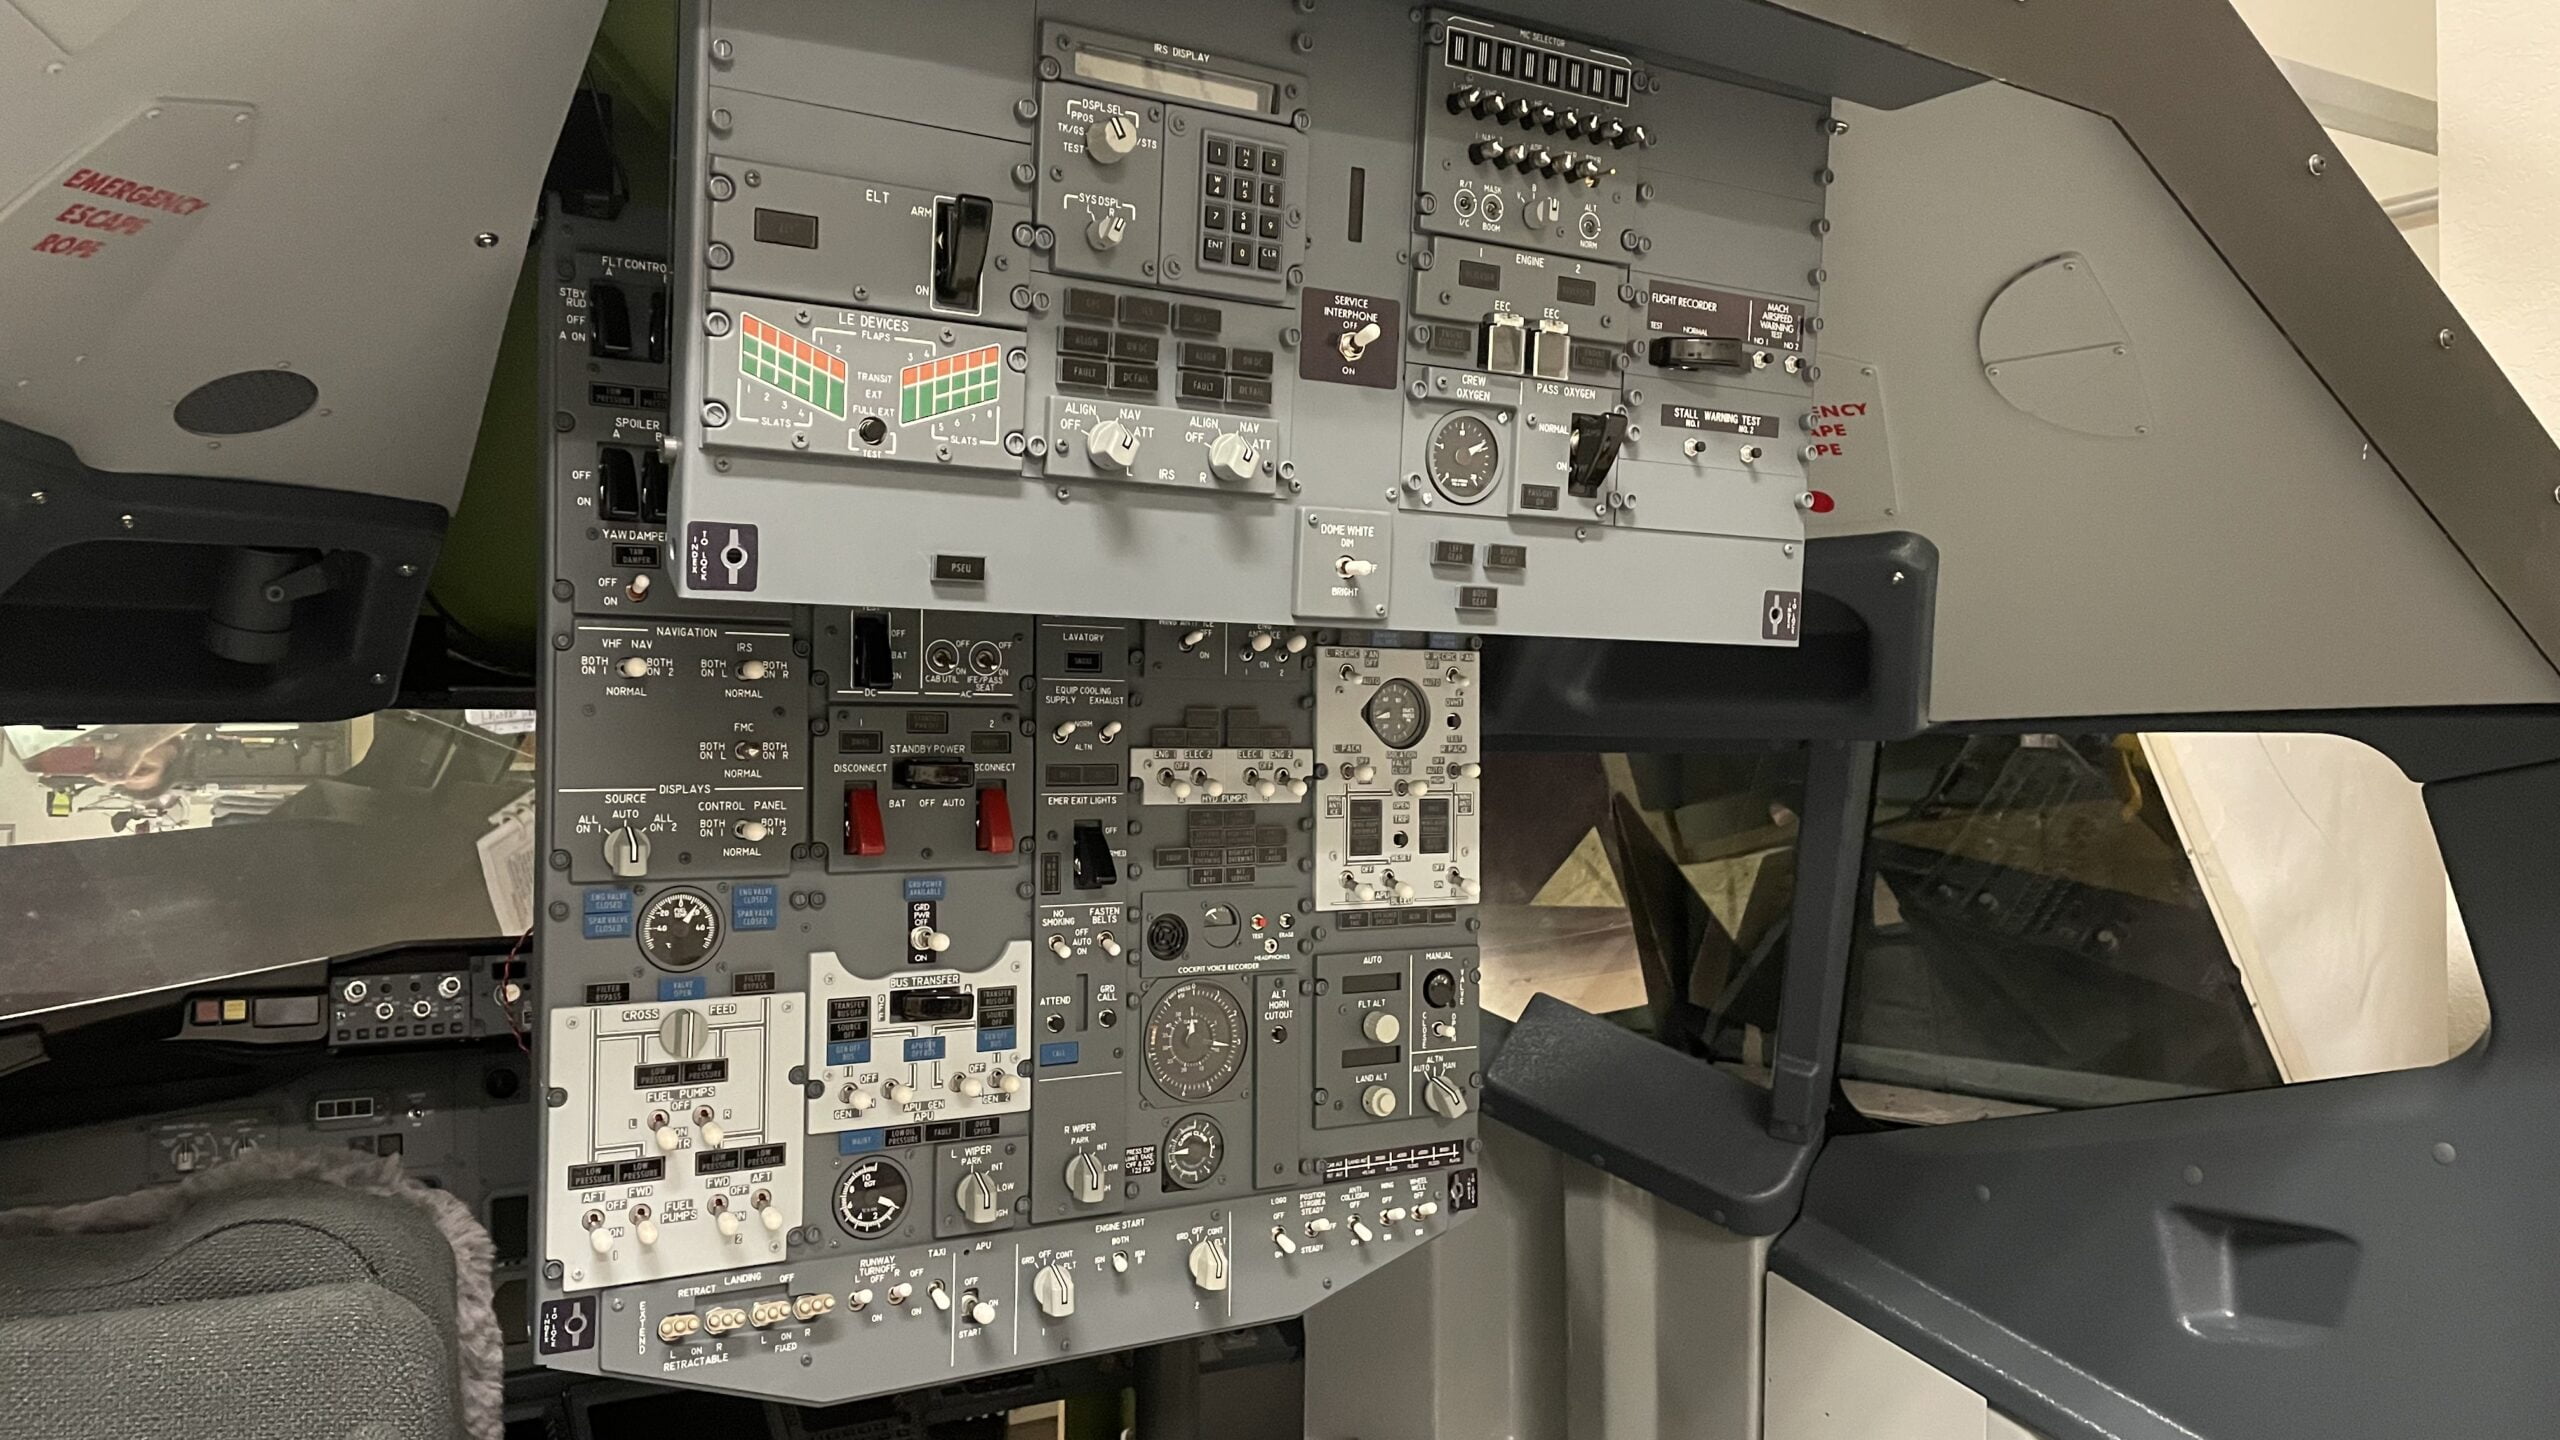
The FDS MX frame doesn’t have DZUS rails. The panels mount directly to the pre-drilled screw holes. Thus the rectangular back-plates don’t exist which takes away a little realism but not enough to be a bother. 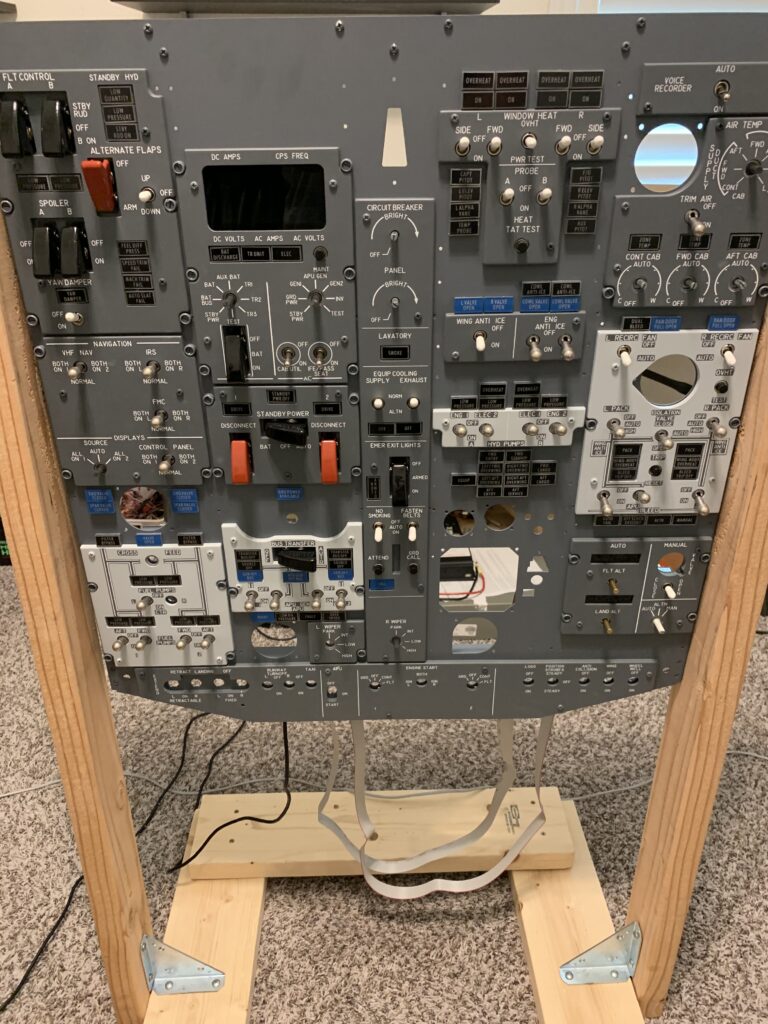
Even without the rectangular back-plates and DZUS rails behind each panel, it still looks very accurate. 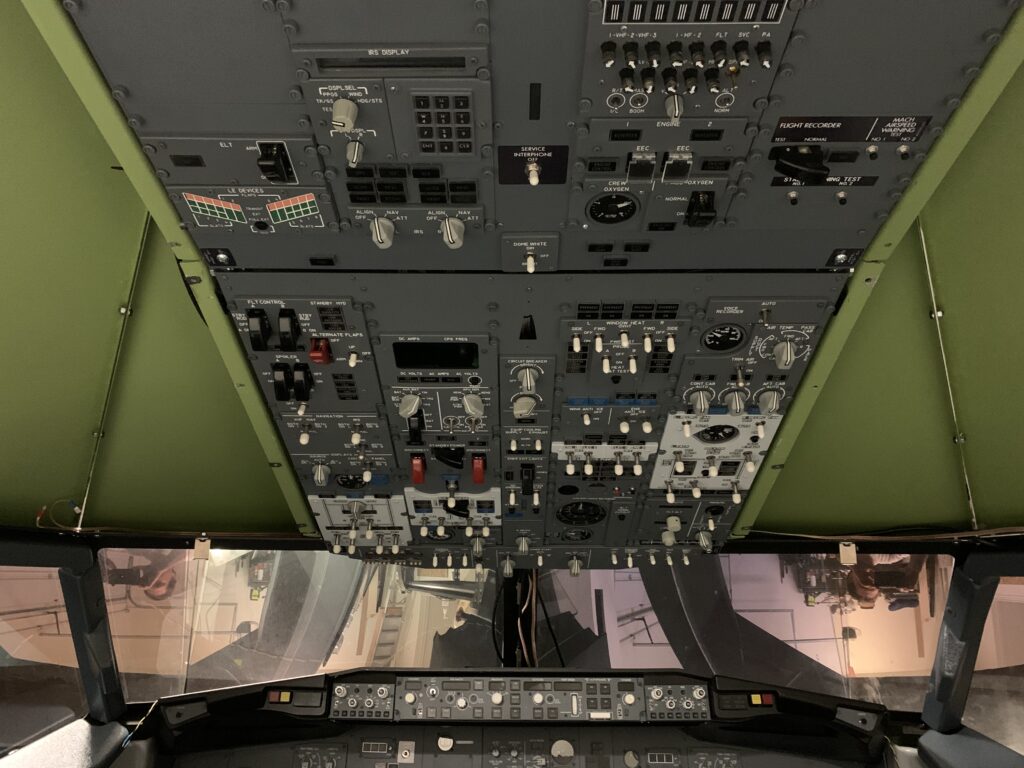
The overhead mounting kit from FDS is an absolute MUST have to mount FDS overheads in an FDS shell. Well worth the money. 
The swing-down design of the FDS kit, like the real aircraft, makes it a lot easier to maintain.
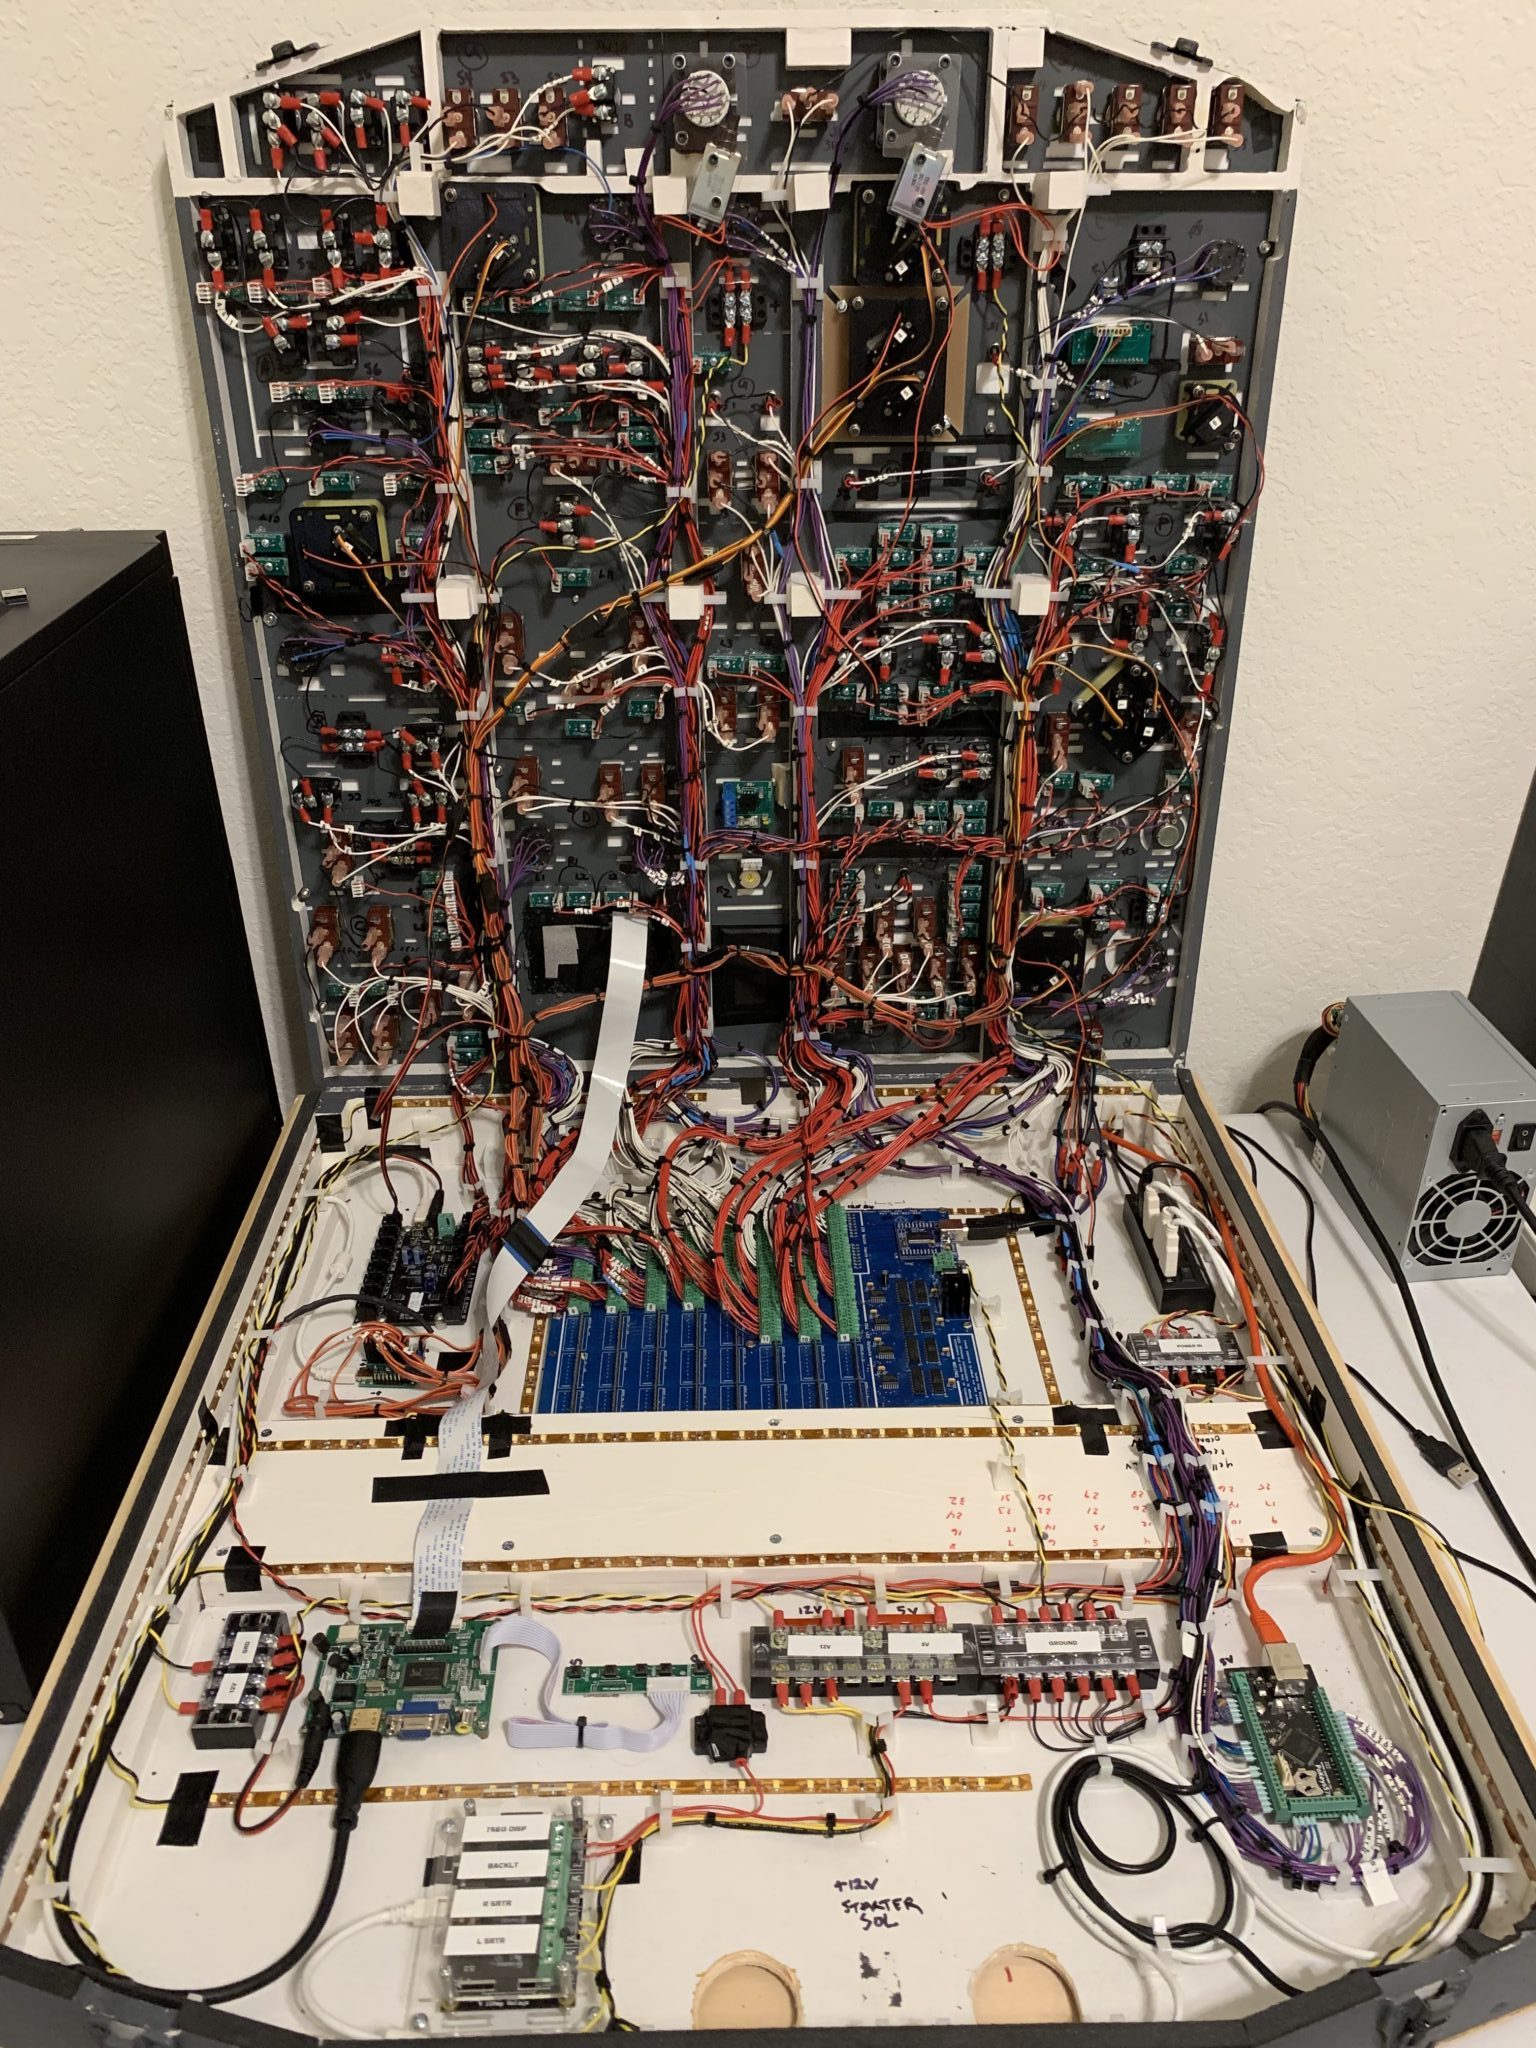
Wiring Again from Scratch
As excited as I was about the new overhead, I wasn’t thrilled about having to start the wiring from scratch again. There wasn’t a good way to salvage what I had already done so I had to start over, but I figured this time I had more experience so it should be easier/neater. Nah. It didn’t really matter. There is just so much wire that it’s nearly impossible to make it all nice and neat unless you attach everything to circuit boards (I’m thinking that will be the next version).
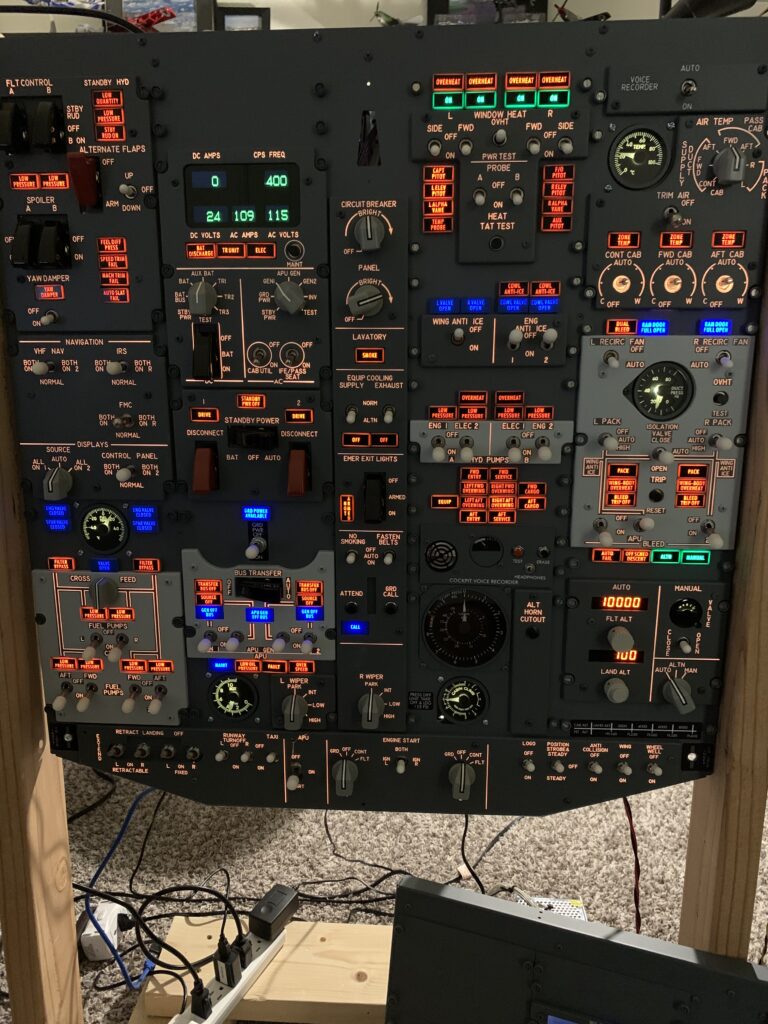
The panel back-lighting is much better now. 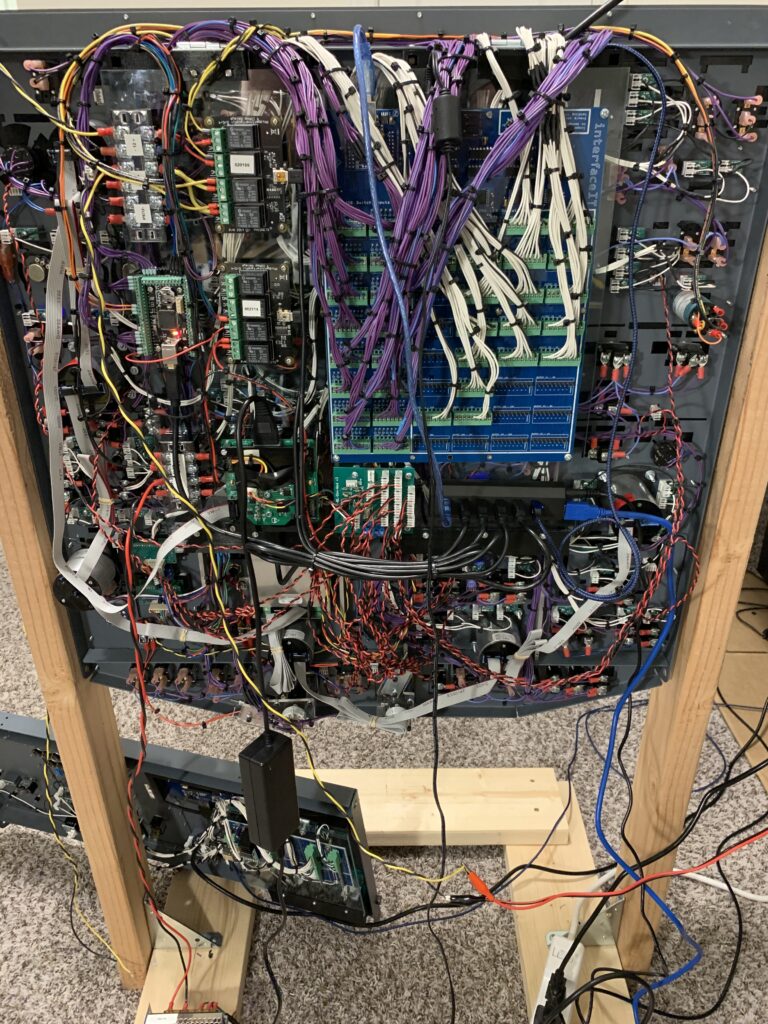
It’s organized chaos. Looks a mess but if you look close it’s pretty well organized.
Mounting the Interface Cards
I had seen others mount their interface cards to the roof of the cockpit shell facing down and then a bunch of long wiring comes down from the cards to the components on the frame so you can swing it down without pulling wires out. I prefer a more integrated approach where all the cards are mounted to the swing-down frame so you use less wiring and when you swing it down everything is right there and you’re not trying to work upside down with a lot of heavy wire hanging in the way.
The downside is there’s a lot more wiring compacted on the frame itself. To get around this a bit, I designed some 3D-printed supports with hinges to create a raised shelf to mount the interface cards to. This way I can swing the shelf up and out of the way when I need to work on components underneath, but it keeps everything nice and compact.
There are so many ways to skin this cat that I’m sure there are better ways. Unless you’re mounting all the components to circuit boards, I think they’ll all have their challenges with the amount of wiring you’re dealing with.
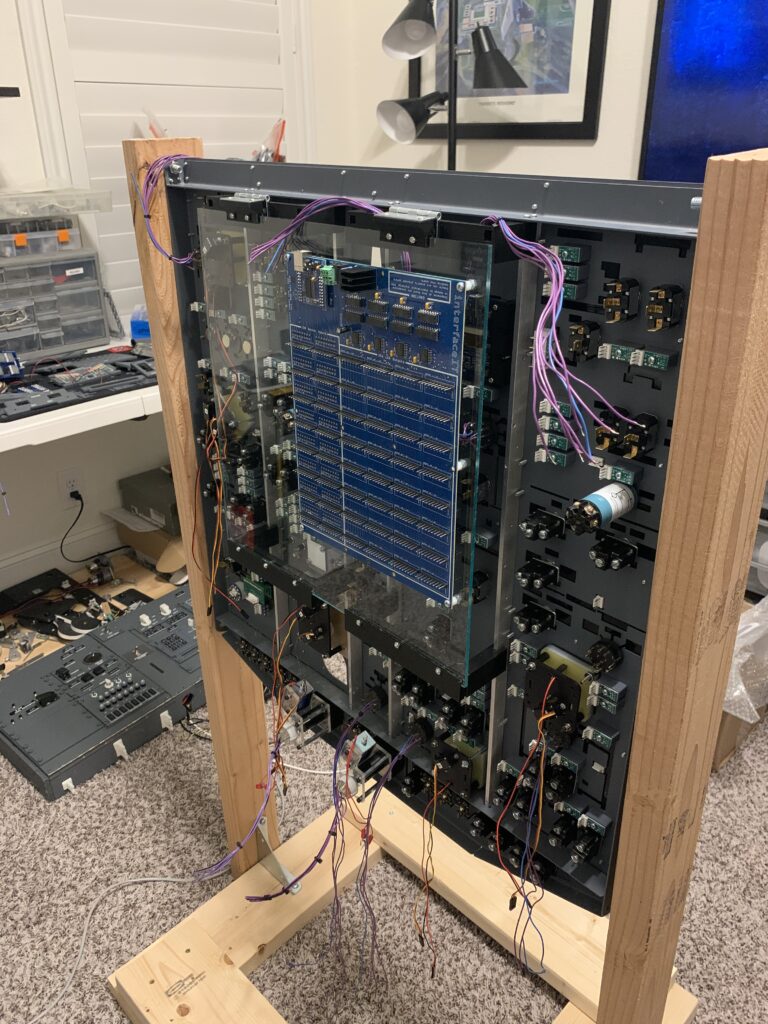
Plexiglass “shelf” for the cards. Note the hinges at the top for a swing-up design so I can access components underneath. Magnetic fasteners on the bottom to keep it closed. 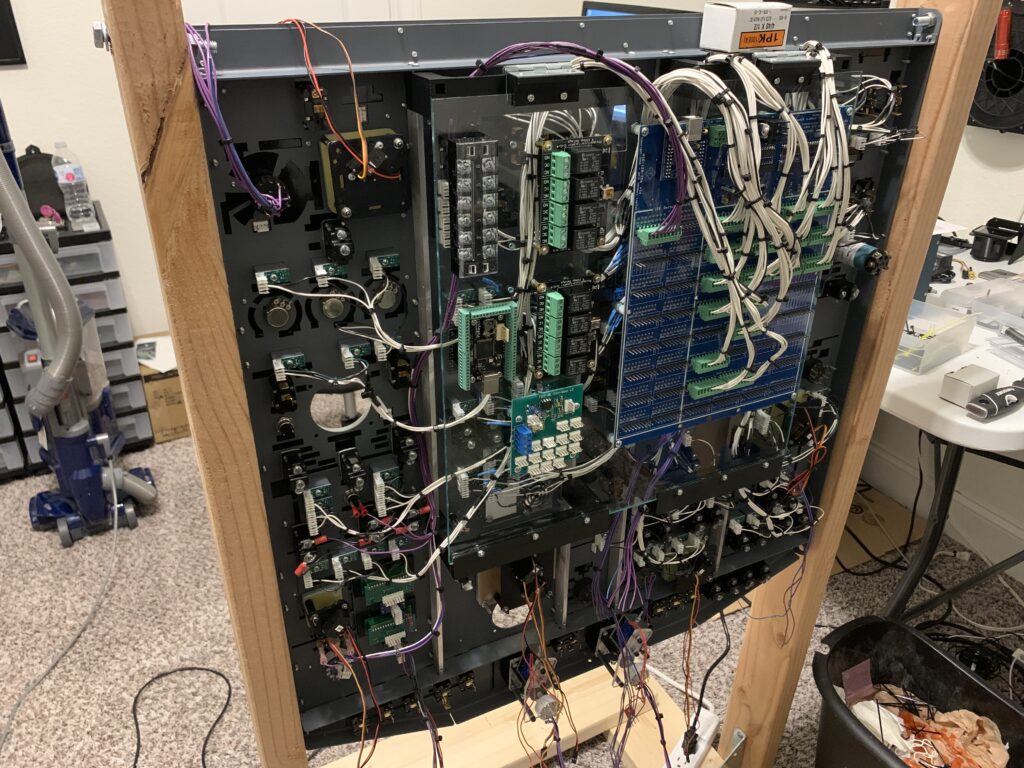
More electronics mounted to the “shelf”


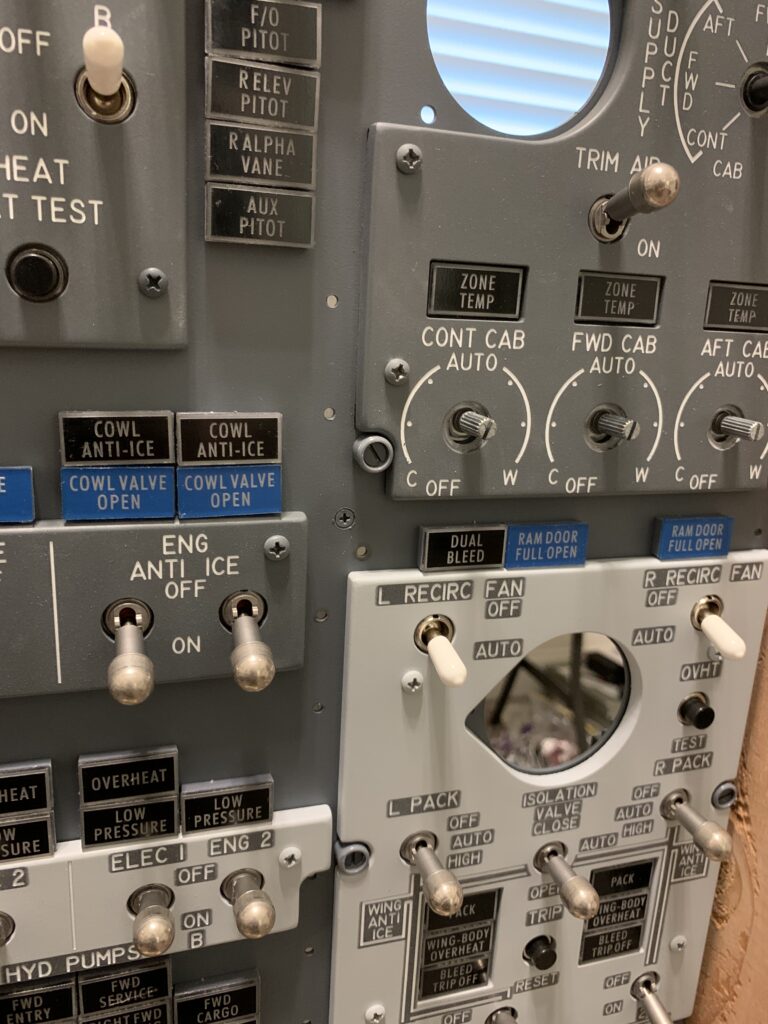
New Magnetic Toggles
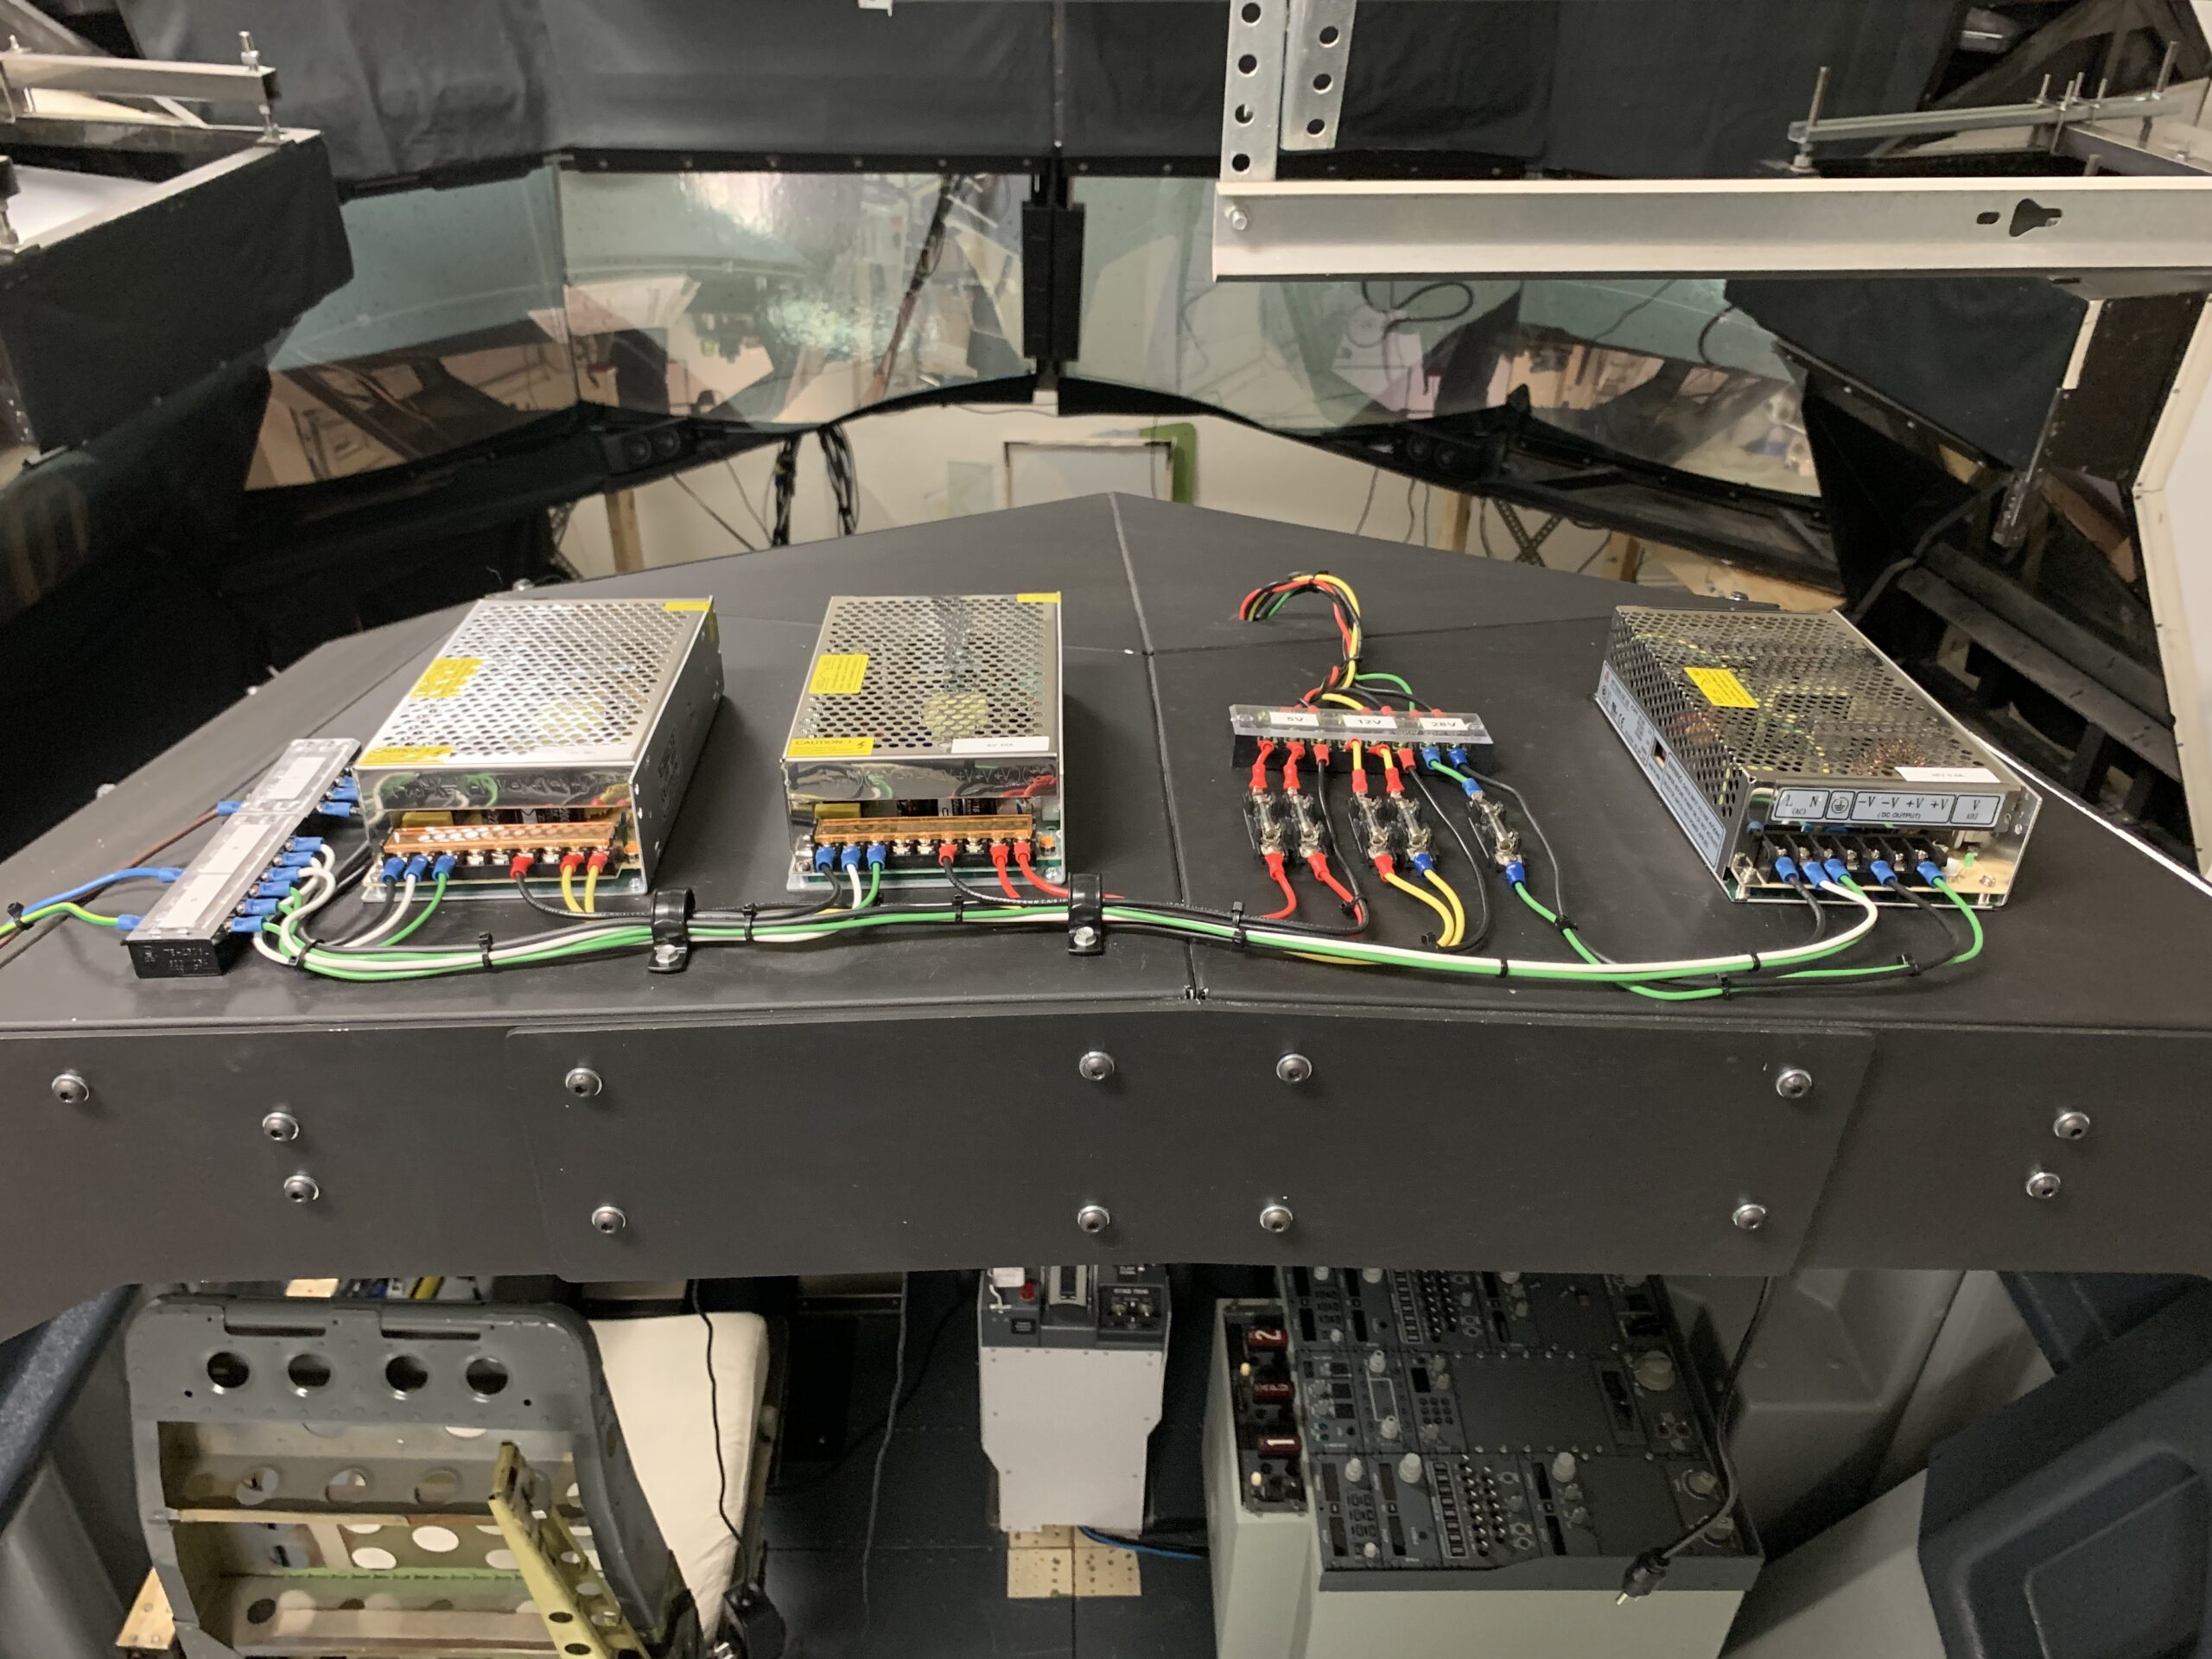
This time around I also decided to add in magnetic toggle switches for the yaw damper and anti-ice switches. I did some research and sourced some really good condition used OEM Honeywell magnetic toggles on eBay (model 25ET61-S). They run on 28 volts, which meant I needed to add a 28V power supply for just those two switches. No problem though. See images below.
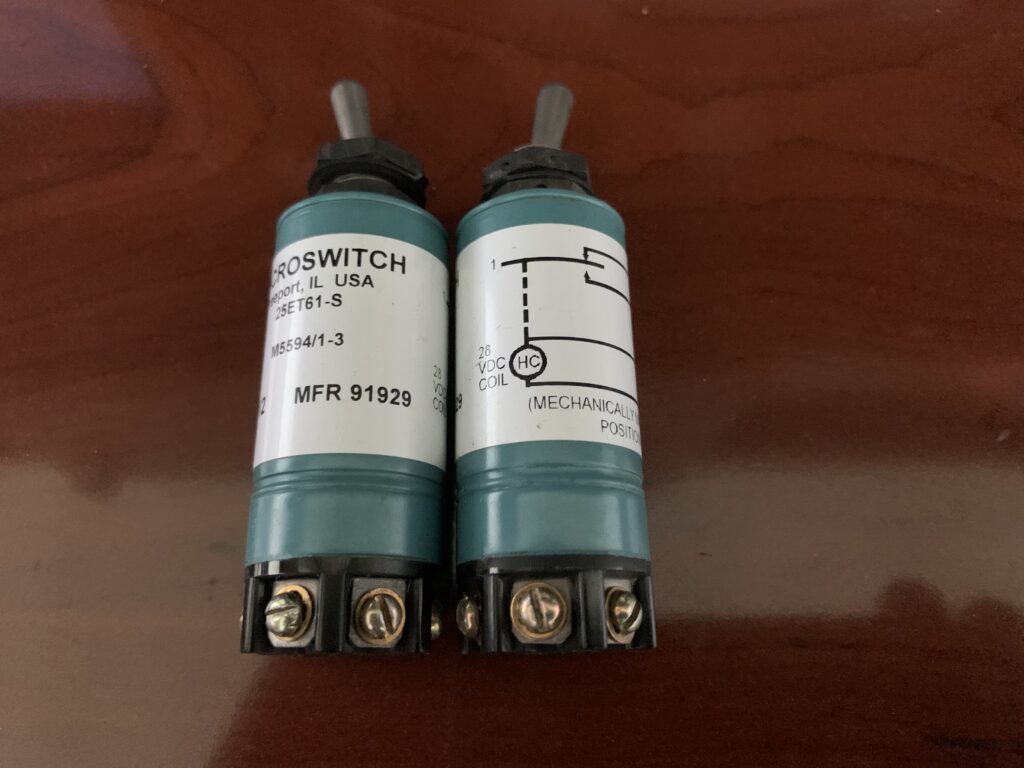
Honeywell 25ET61-S Magnetic Toggle Switches for yaw damper and anti-ice 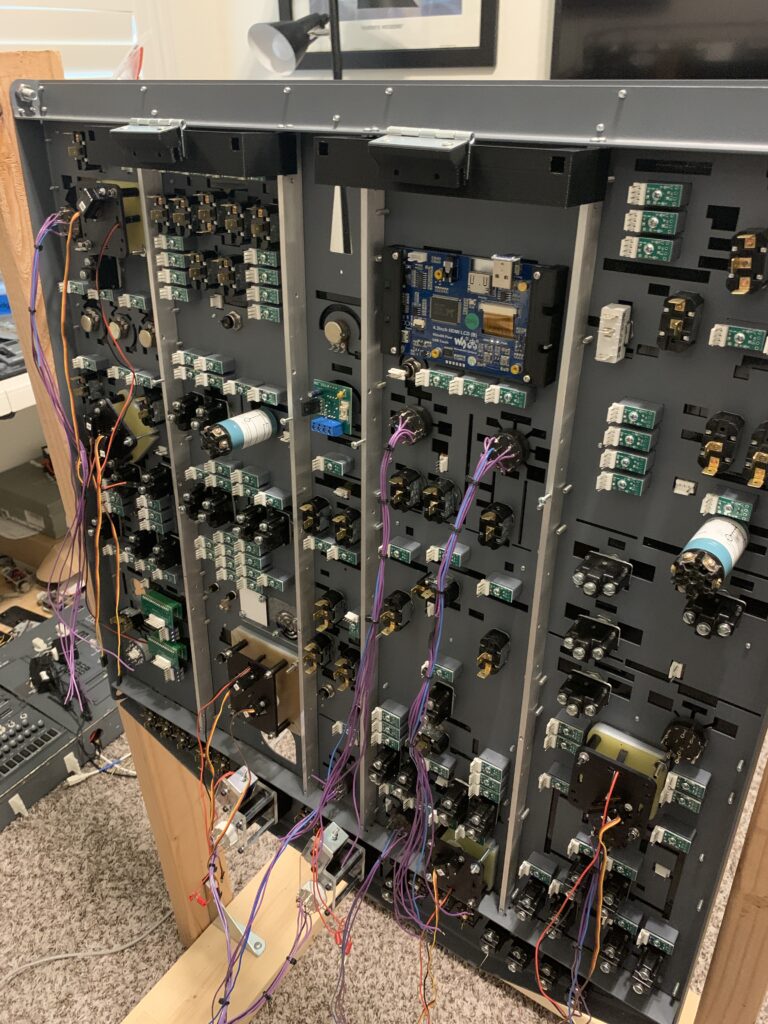
You can see the two magnetic switches mounted in their places in the FWD overhead frame. 
5V, 12V, and 28V power supplies to power the overhead.
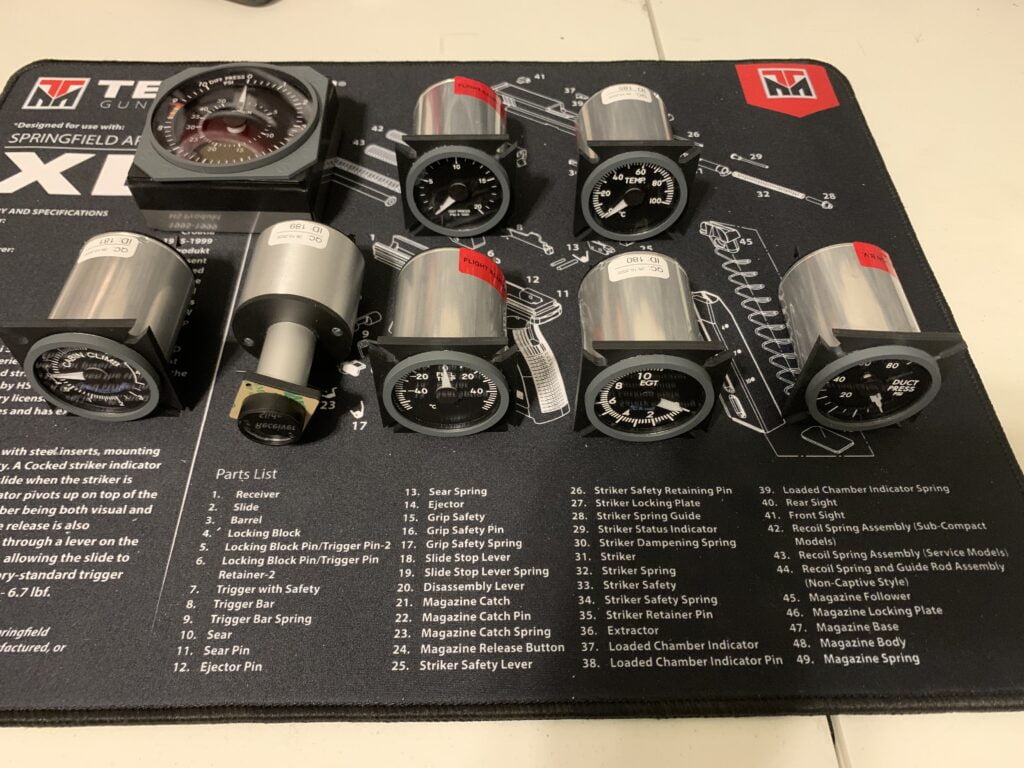
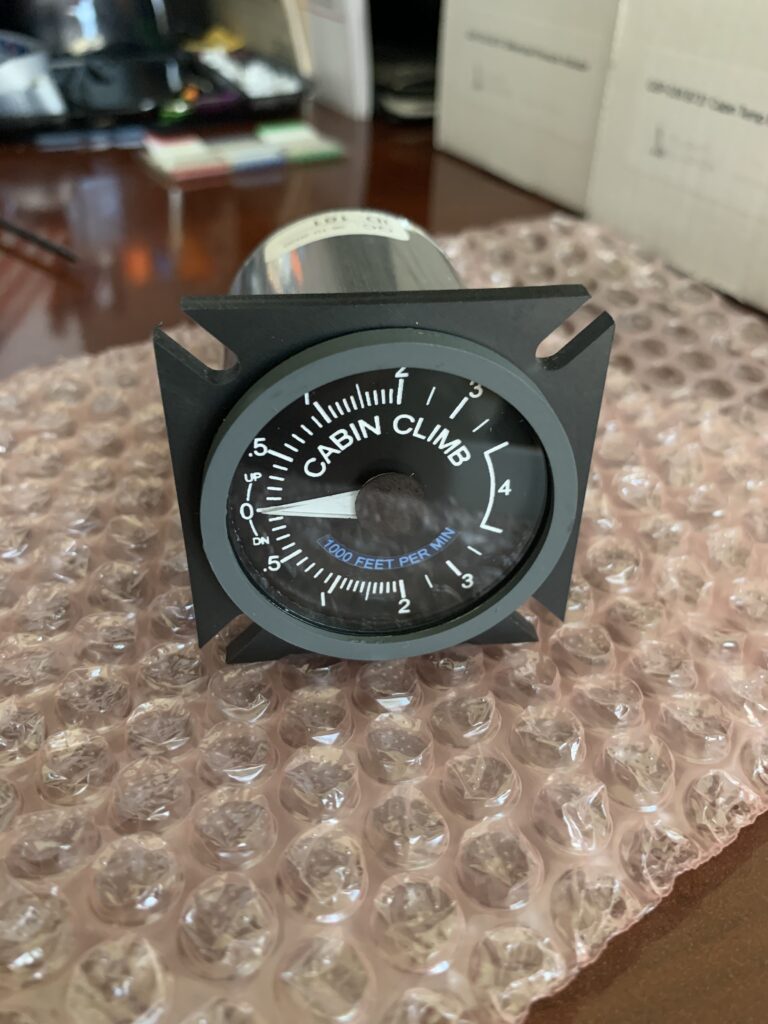
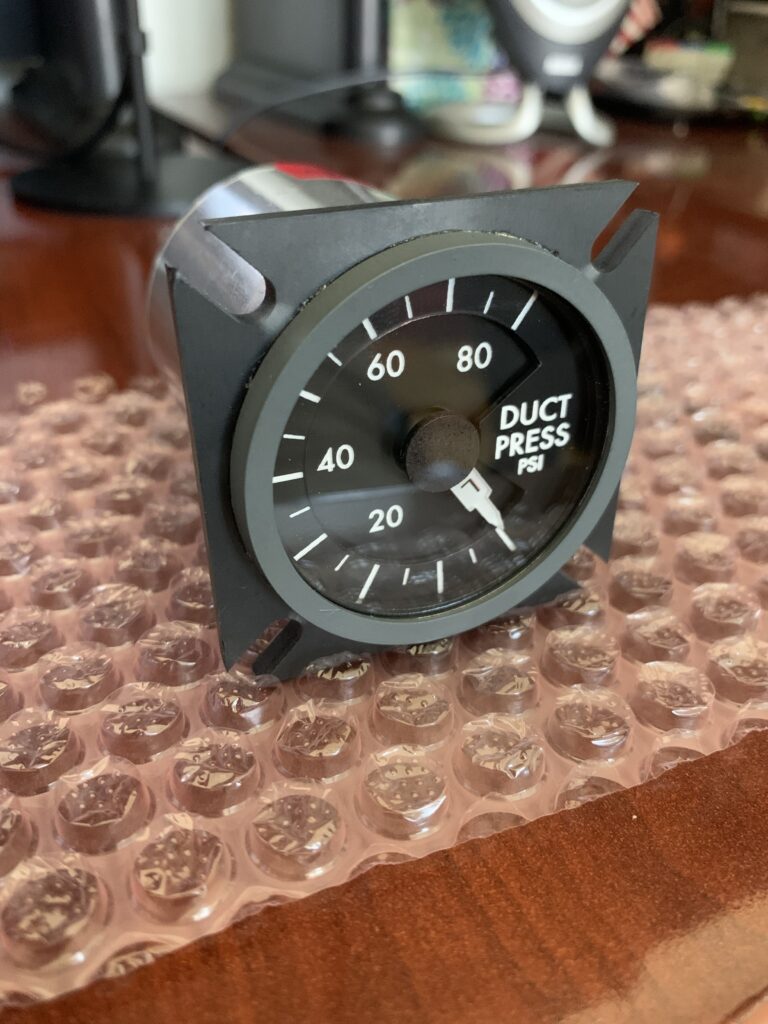
Upgraded FlightIllusion Gauges
I also chose to go with FlightIllusion (FI) PRO gauges this time. I really liked my CustomSimParts gauges, and they served me well. But FlightIllusion gauges are more precise, much quieter, and smoother since they are stepper motor driven. The downside is FI gauges come at a steep price, 5x the cost of the CustomSimParts ones, so they’re not for everyone.
I chose the PRO line, which for some reason isn’t really advertised on their site, because for a slightly increased cost over their standard gauges you get a lot more: enclosed tubular gauge that is back-lit (the regular FI gauges are not back-lit but rather front-lit), glass bezel rather than plastic, and more accurate markings/design compared to their standard line. They’ll also make custom mounts to fit your overhead.
I think you’ll agree, they do look pretty sharp!

Updated ELEC panel
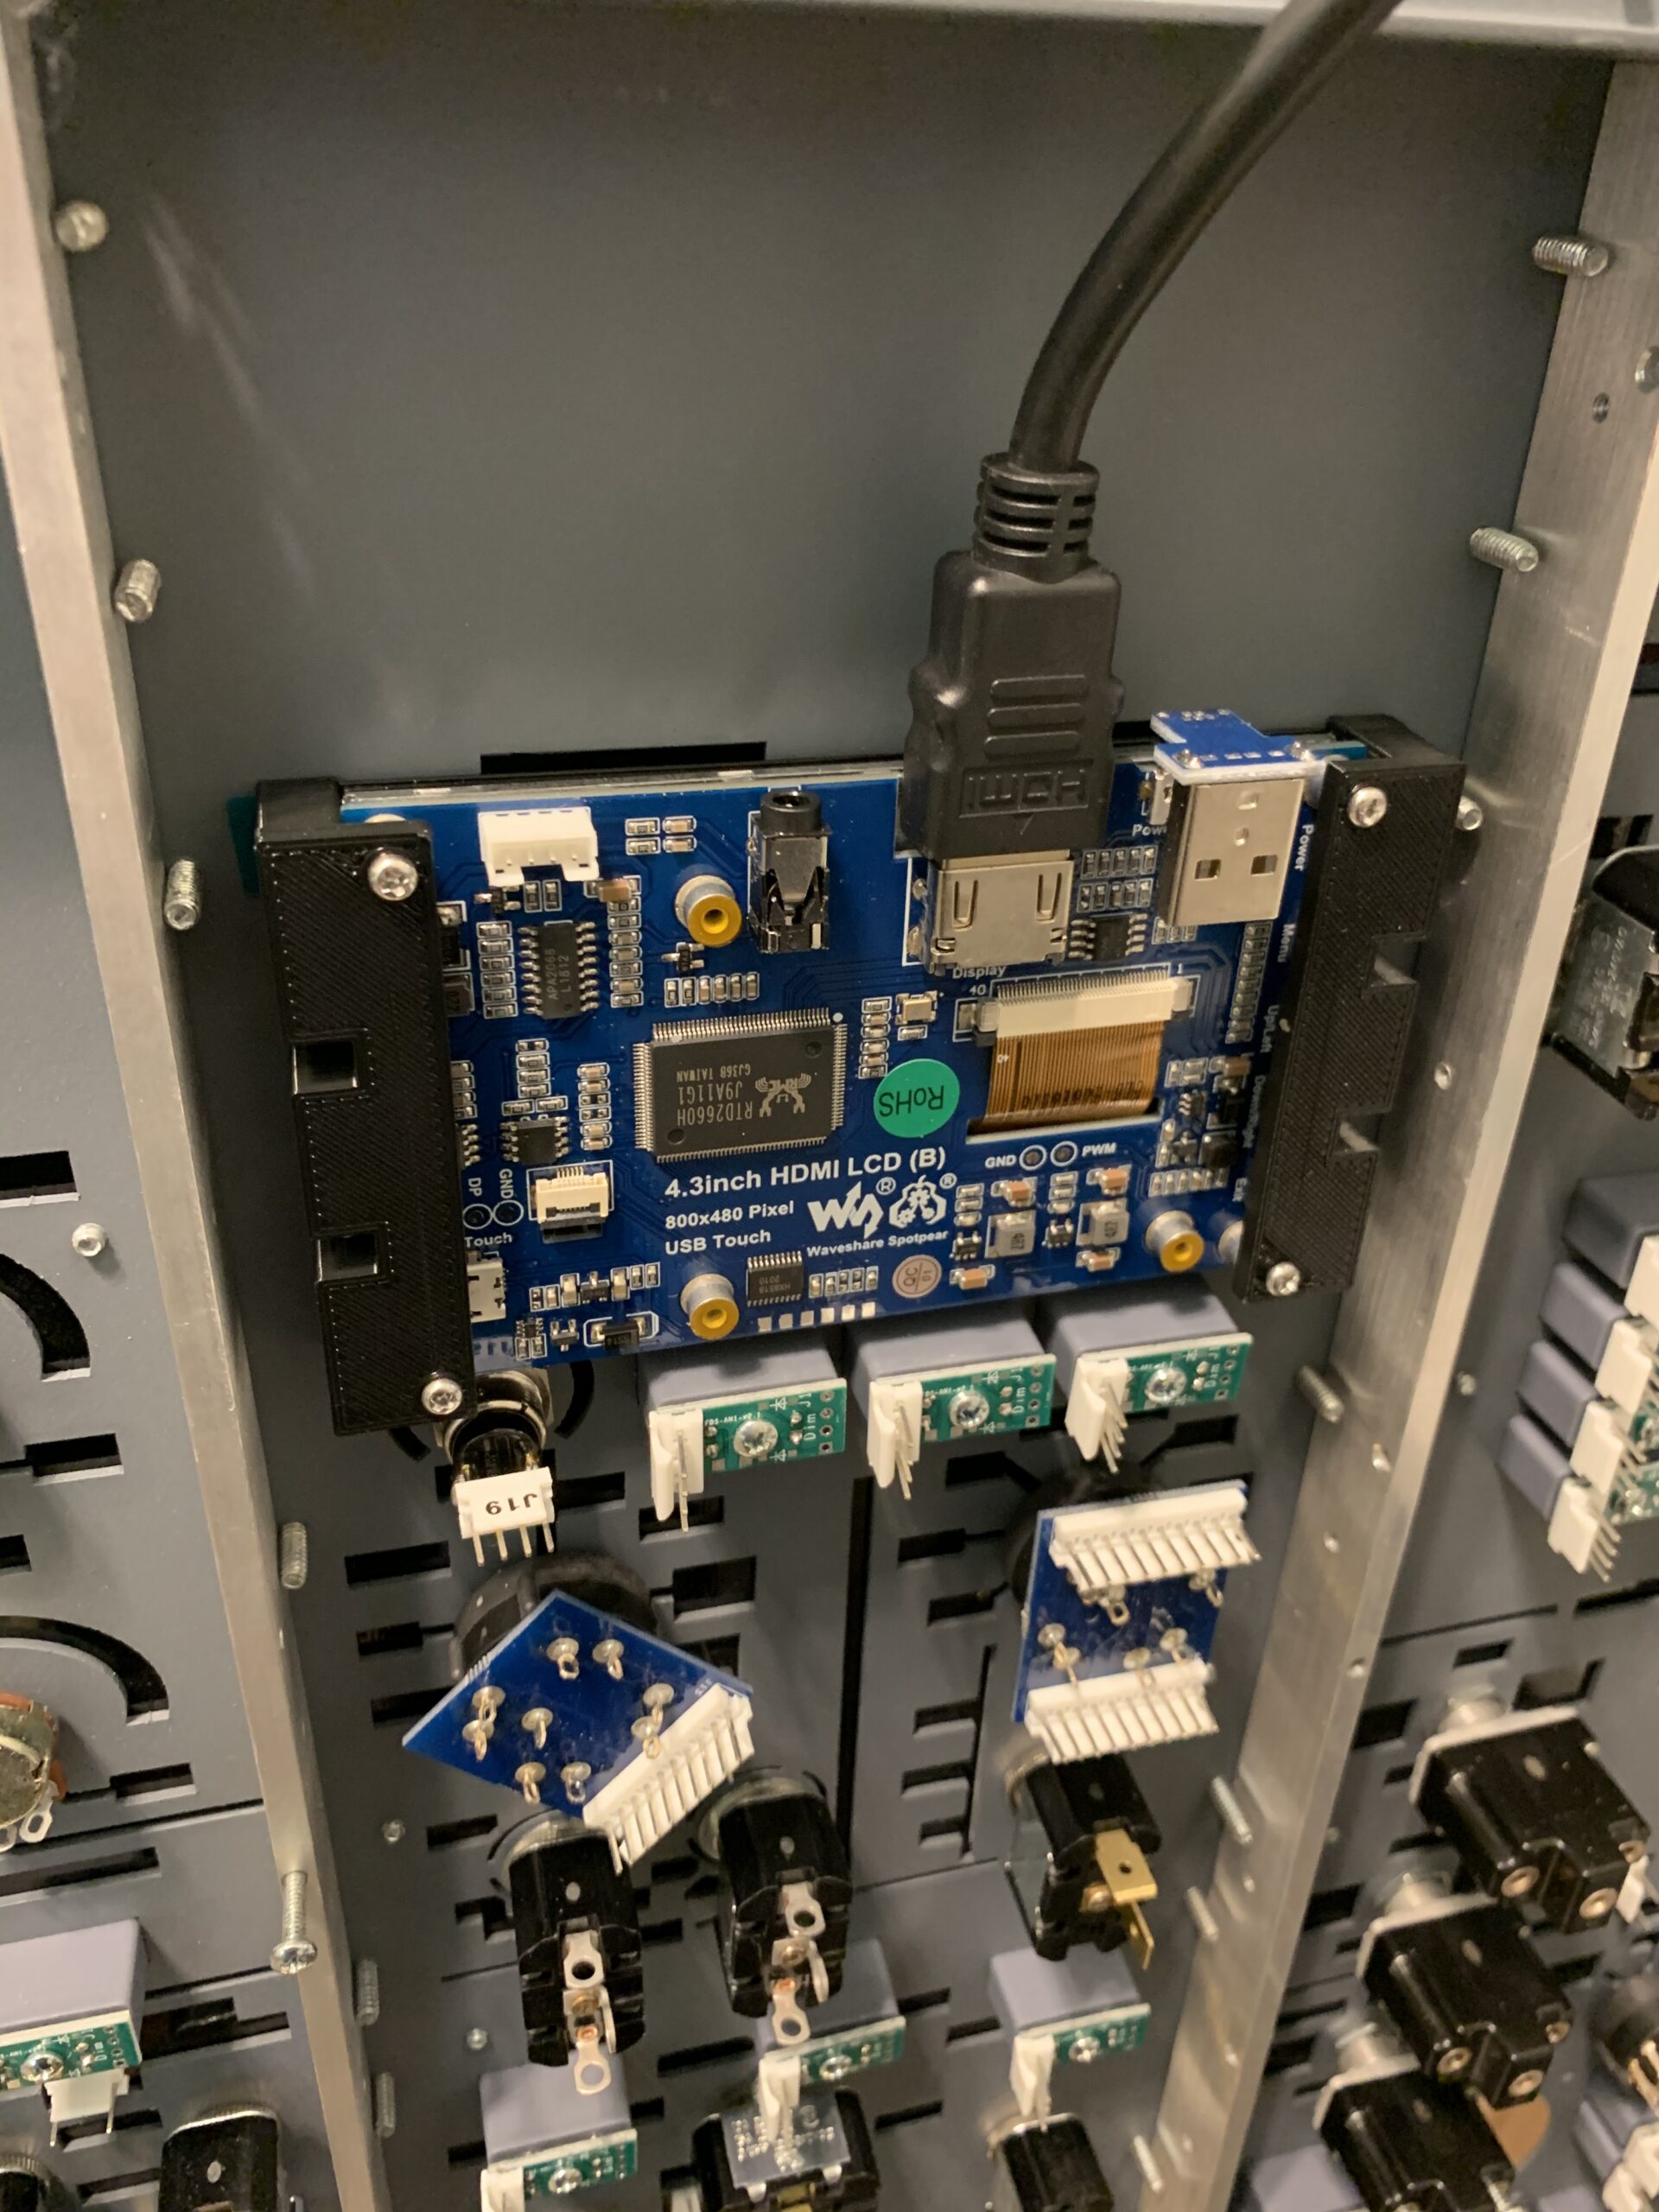
For this new overhead I updated the ELEC panel LCD I’m using to display the digits. In version 1 of my ELEC panel, which was on my old overhead, I used a 5″ LCD I found on eBay which had a separate controller board connected by a long ribbon cable. It worked fine but long ribbon cable and external board created some placement and routing concerns. My latest version, which has the controller board integrated on the back of the LCD (also found on eBay), is a much more compact and a better way to do it. I only had to create a couple of 3D-printed mounts and you can see the end result is neat and works extremely well.
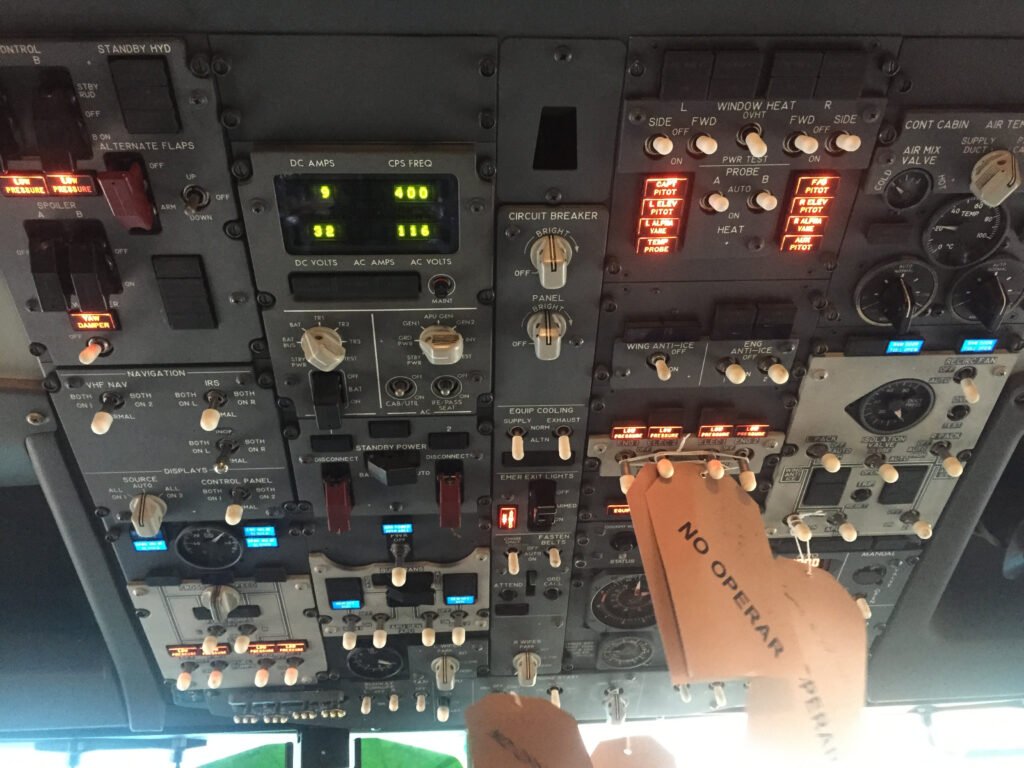
The real ELEC panel 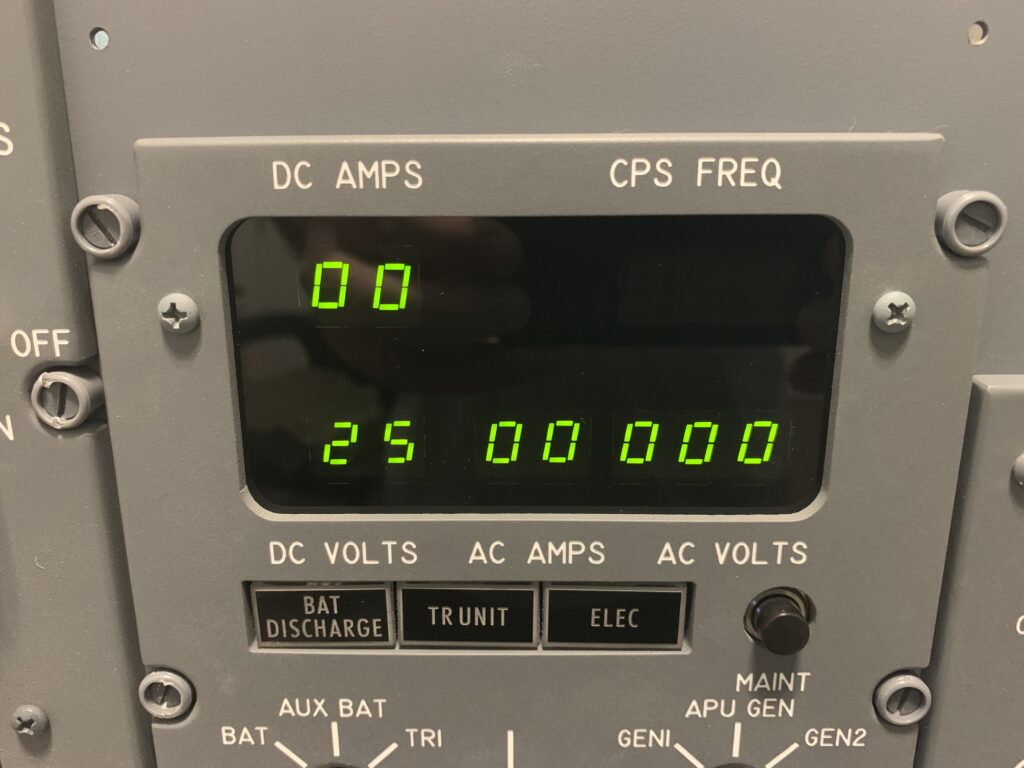
FDS Elec Panel with 7-Segment Displays 
My Version 1 ELEC panel using an LCD display 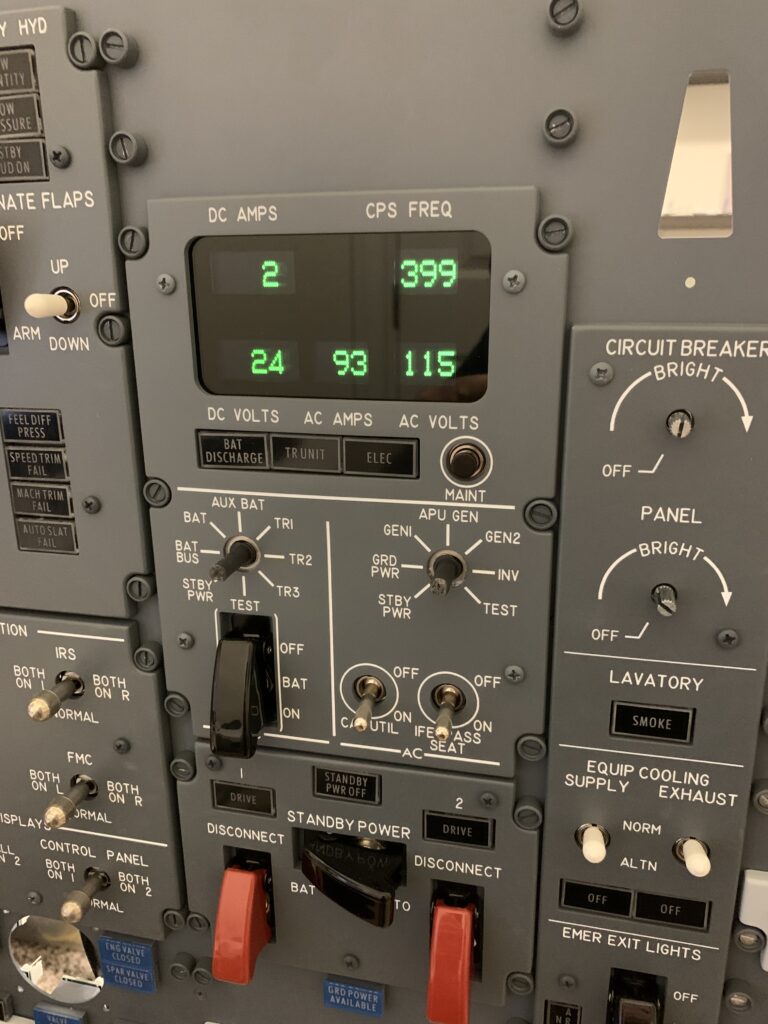
My Version 2 ELEC Panel using an LCD 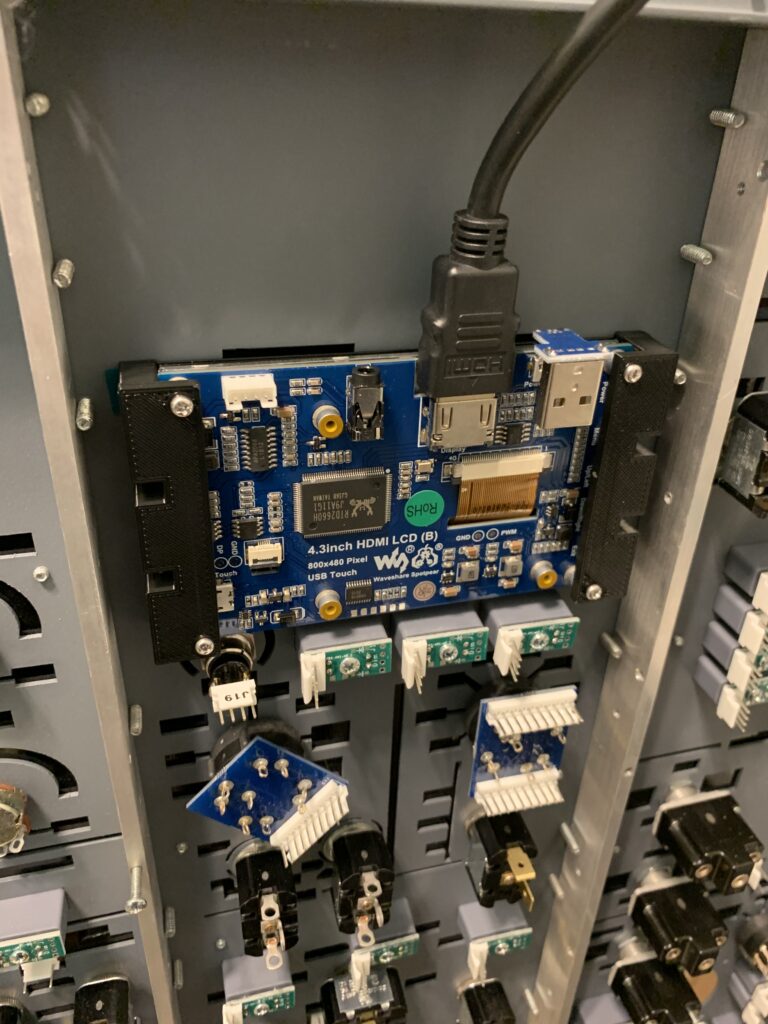
Version 2 ELEC display with custom 3D-printed mounts
FYI, I’m not a fan of using 7-segment displays for the ELEC panels. The real aircraft has dot-matrix-like displays, so even though I got a 7-segment display as part of my overhead kit I chose not to use it. You can see why in the pictures above. It just doesn’t look as good. An LCD is an simpler, more elegant way to get a display that looks much closer to the real thing in my opinion.
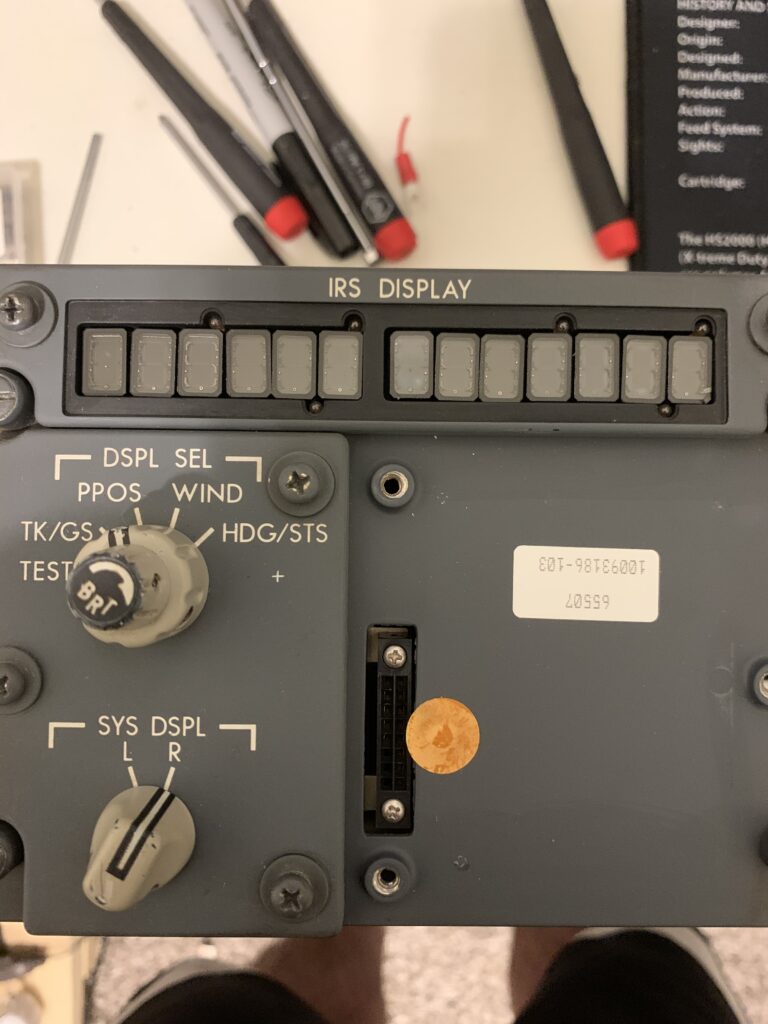
Updated IRS panel
Even though you rarely use the IRS Display panel, I still wanted it to be fully functional and have a working back-lit keypad with light-up ENT and CLR keys. I had originally planned to use a real 737 IRS module I bought used a while back, interfaced with CockpitConcept ARINC boards and Cannon plugs, until i found out it was too tall to put in the overhead. And, unfortunately, no one I could find sells a fully functional, back-lit keypad.
Since I couldn’t get the real IRS Display panel to I decided to stick with the panels that came with the overhead kit instead. I found I could take the keypad off the real IRS module quite easily and after a little research I was able to convert it for sim use pretty easily with a Pokeys 57 card using a switch matrix. The back-lighting is 5V so I tied that into the FDS back-lighting dimmer card, and I tied the ENT/CLR button lights to a Phidgets relay card. The end result is everything works as it should!
The next issue was the display. I couldn’t make use of the OEM display (I didn’t try because it looked too complicated) so I decided to use a 5″ LCD in its place. That worked out fairly well, other than the LCD display sits a bit too far back from the bezel glass. I figured it’s good enough for now. I also created a custom Font set to match the real aircraft display fonts and used a program developed by Trygve Nodop-Schreiber called Prosim737_IRS_Panel_TNS to connect to Prosim and display the IRS data on the LCD.
The final result is quite good. Now I need to create some custom knobs to match the real one (the OEMs don’t fit the shaft size properly without drilling them out).
I removed the keypad off the OEM unit 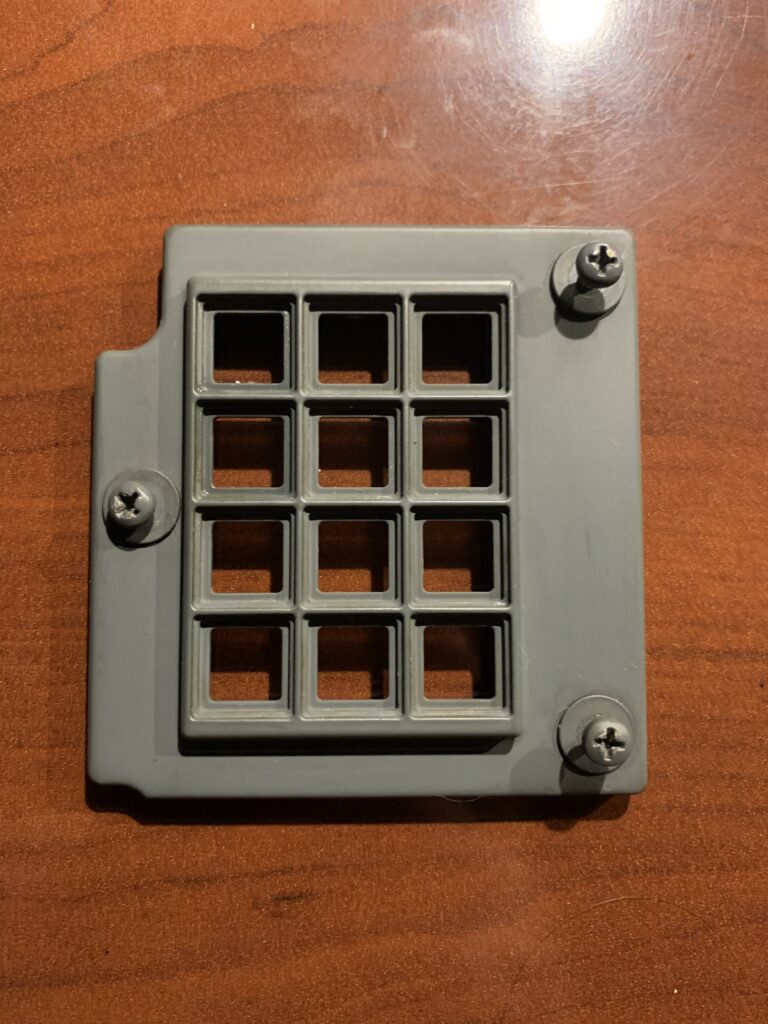
I repainted the OEM frame to match the color of the FDS overhead 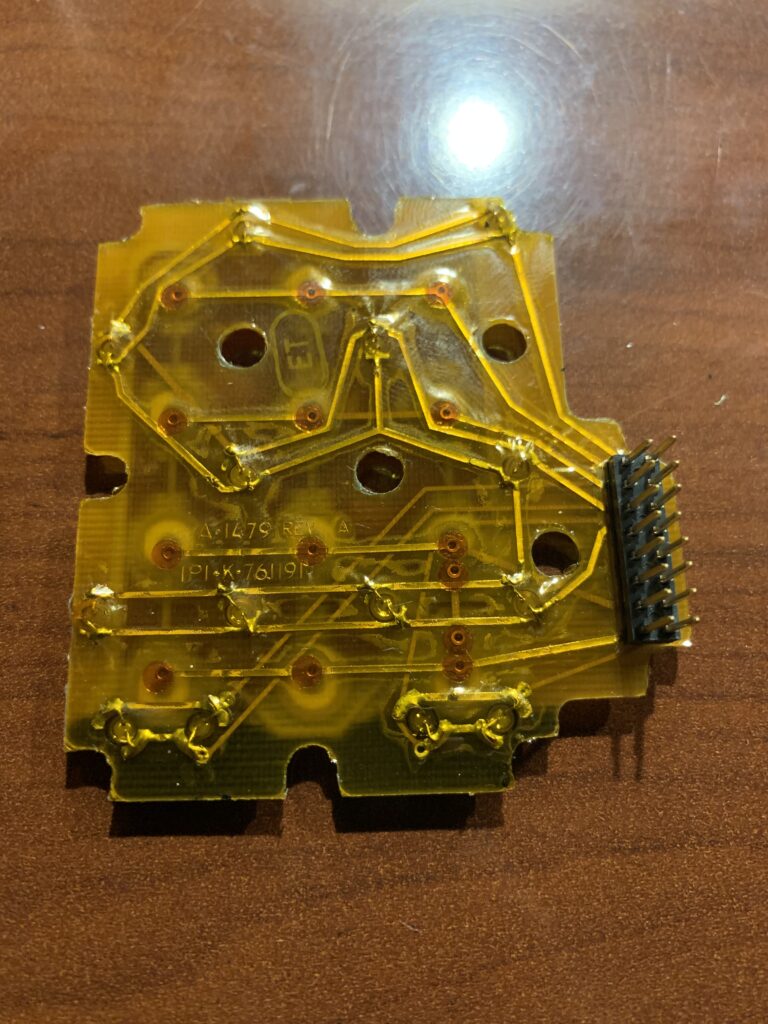
I was able to use the original pinout from the keypad to connect the pins to Pokeys 57 card and get the keypad to work. 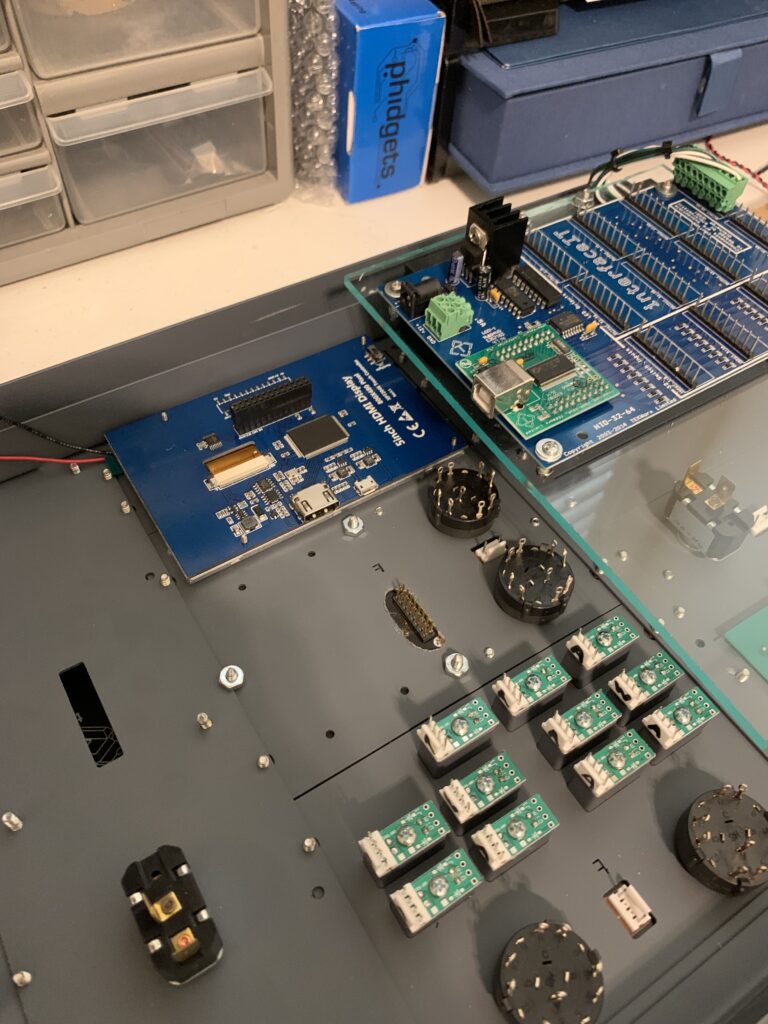
The IRS LCD display. I eventually made 3D-printed mounts for it. Note the pins sticking out the hole I made in the panel for the keypad. 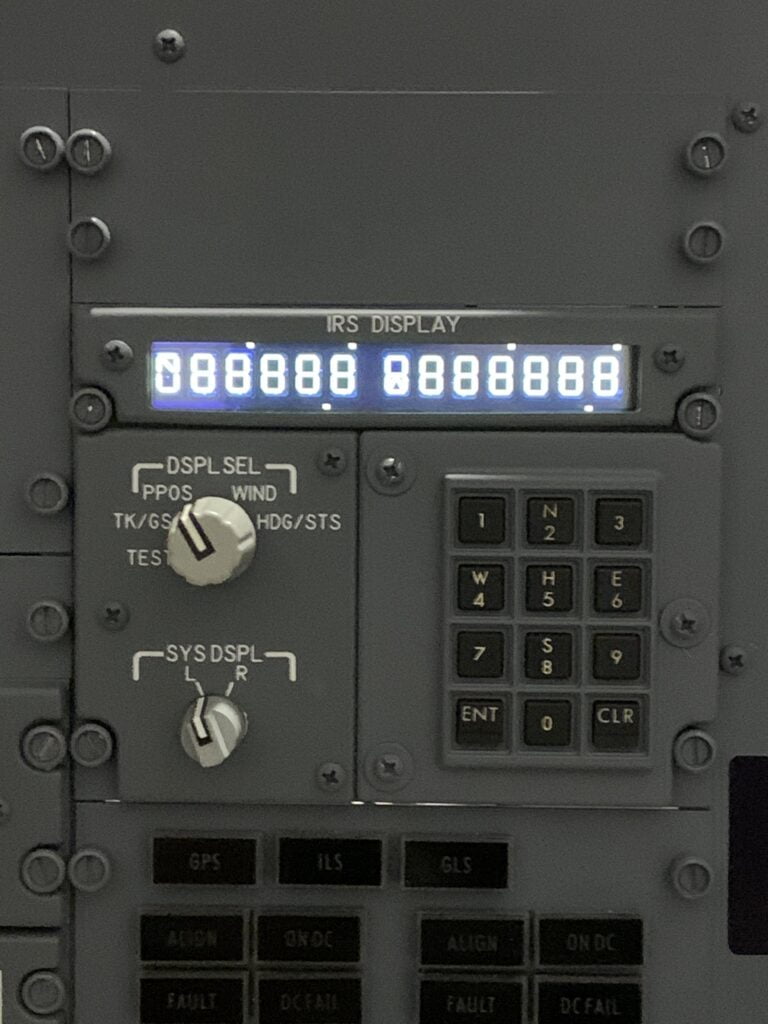
Final results. The OEM keypad looks like it belongs there and all the appropriate back-lighting and ENT/CLR lights work the way they’re supposed to. I just need to create some appropriate knobs.

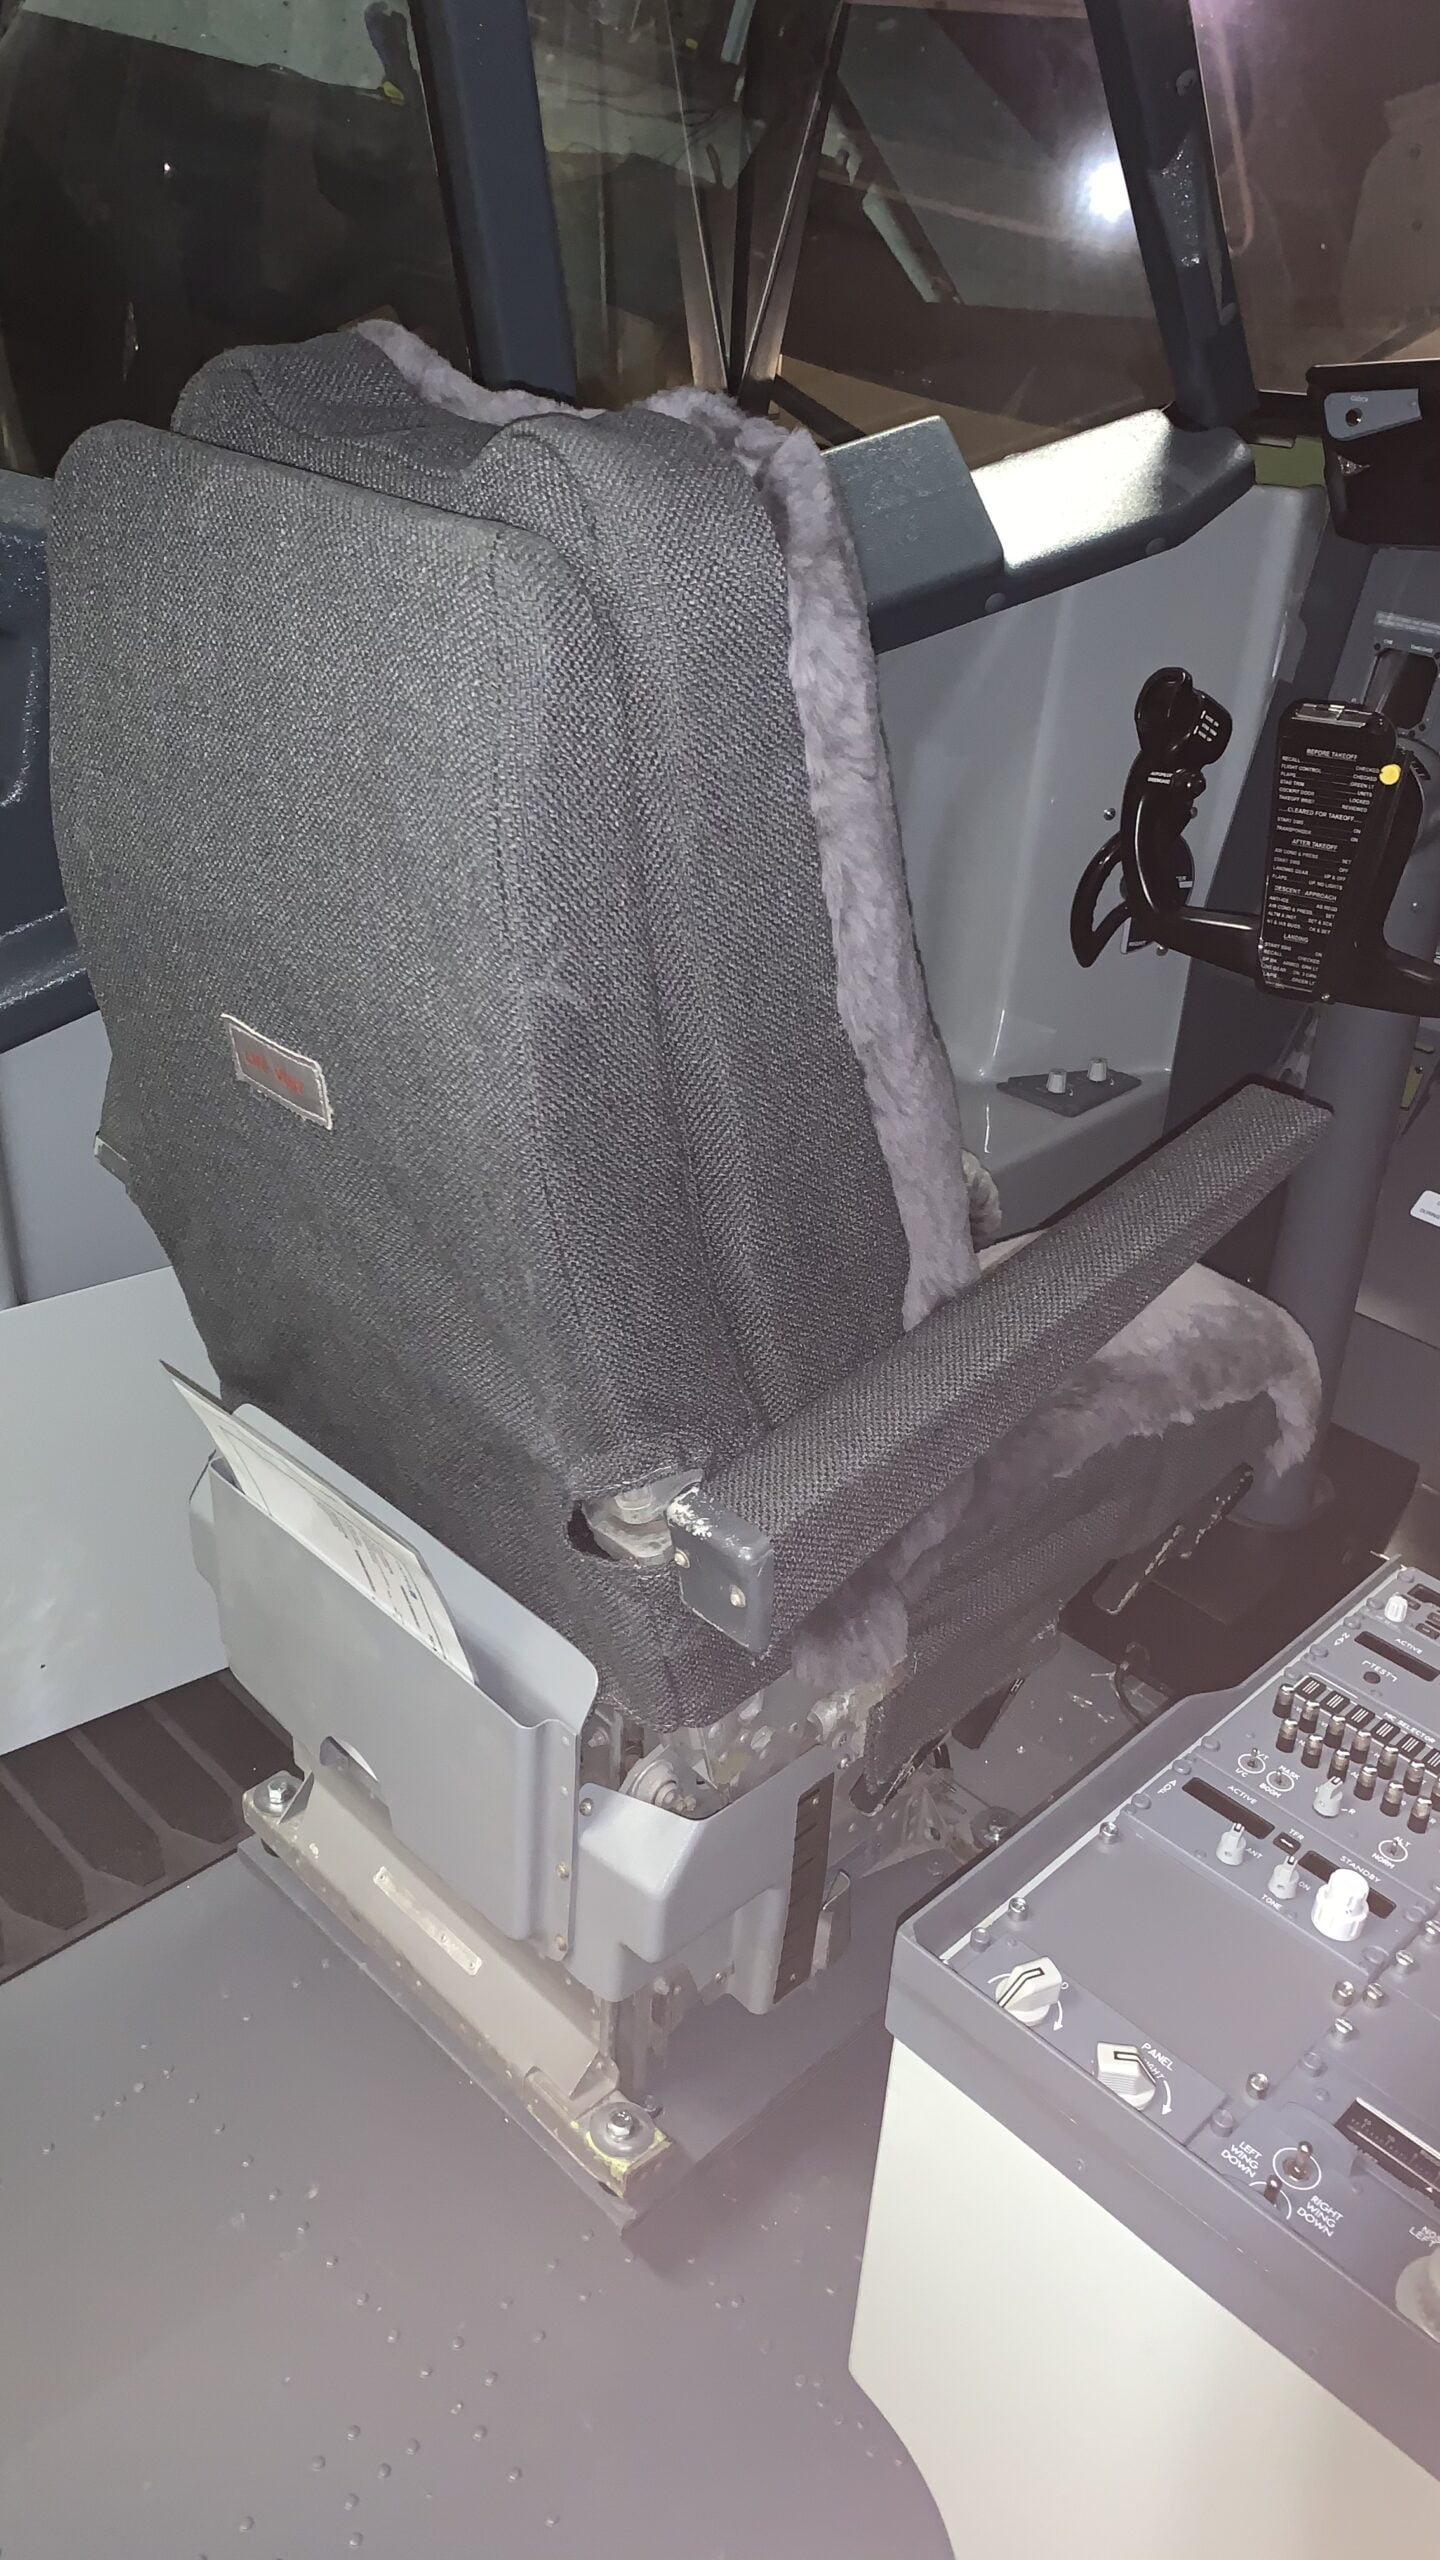
Updated Seat Cushions
After patiently waiting a LONG time, I finally got my seat cushions back from the upholstery shop. The Capt seat is done and looks and feels great. I just need to cut some 4″ foam for the F/O seat base, but the coverings are done. Once that’s done I’ll mount the F/O seat using the car seat rails I discussed in another topic. These are old Weber seats from a 747 so eventually I’ll replace these with the real 737 IPECOs and J-Rails. Not in a rush to do that.
I’m also working on devising some easy-to-reach pull handles to release the seat track rather than having to reach all the way down to grab the standard car seat releases which are low to the floor. More to follow.
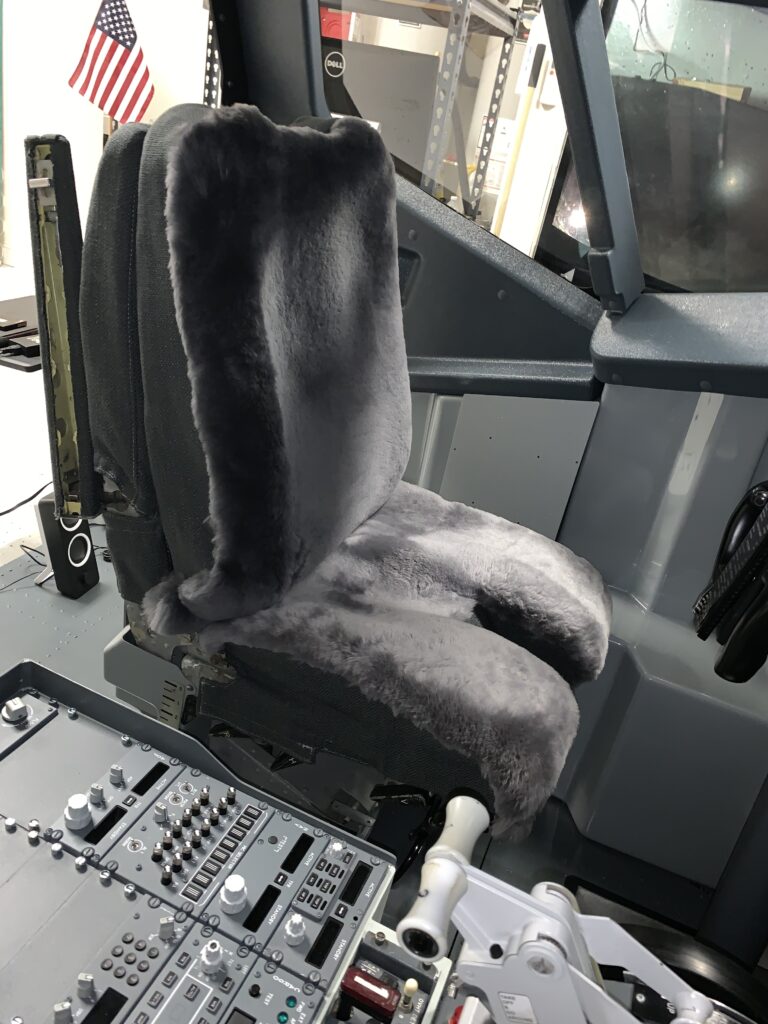
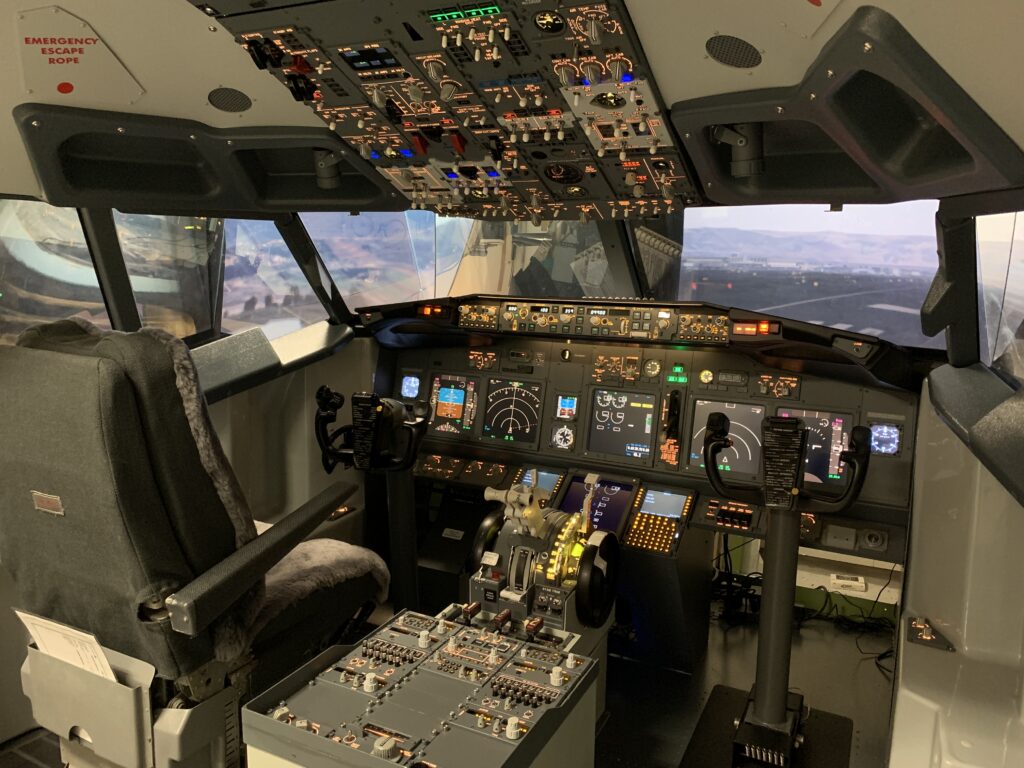
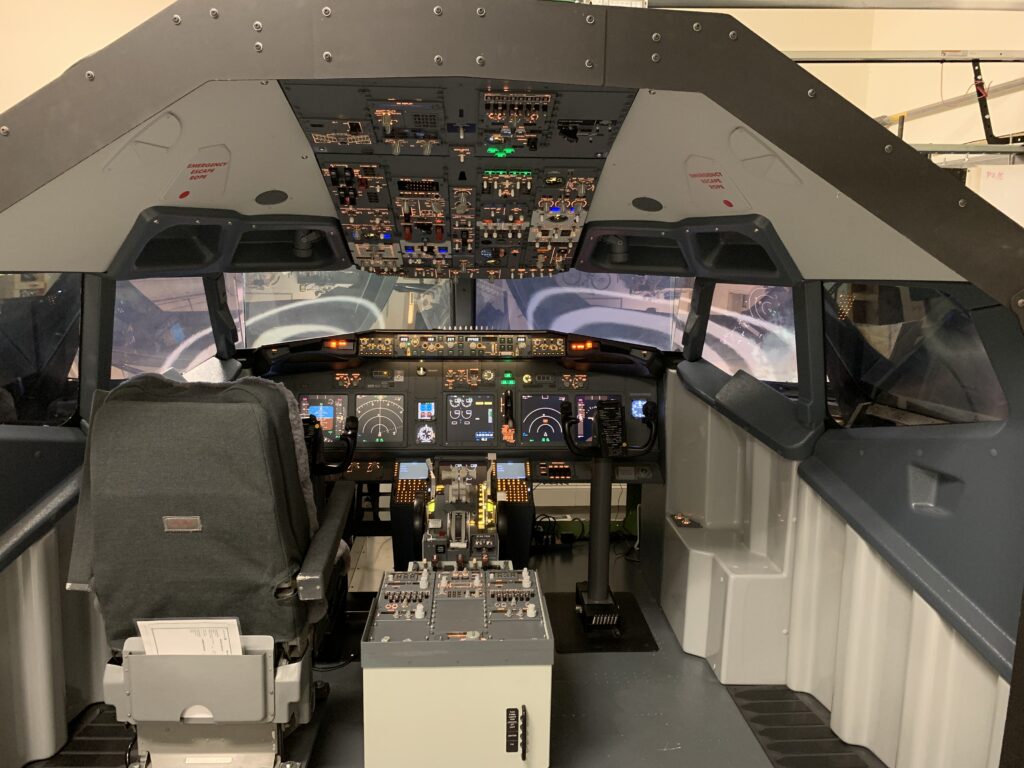
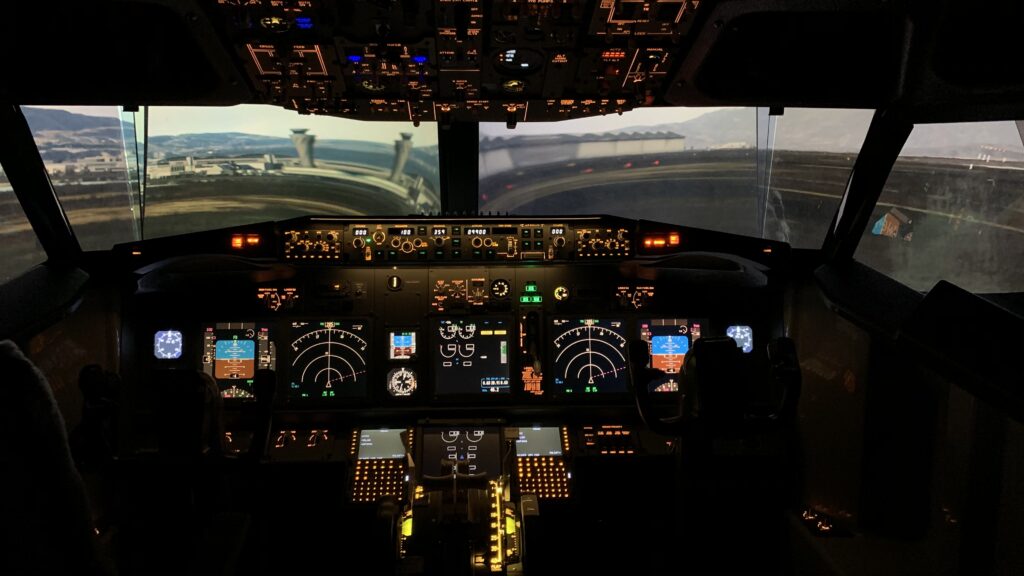
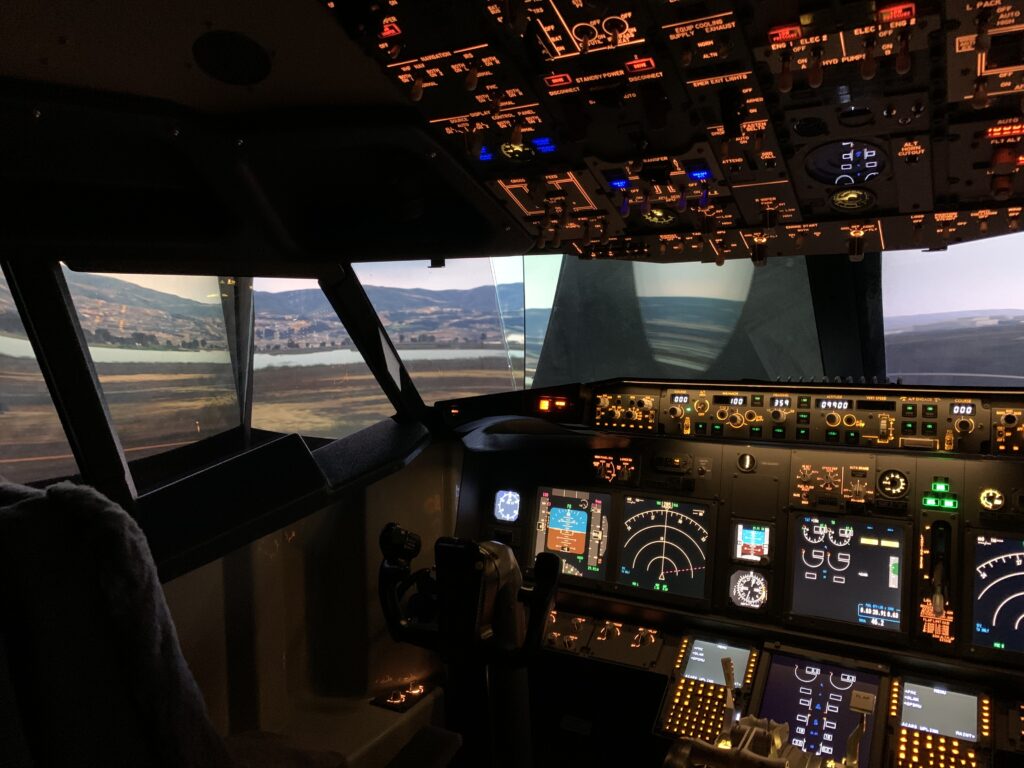
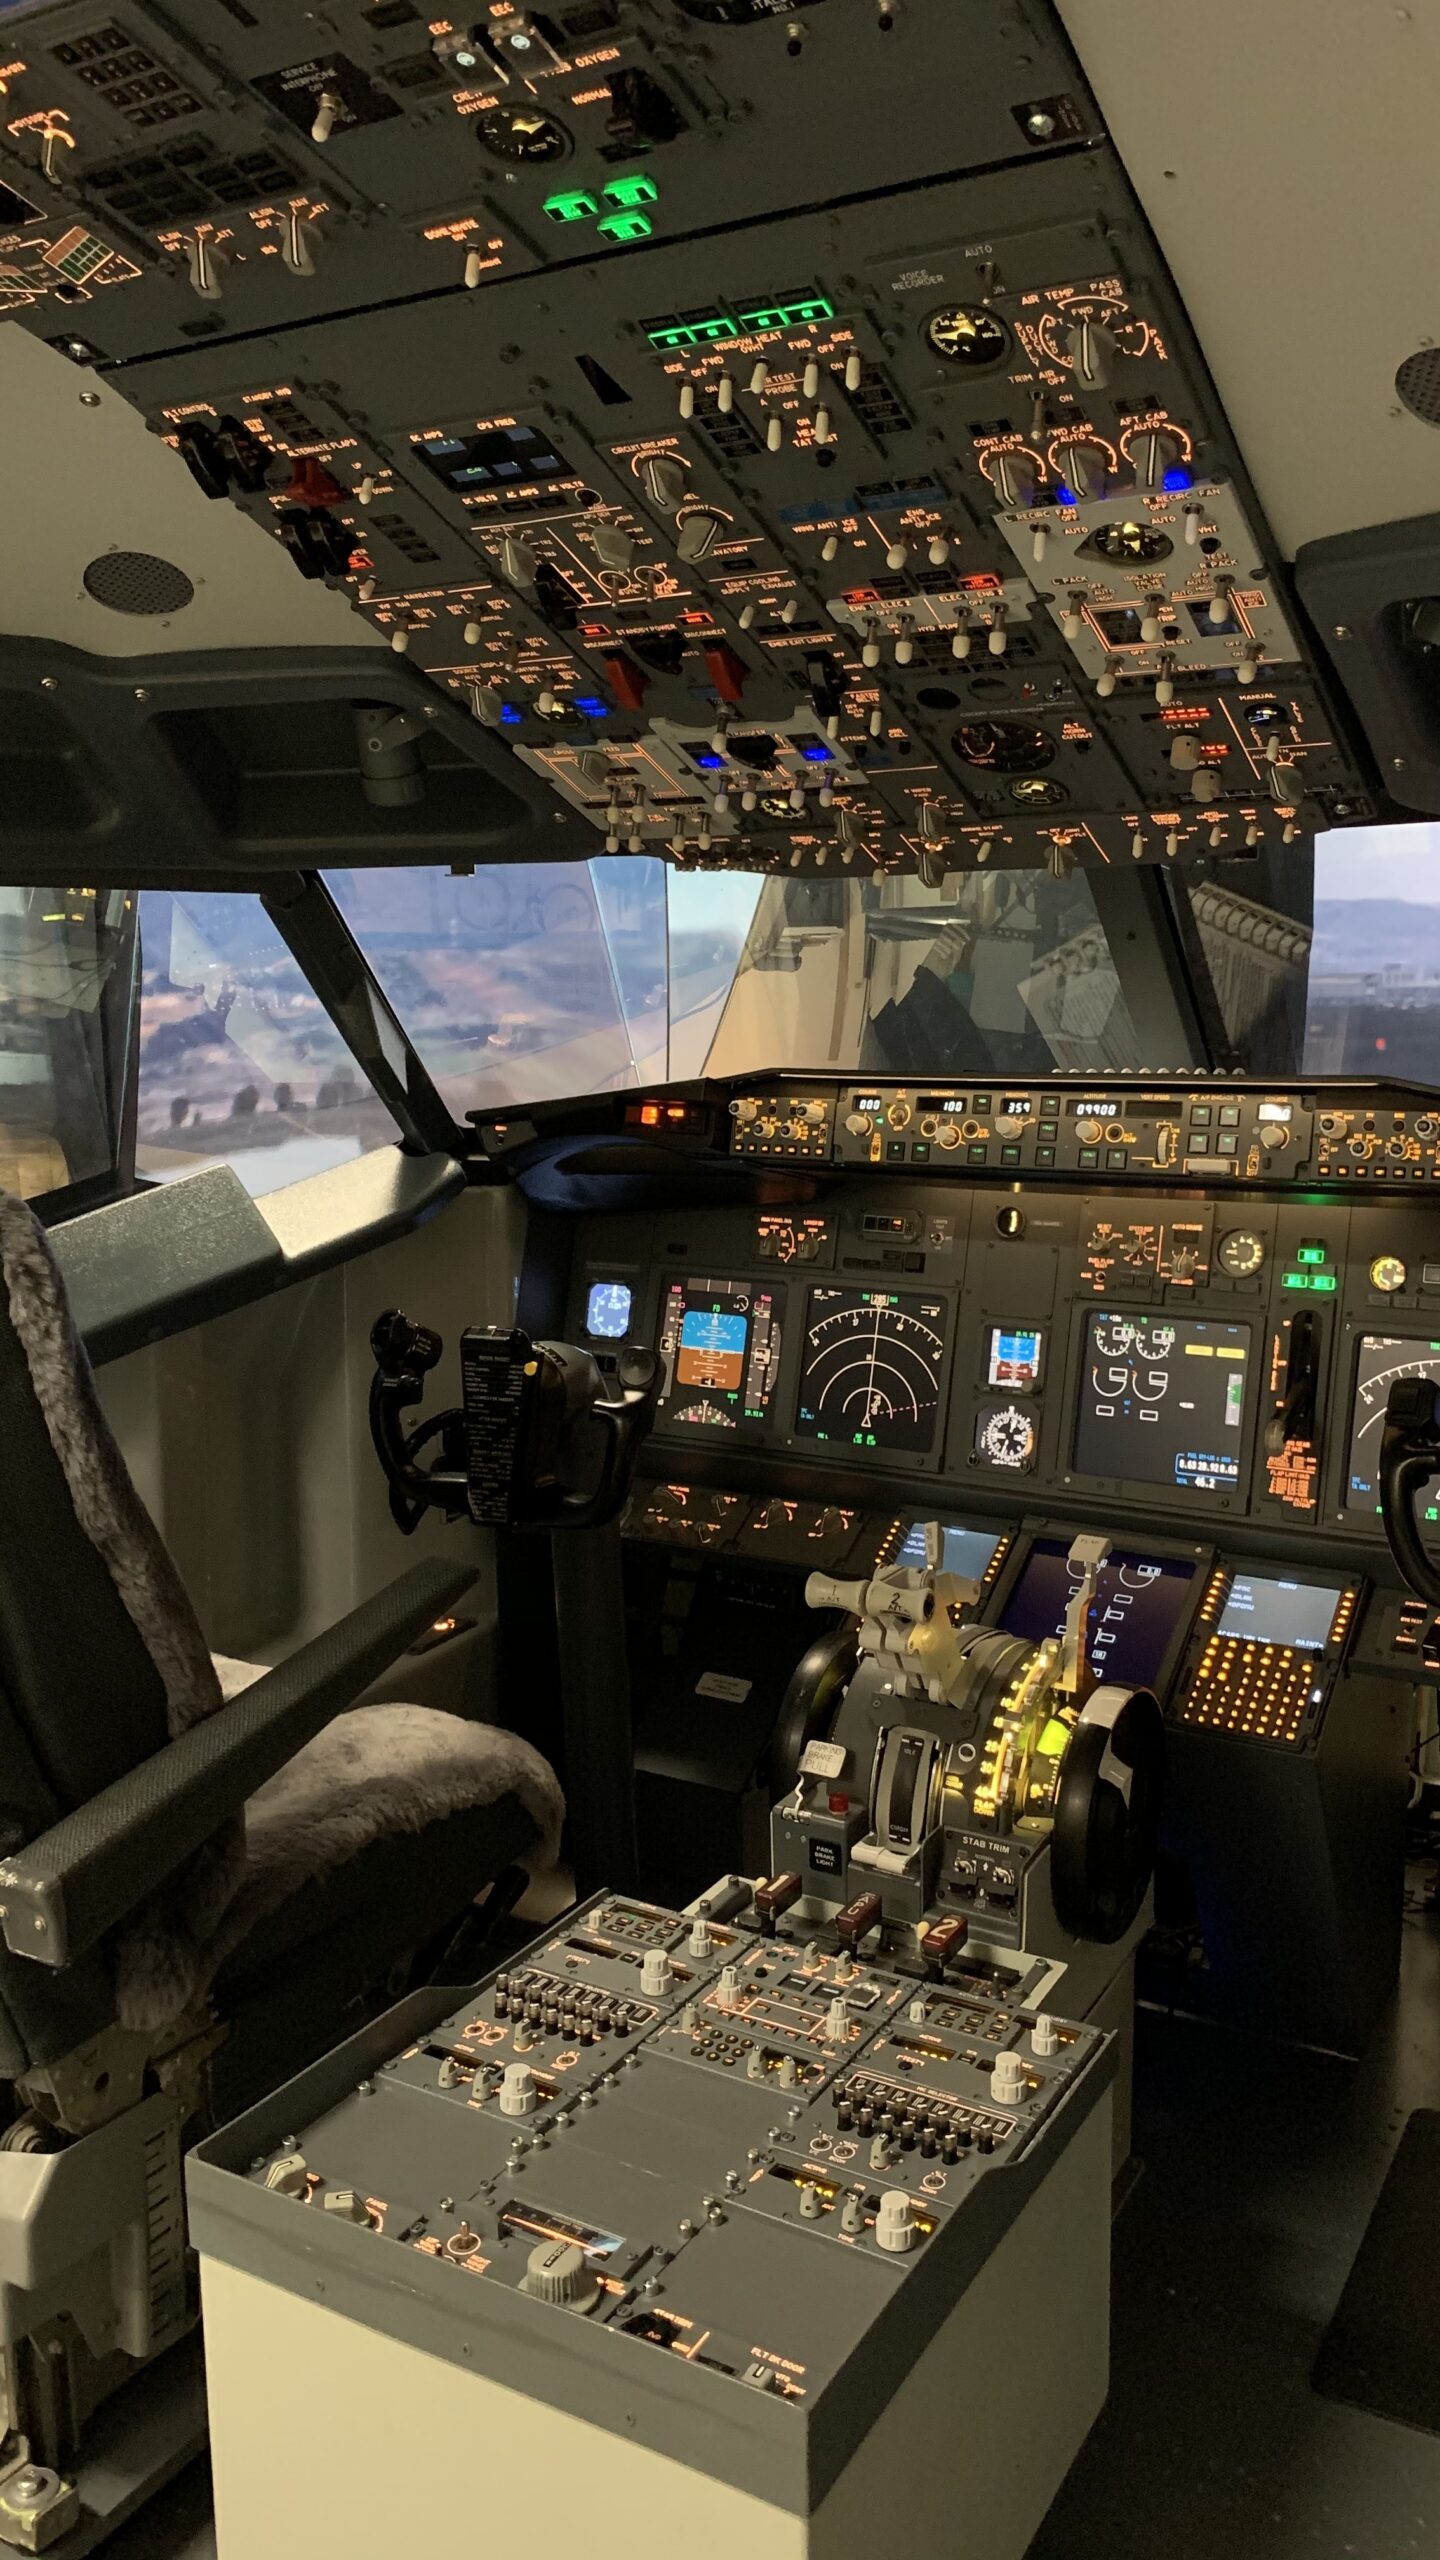
How does it all look now?
So after all that, here’s where we are as of January 2021.
What’s in store for 2021?
I still have a lot planned for 2021. I’m looking for some dual-linked yokes. Right now SimuJabs is looking like the best option for my setup. I still have to get a second set of FSC rudder pedals, and hopefully I can replace my motorized TQ later in the year. I’m hoping to upgrade my video cards to GTX 3090’s if I can ever find some. And I’d also like to add some working air vents as it’s starting to get warm in the cockpit now that I have some plexi windows in. Then lots of little detail work to come like oxygen mask panels, map pocket and cup holders, etc. It’s always a work in progress so keep checking back. I have lots more to post. Just have to find the time.
I wish you all the best of luck with your own simulator projects in 2021. Just remember, it’s a marathon, not a sprint!


Hi, if you mean the two rails that run from front to rear and the cross strut, yes those came…