
Last Updated on September 27, 2019
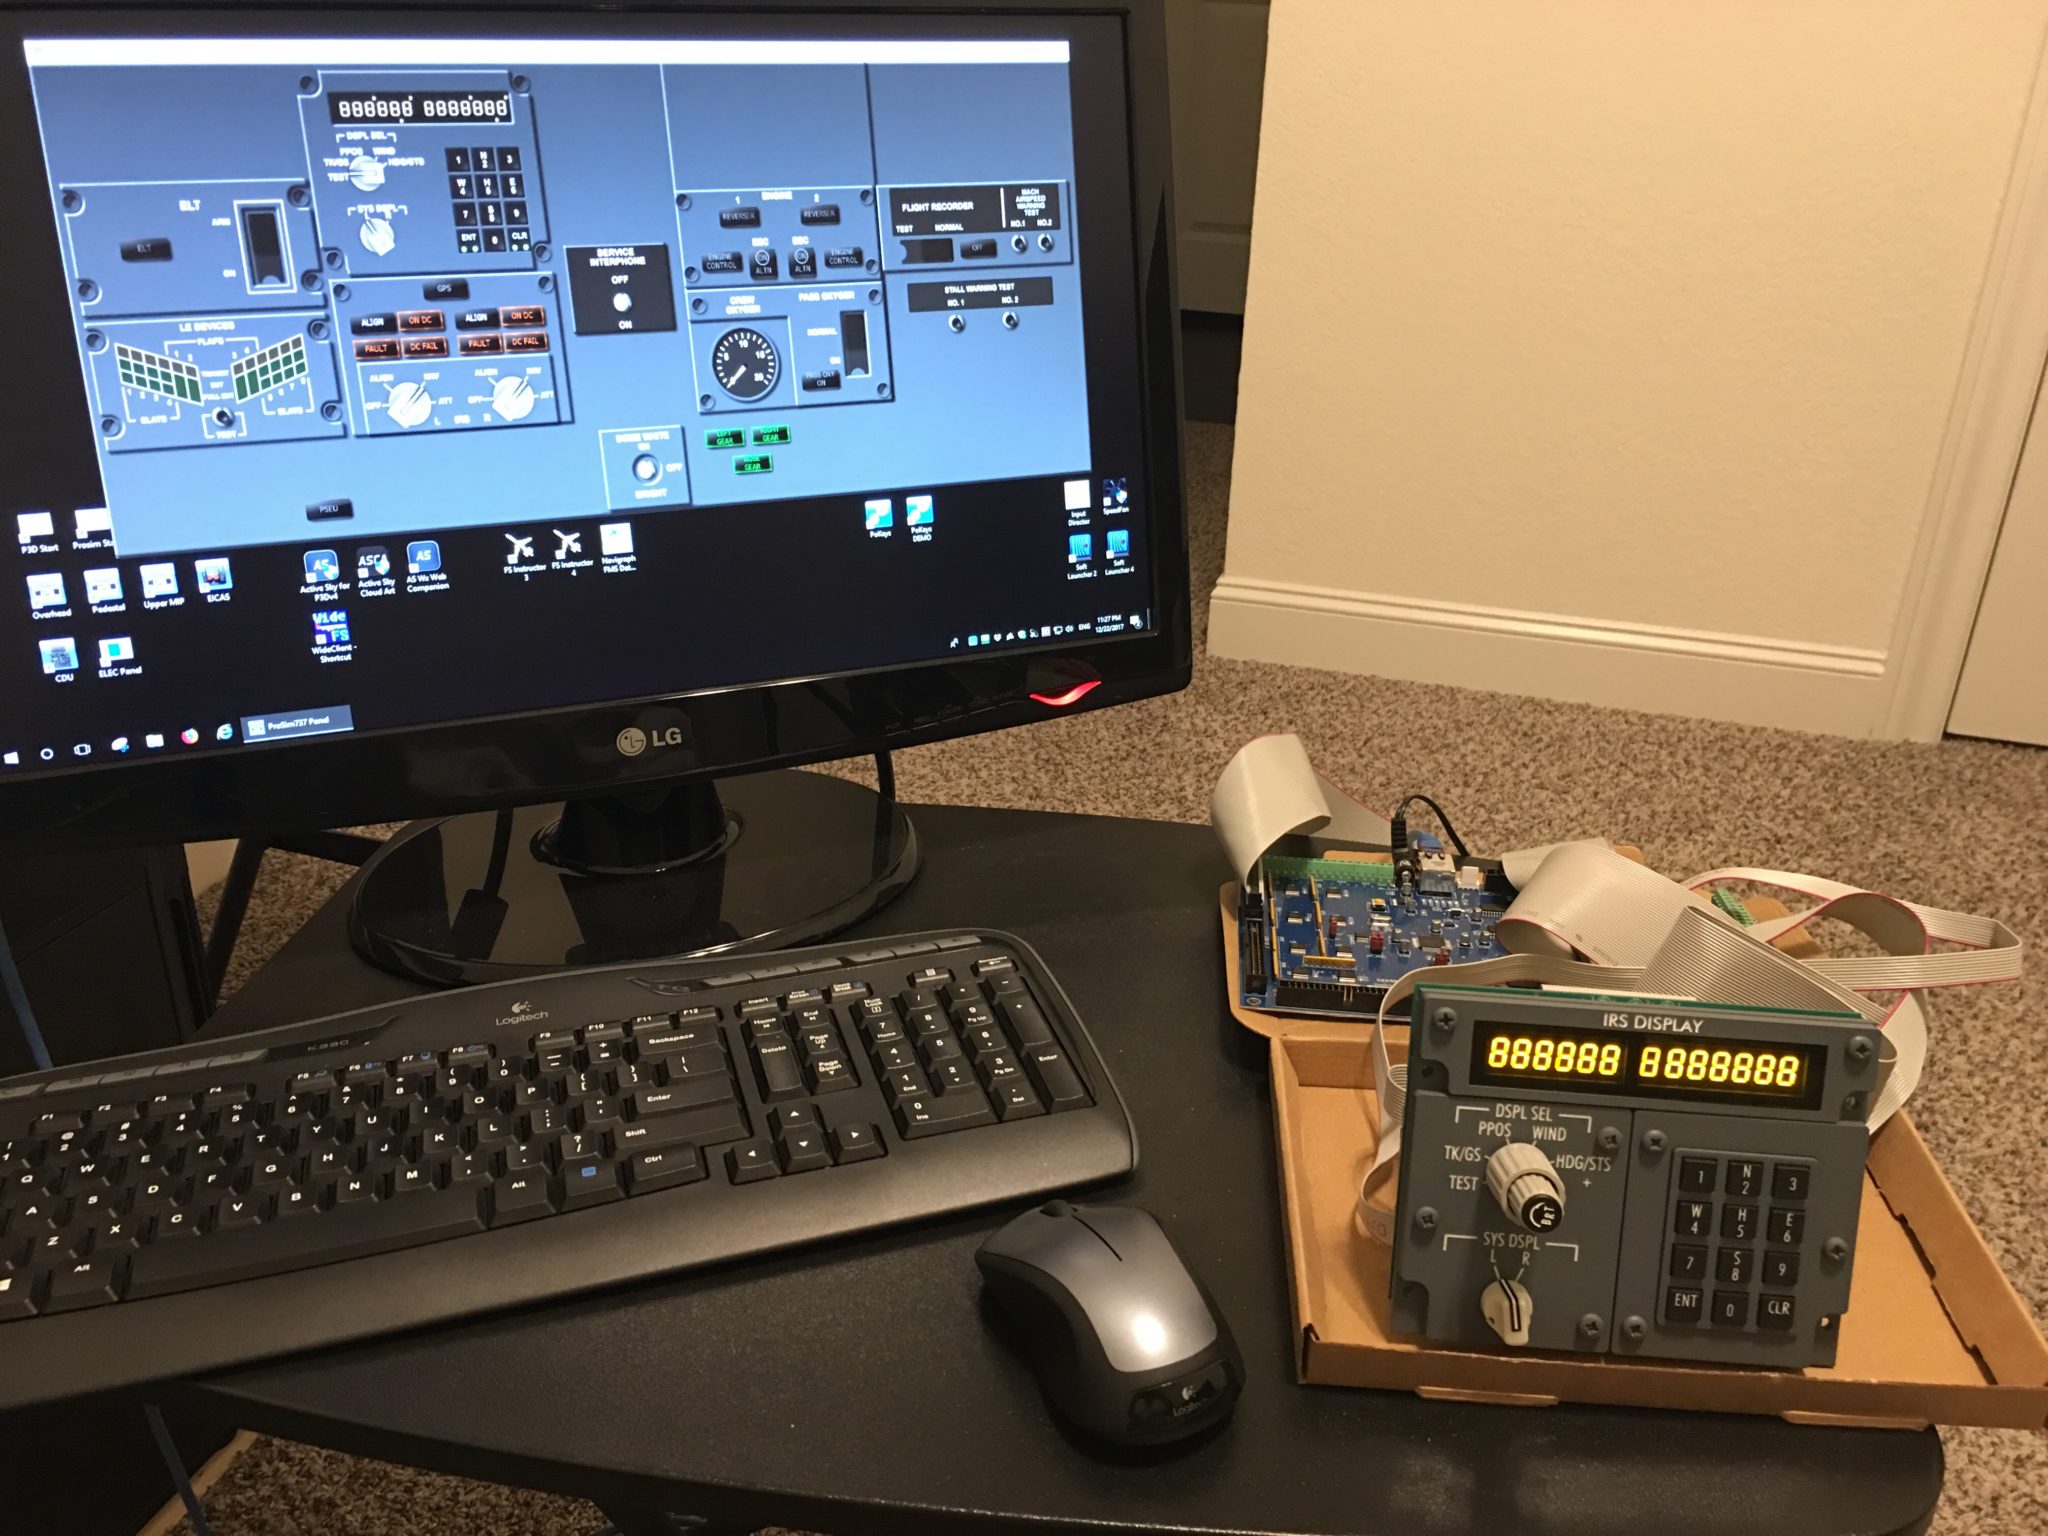
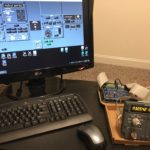
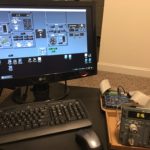
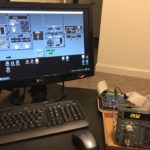
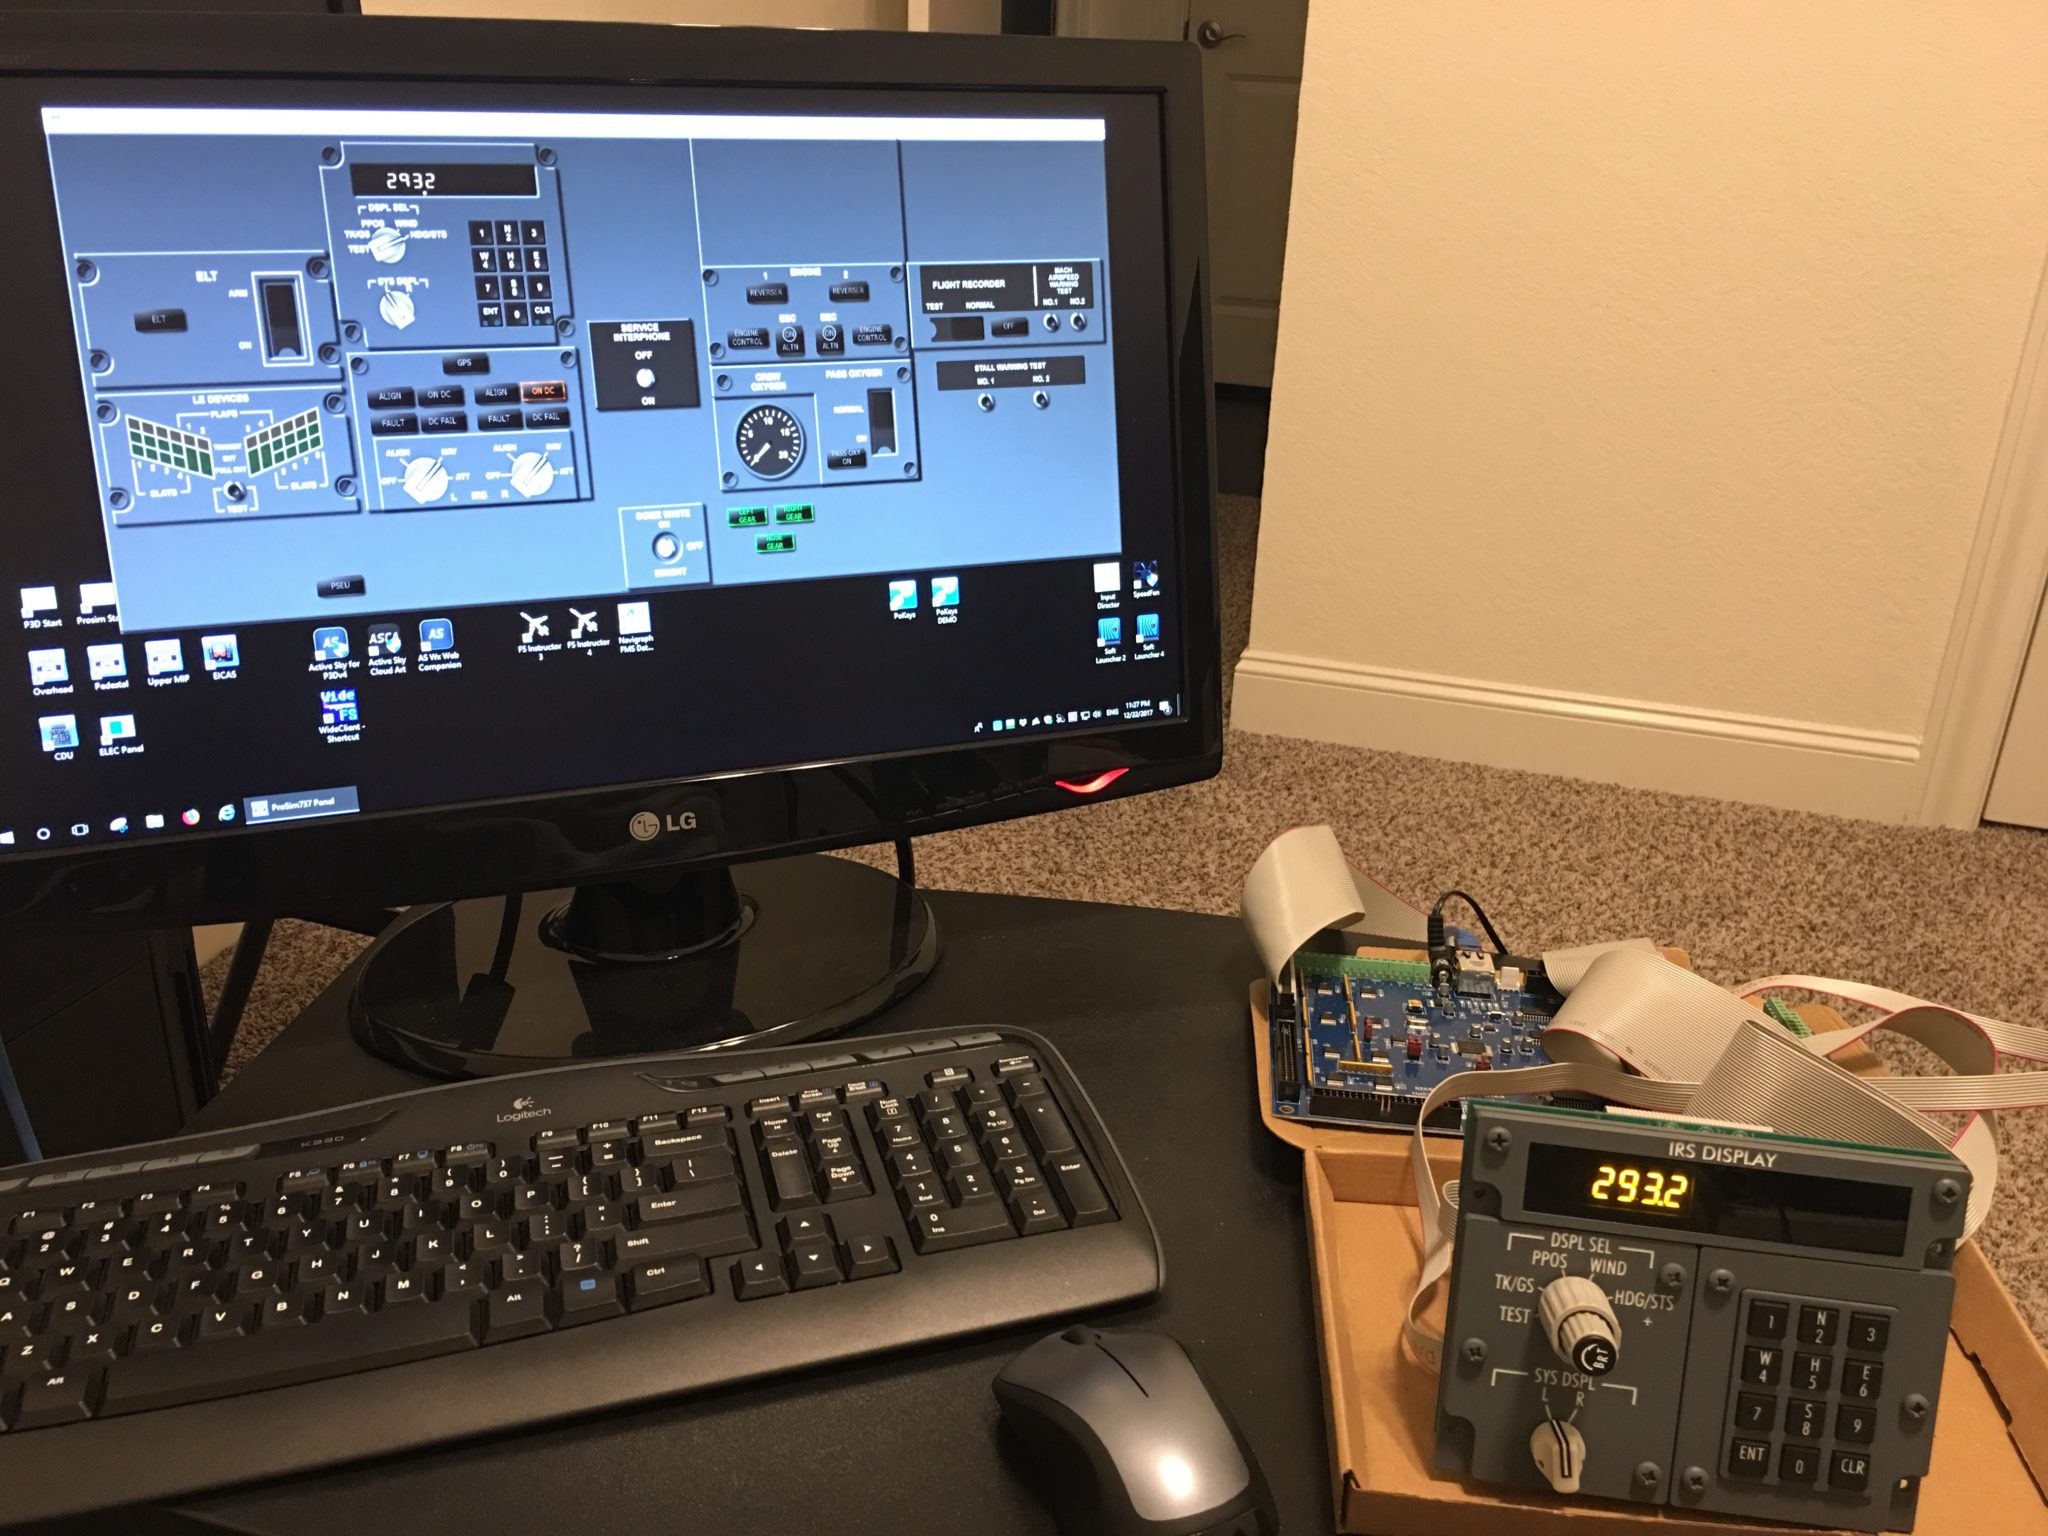
I received my Sismo GIC v4 expansion board (daughter card) today. So I was finally able to connect the remainder of the Sismo IRS Display Unit (ISDU) that I received per my previous posting.
Physical Configuration
The GIC is just a simple Printed Circuit Board expansion board with connectors attached to it. It daisy chains over to a central SimCard MB using the 40-Pin connector at the top of the picture.

Sismo GIC v4
There are a number of ribbon cable inputs and screw-terminal connectors make it easy to connect to. In my case, I will only need a couple of the ribbon connectors to get my IRS fully functional but it’s nice to know there are some extra connectivity options should I need them.
Keep in mind, though, that if you’re not using one of the pre-made software driver scripts provided by Sismo you need to be prepared to learn some SC-Pascal scripting to tell your software how to handle the things connected to the connectors. This is where it can become a challenge, making boards from FlightDeck Solutions, Pokeys, and Phidgets nicer options in a lot of ways. That may change with ProSim v2.x but for now I’m keeping it simple and using the Sismo pre-made AFT Overhead script for ProSim to control my ISDU.
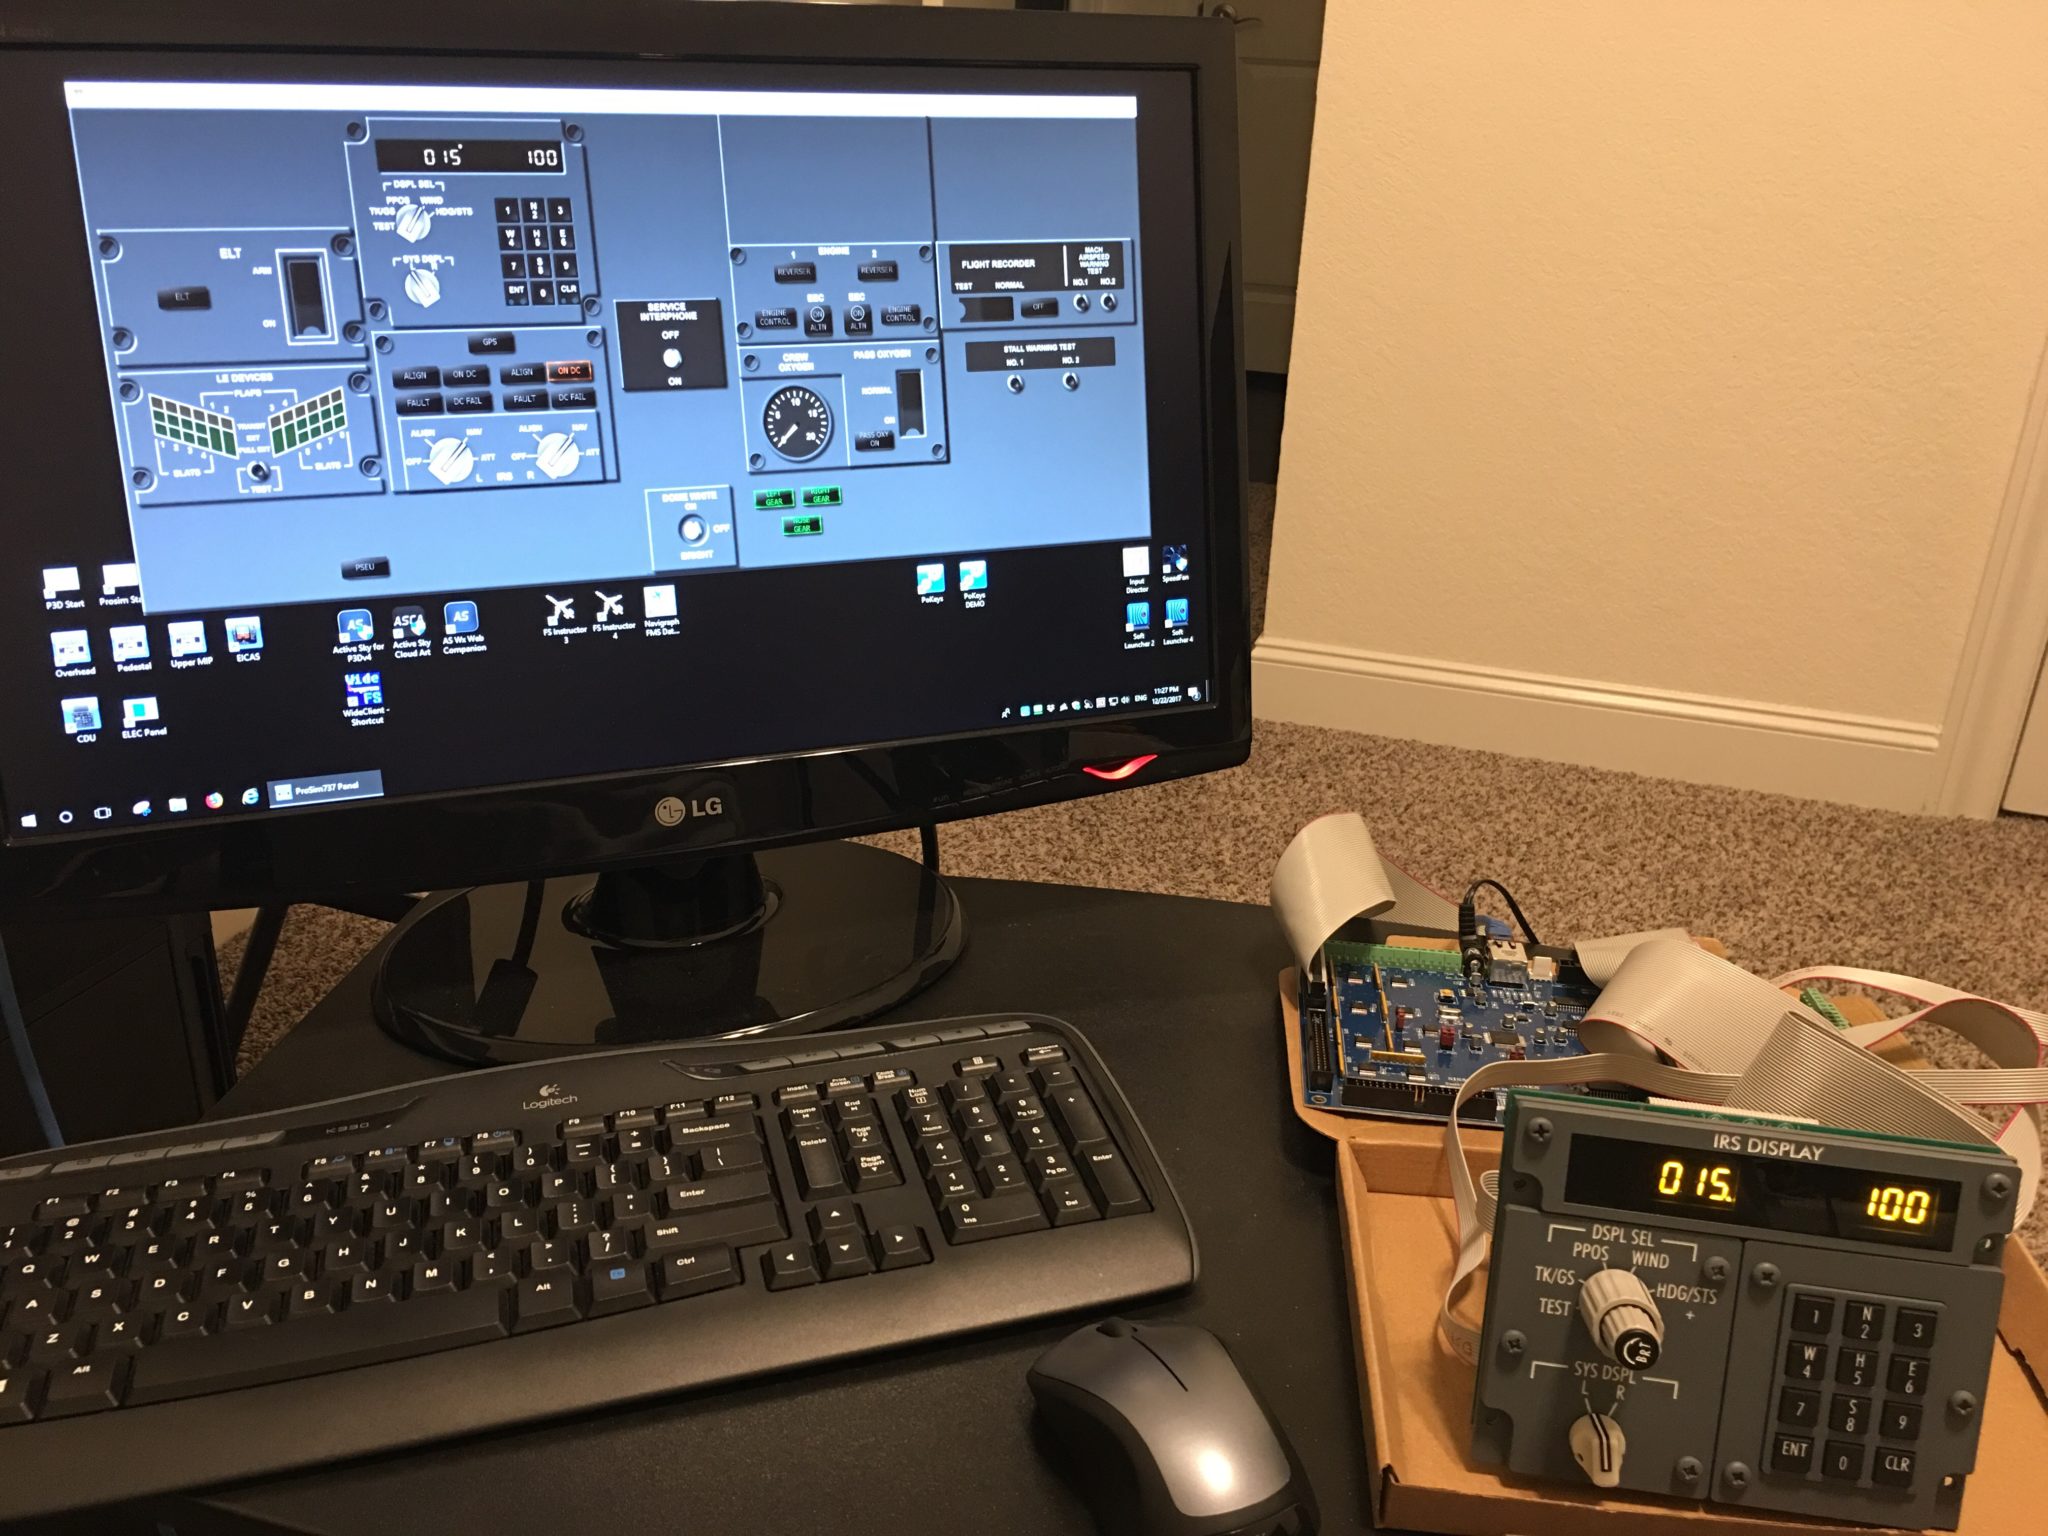
Getting the ISDU up and running with ProSim took quite a bit of patience and some trial and error. The diagram below shows how the components should connect to the main SimCard MB. But as you can see, it doesn’t say specifically where on the GIC the IRS cables need to plug into as the diagram doesn’t line up with the GIC layout. So I had to discover that by playing around with it.
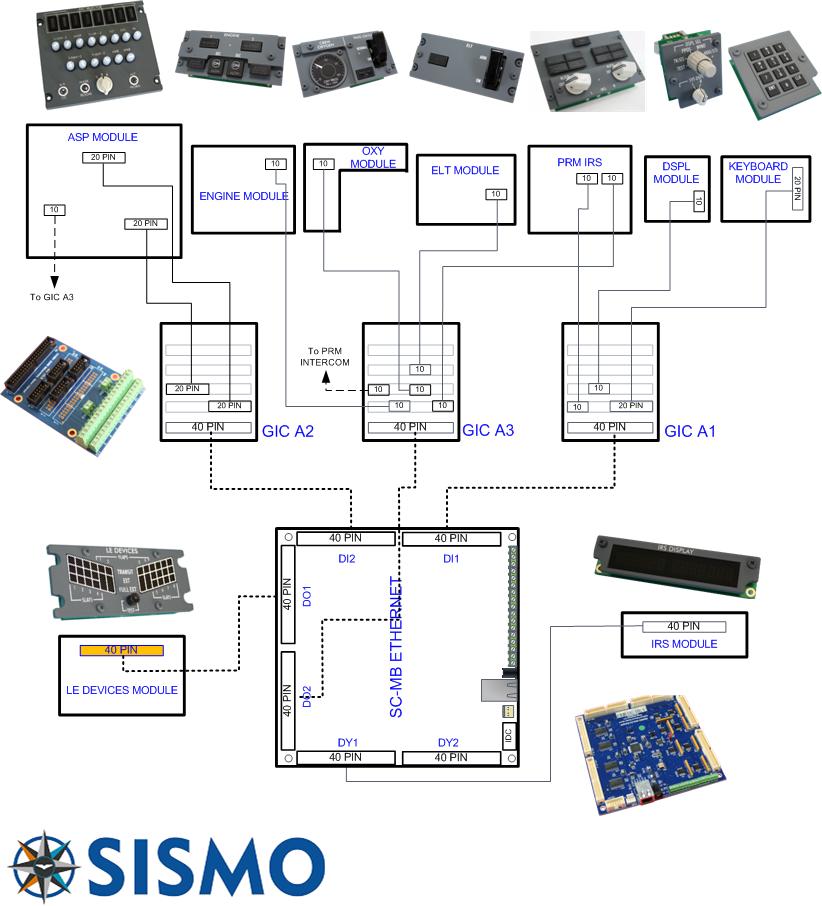
For reference, here’s what I found out:
- The 40-Pin ribbon cable connects the GIC P1 connector to the SimCard MB CON_DI_1 connector.
- The 10-Pin ribbon cable connects the GIC P2.3 connector to the Rotary panel connector on the IRS.
- The 20-Pin ribbon cable connects the GIC P3.1 connector to the Keypad panel connector on the IRS
It will end up looking like the following picture:
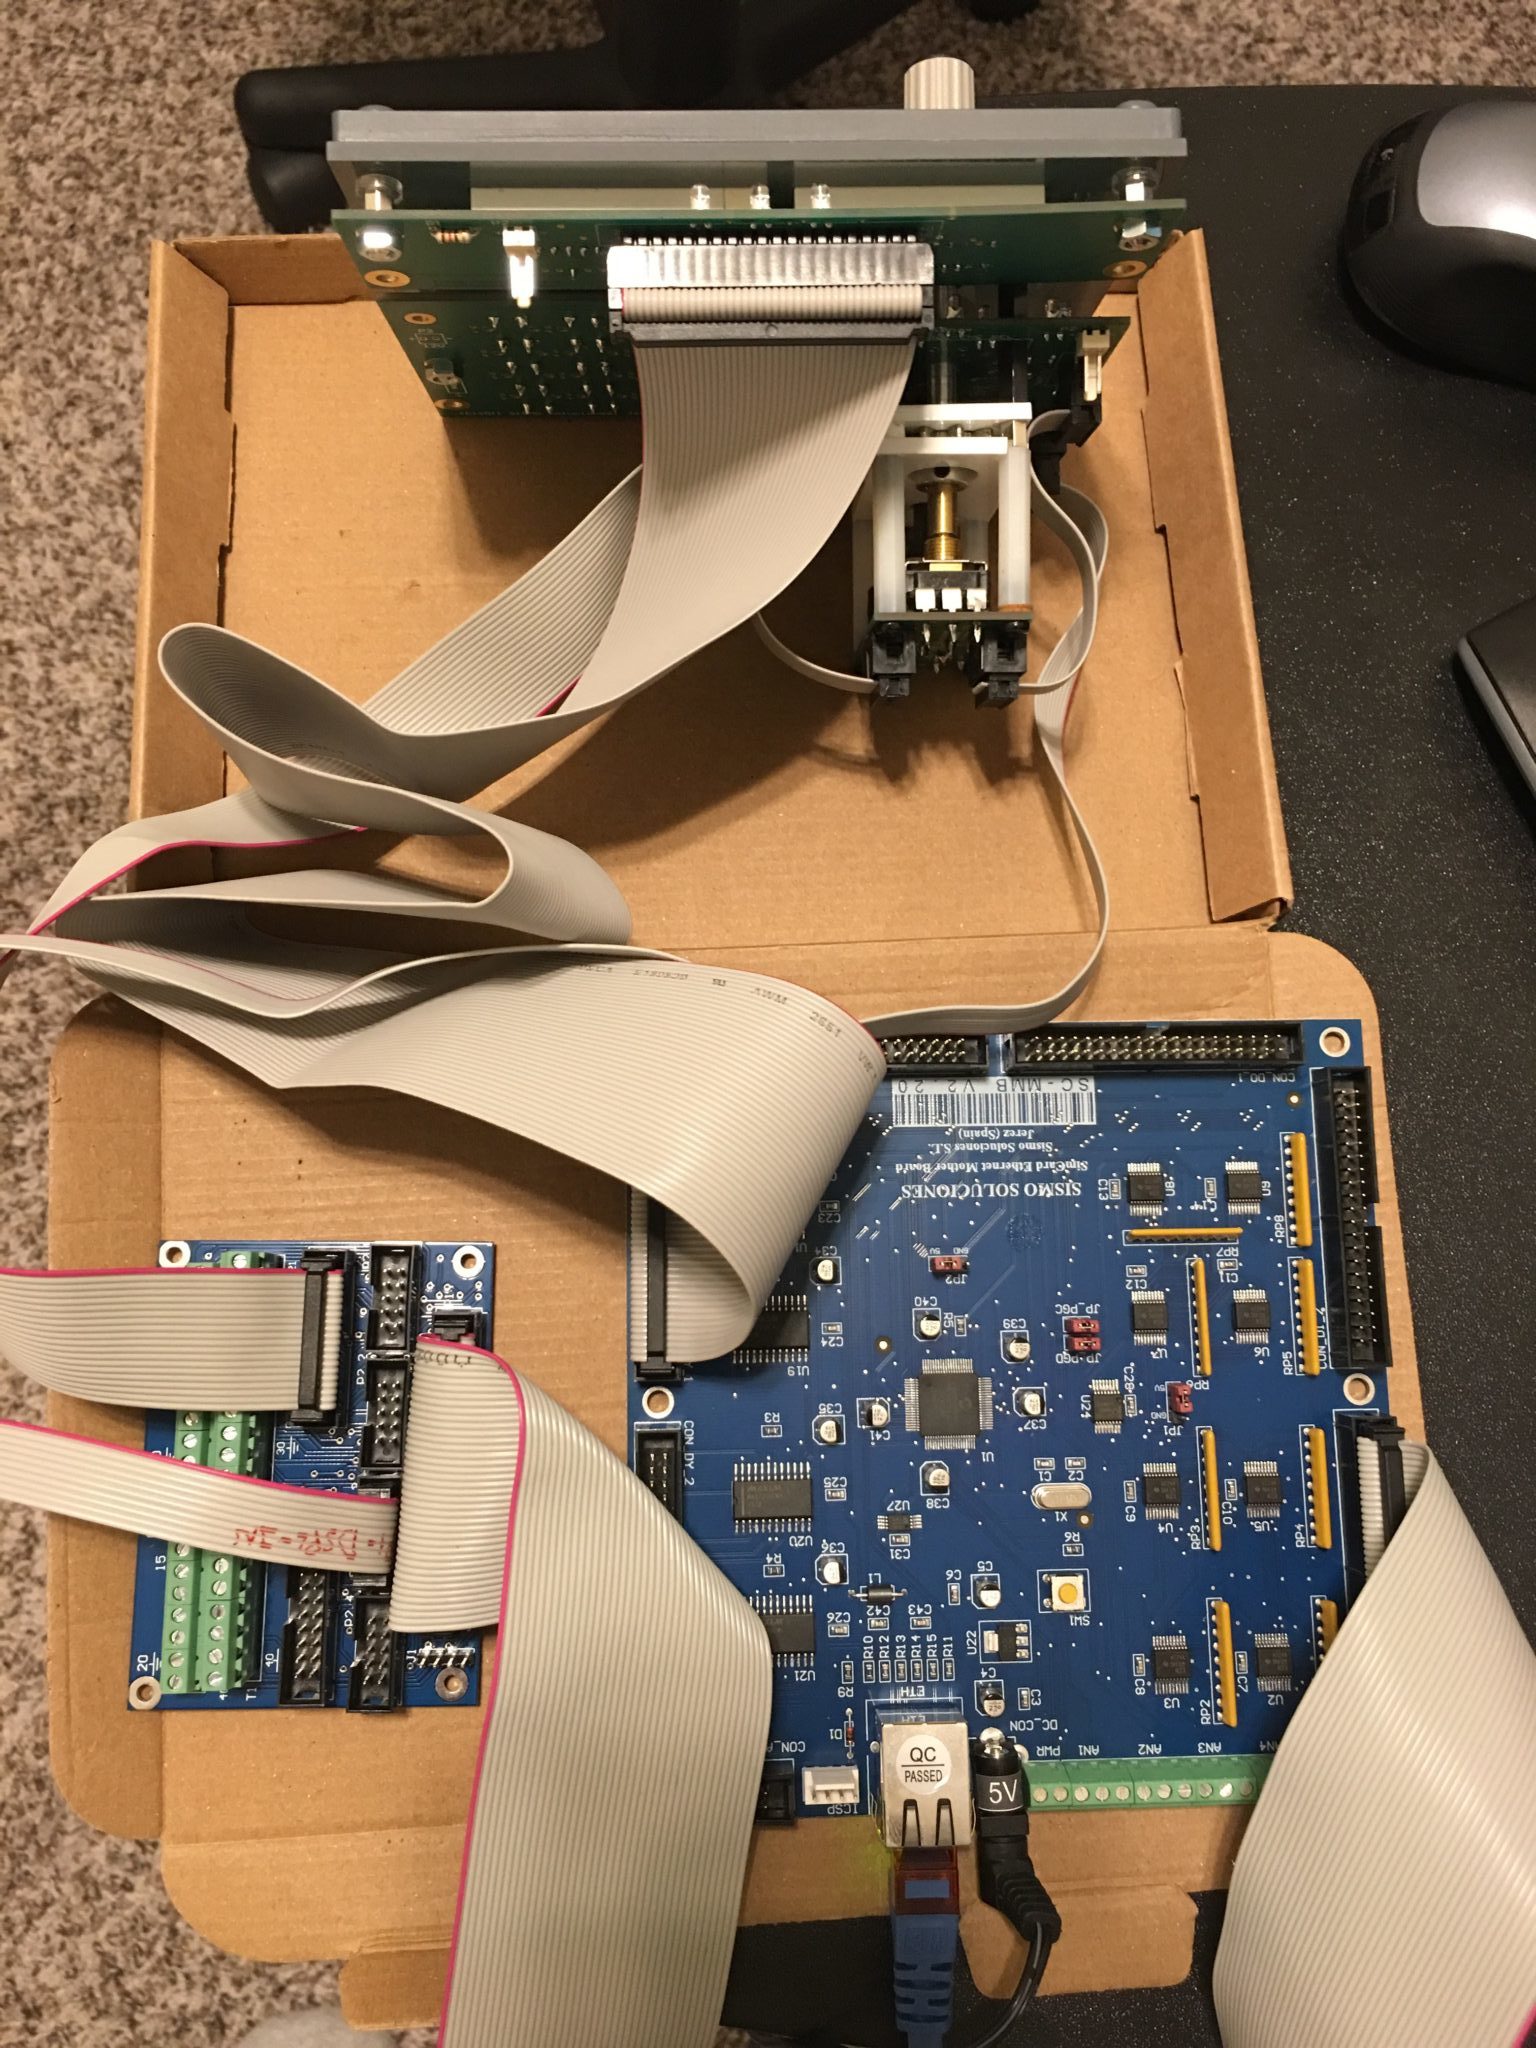
GIC to ISDU Connections
As you can see in the above picture, the ribbon cables which I thought was a nice idea can get a bit difficult to manage versus individual wires. But you could always cut your own cables to shorter lengths (they’re just standard ribbon cables). I plan to fold them up and rubber band them so they hopefully get nice and compact.
Interfacing
Once everything was physically hooked up next came the interfacing. With Prosim v 1.x Sismo uses the IOCP protocol to connect to their components. I am new to IOCP and don’t claim to be an expert. But my understanding is that there is an IOCP server that IOCP clients connect to. Communication can flow between them reading and writing variables and events. When you configure IOCP in ProSim, it is my understanding that ProSim acts as a server that the Sismo SC-Pascal scripts (a derivative of the Pascal language) connect to as a client and interact with. In this way, scripted events like turning a knob can be passed to ProSim to do something with. Don’t quote me. I’m still learning.
To set this up in ProSim I went into ProSim 1.x Server configuration and enabled the IOCP driver. I configured the IP to be the same IP of the machine the ProSim server uses and chose an available unused port (in my case 8097).
Next, I configured the SimCard MB settings by browsing to its web-based interface at 192.168.1.150. I then gave the SimCard a new IP address so it would be reachable on my Flight Sim network, and I entered the IP address of the ProSim server configured above in the host network settings.
Next, I downloaded the ProSim scripts provided by Sismo for the AFT Overhead. Install the files then browse to the installation directory and update the config.ini file to match your own values. The executable uses these settings when it runs. Next, run the Executable and if everything goes right, the program window that pops up should it show it has connected successfully to the ProSim IP and within ProSim Server you should see the IOCP connector go from a red not-connected status to indicating it is connected.
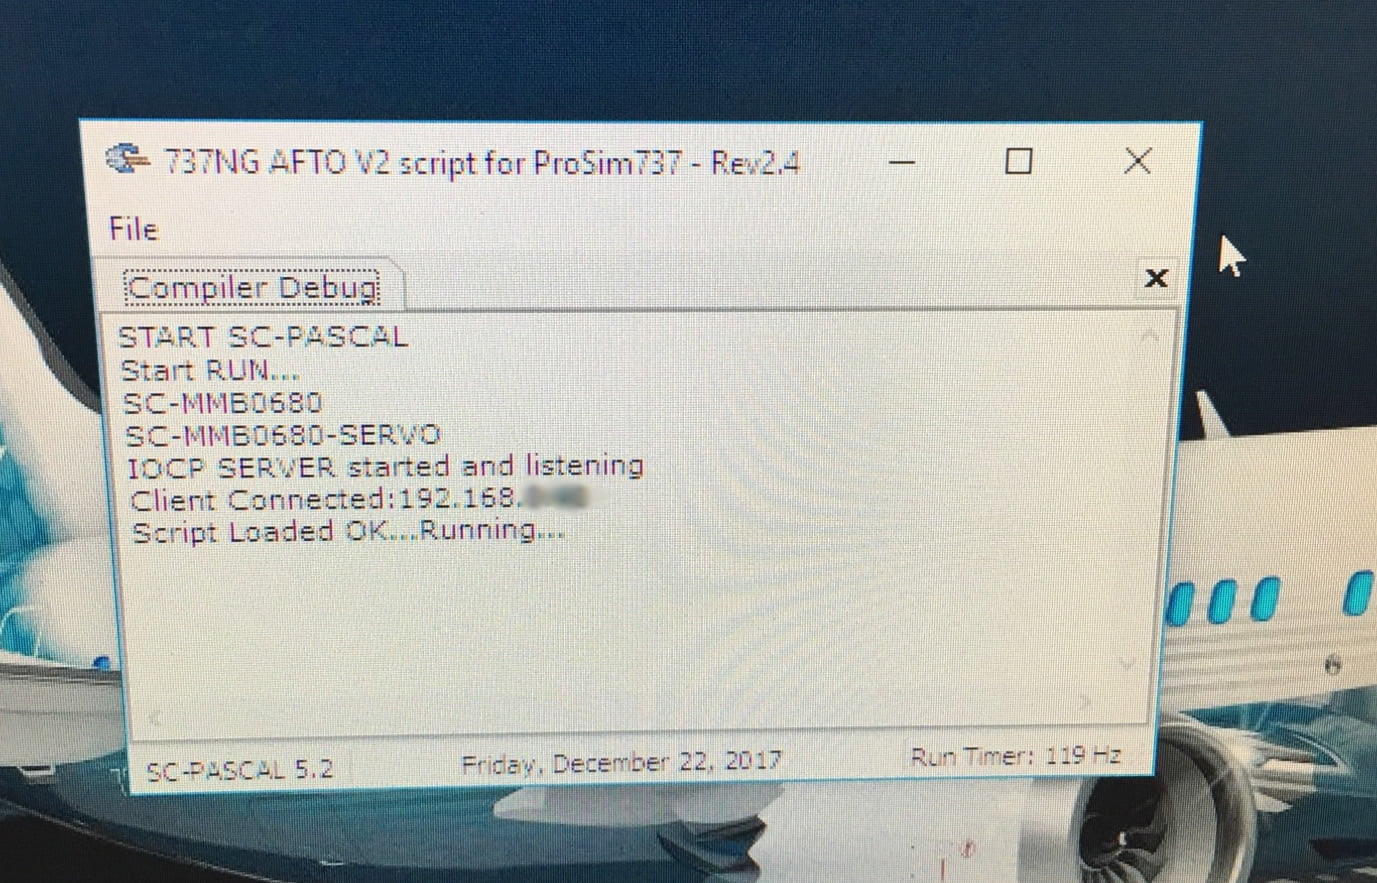
IOCP Connection
Finally, in ProSim I had to assign the IOCP values for each display, rotary and button within the ProSim configuration settings per the values below (if using Sismo’s ProSim scripts) so all the switches and such would start making things happen in ProSim.
For example, to configure the TK/GS position of the IRS Display Selector switch, go to the Switches tab in ProSim and scroll to IRS Disp Sel TK/GS. In the dropdown select IOCP and for the IOCP value enter 3003.
For the IRS panel these are the values you need to use with the Sismo scripts:
Switches Tab:
- IRS Disp Sel TK/GS: 3003
- Disp Sel Test: 3004
- IRS Disp Sel PPOS: 3005
- IRS Disp Sel Wind: 3006
- IRS Disp Sel HDG/STS: 3007
- IRS Keypad 0 Pushed: 3027
- IRS Keypad 1 Pushed: 3028
- IRS Keypad 2 Pushed: 3029
- IRS Keypad 3 Pushed: 3030
- IRS Keypad 4 Pushed: 3031
- IRS Keypad 5 Pushed: 3032
- IRS Keypad 6 Pushed: 3033
- IRS Keypad 7 Pushed: 3034
- IRS Keypad 8 Pushed: 3035
- IRS Keypad 9 Pushed: 3036
- IRS Keypad CLR Pushed: 3038
- IRS Keypad ENT Pushed: 3037
- IRS SYS DSPL Left: 3016
- IRS SYS DSPL Right: 3017
Numerical Tab:
- IRS Display right number: 3201
- IRS Display left number: 3202
Another way you could set up ProSim is you could also import their provided mapping XML file into ProSim which adds the mappings for you automatically. The problem with this method is if you’re only installing just a single panel like the IRS panel then their XML will add EVERY mapping for the AFT overhead, not just the ones for the IRS panel. You likely don’t want this, so I’d recommend going the manual route above and ONLY use this method if you are running their ENTIRE overhead.
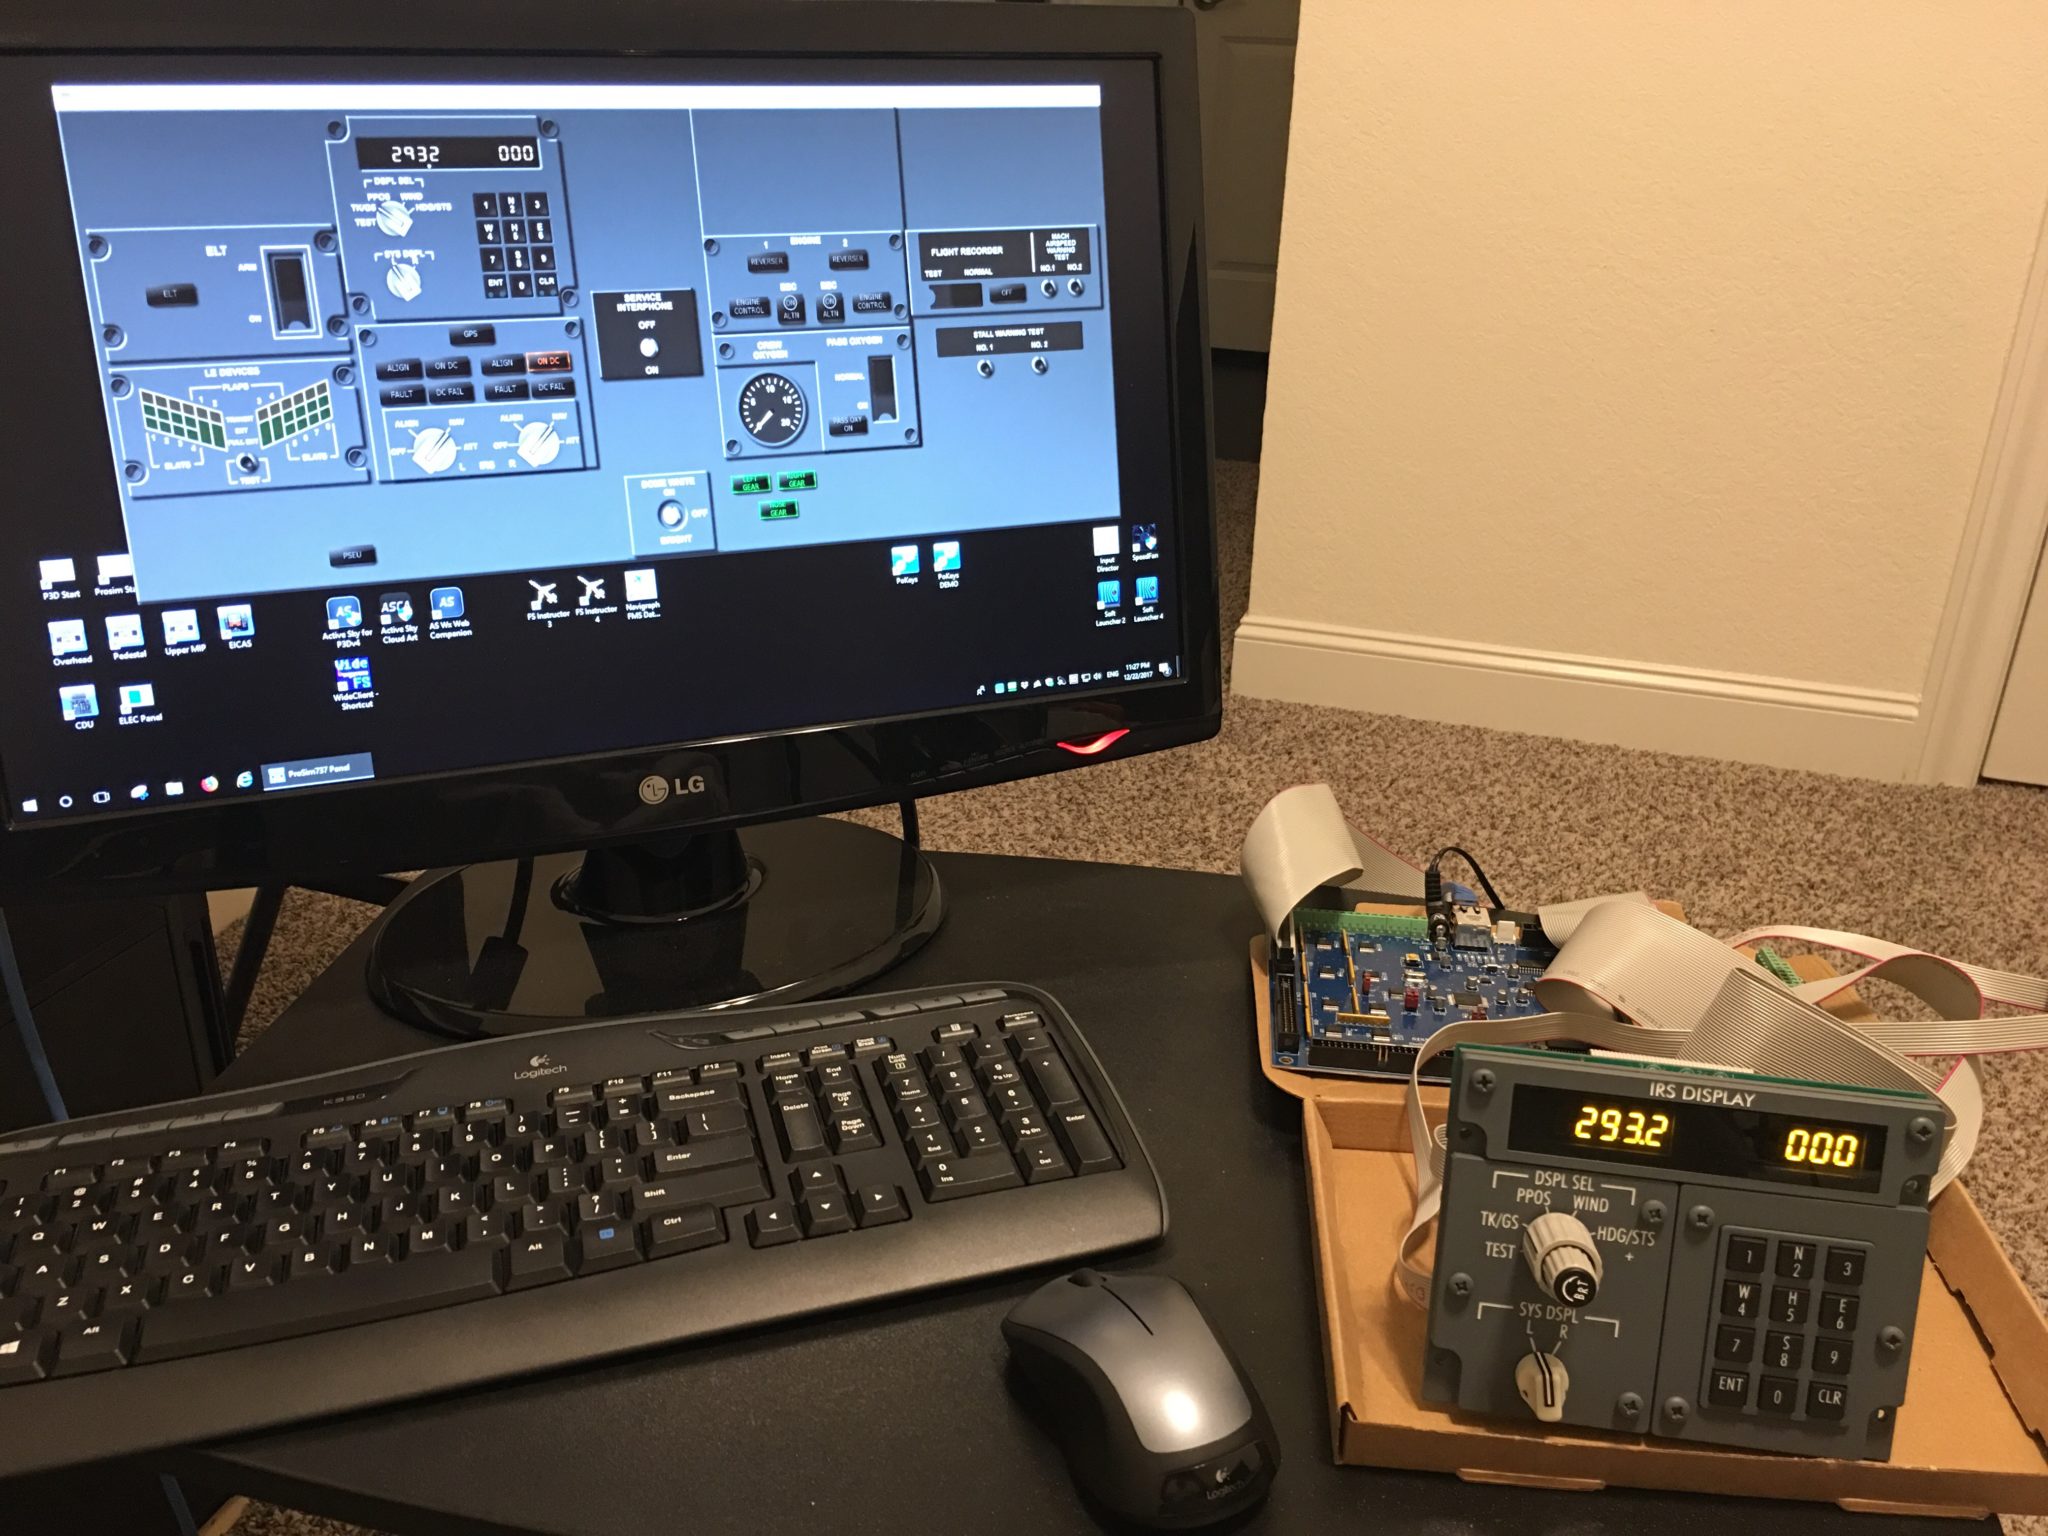
At this point you should have a functioning IRS Display Panel! Note the “U” in the right display window is supposed to be a “W” but 7-Segment displays can’t display W’s so a U is substituted. Not 100% realistic obviously but tolerable.
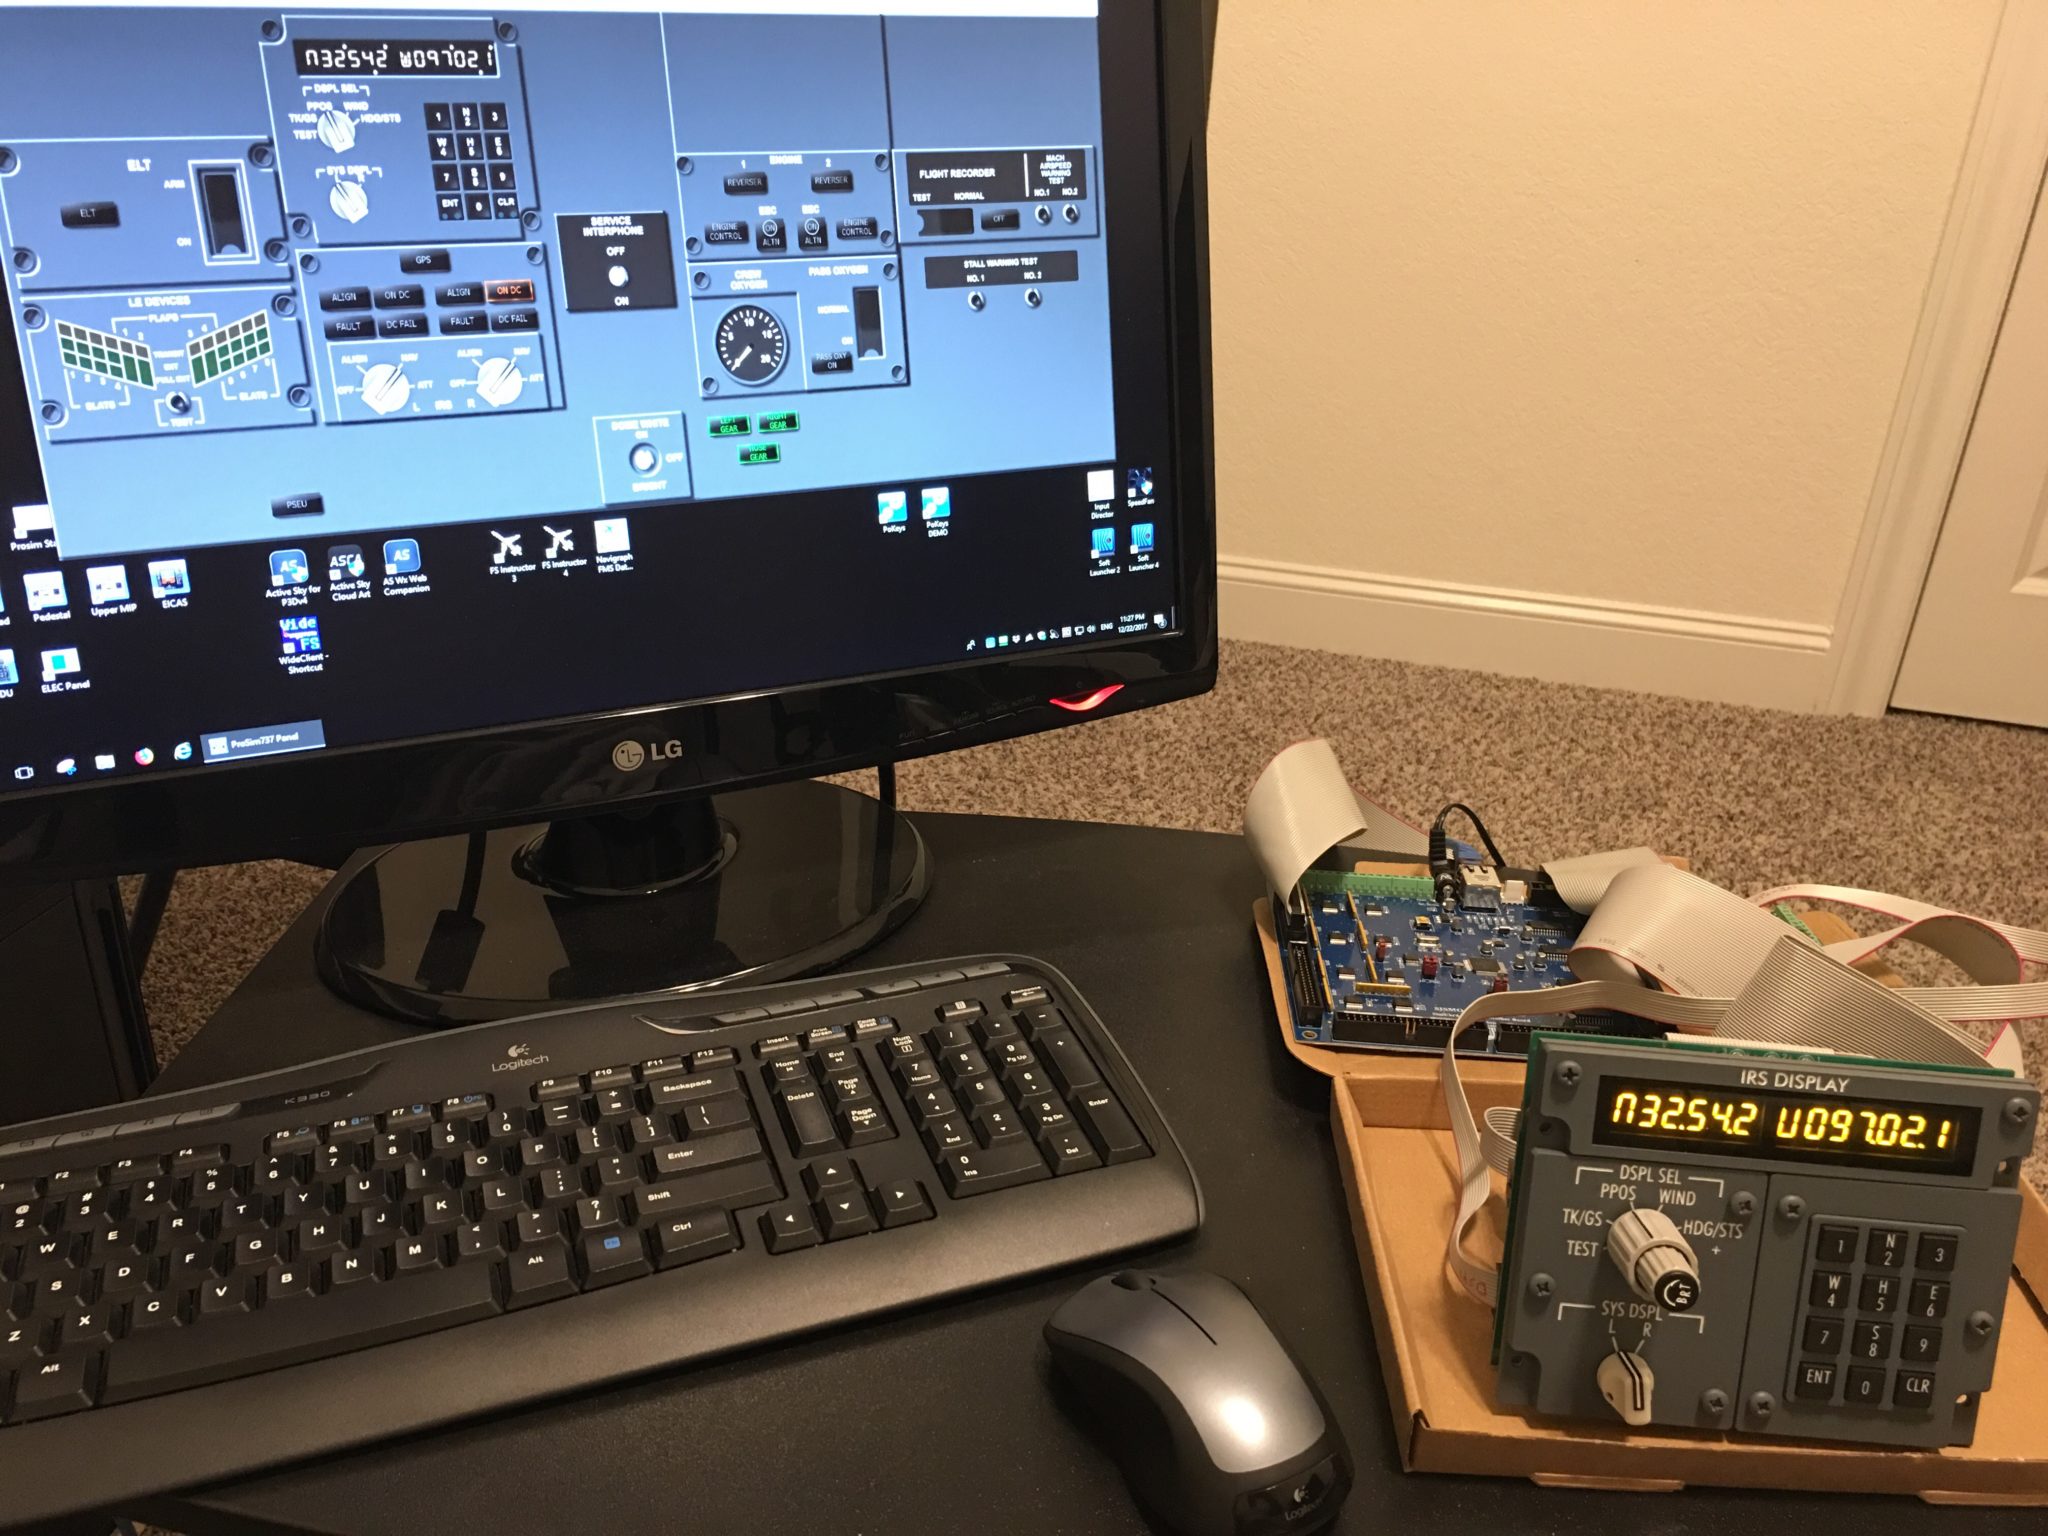
IRS PPos Display
But WAIT! Not so fast. The IRS Display will not not mimic exactly what ProSim’s virtual overhead is showing you on the DSPL SEL settings (e.g. WIND, TK/GS, WIND, and HDG/STS) . The values will be missing leading zeros, decimals will be wrong, there will be missing digits, and you might even get values staying behind on the displays when you select from one display setting to another. I don’t have any screenshots, but it does happen if you use the default Sismo script because the script is not correct.
Long story short, I had to do quite a bit of tweaking on the SC-Pascal (.scp) script that Sismo provided to get things to work and look close to right. There are still a couple of things not quite perfect (brightness knob doesn’t work for one).
I won’t put my modified script here but if you are interested in what I did, please feel free to contact me and I’ll try to help you out. But this could all be moot when ProSim v2 rolls out in early January 2018. We’ll see (fingers crossed).
Result
Here’s what things ended up looking like once I got all the glitches worked out. Not too bad:
-
- IRS TEST Display
-
- IRS TK/GS Display
-
- IRS PPos Display
-
- IRS WIND Display
-
- IRS HDG/STS Displa
Conclusion
I will share my honest personal experience here so others can evaluate whether this is a good option for them or not.
The bottom line is that I spent a lot more time and effort figuring out how to make this all work than I should have. Sismo support tried to help, but I kept getting pieces of information at a time…a manual here, a diagram there. The one daily support reply didn’t help speed things along and made for a painfully long solution. It was only after more than a half dozen back and forth emails, and some very helpful assistance on the sim forums, that I finally had enough information to start figuring the rest out on my own. In fact, I almost gave up a couple of times but inevitably it came down to my own stubbornness and unwillingness to let it go until I figured it out.
That said, the Sismo IRS Display Panel, SimCard, and GIC hardware are solid pieces and perform decently when finally properly configured given the price paid.
The interfacing, however, was not an easy endeavor and I’d highly suggest staying away from hardware that requires scripting to interface the hardware unless it’s your last resort. Unfortunately there weren’t many manufacturers I could find selling stand alone IRS Display Panels so this may be one of your only options if that’s all you’re looking for.
If you stuck with all Sismo AFT Overhead pieces, you just could buy their AFT Overhead master card, plug all their devices in to the dedicated spots on the board, and just run their scripts and everything would probably work fine. But in my case, I chose to buy separate components because 1) it was available and 2) I already had most of the Overhead parts. So doing things the piecemeal way apparently isn’t as nice and easy.
Here are my final thoughts:
Pros:
- Decent pricing
- Solid construction panels
- Overall good build quality
- Well packaged
- Reasonably fast (but expensive) shipping from Spain to the U.S.
Cons:
- Frustrating setup and configuration
- Time consuming research required
- Support replies only once a day meant answers took longer to get; Sismo’s assumption that the customer should know what he wants. Given the limited and incomplete documentation that was readily available to me at the time, what I thought I needed was not the complete picture so I found out after the fact.
- Modification of provided scripts required to get proper display functionality
- Rotary encoder switch a little flimsy
- Expensive shipping to the U.S.
Note: I have not tested the “integrated” back lighting so more to follow on that.
That’s it for now. Have a wonderful Christmas (or whatever Holiday you celebrate) and I wish us all a Happy New Year. May 2018 bring us much excitement in the simulation world and in our own projects.


Hi, if you mean the two rails that run from front to rear and the cross strut, yes those came…