
Last Updated on September 27, 2019
Here’s what you need to know about the Sismo IRS Display Unit (ISDU) if you decide to buy it as a stand-alone component for your Boeing 737 AFT Overhead.
The Sismo ISDU consists of three separate modules: Keypad module, Rotary Encoder module, and 7 Segment Display module. It’s pretty easy to see the different modules in the picture below.
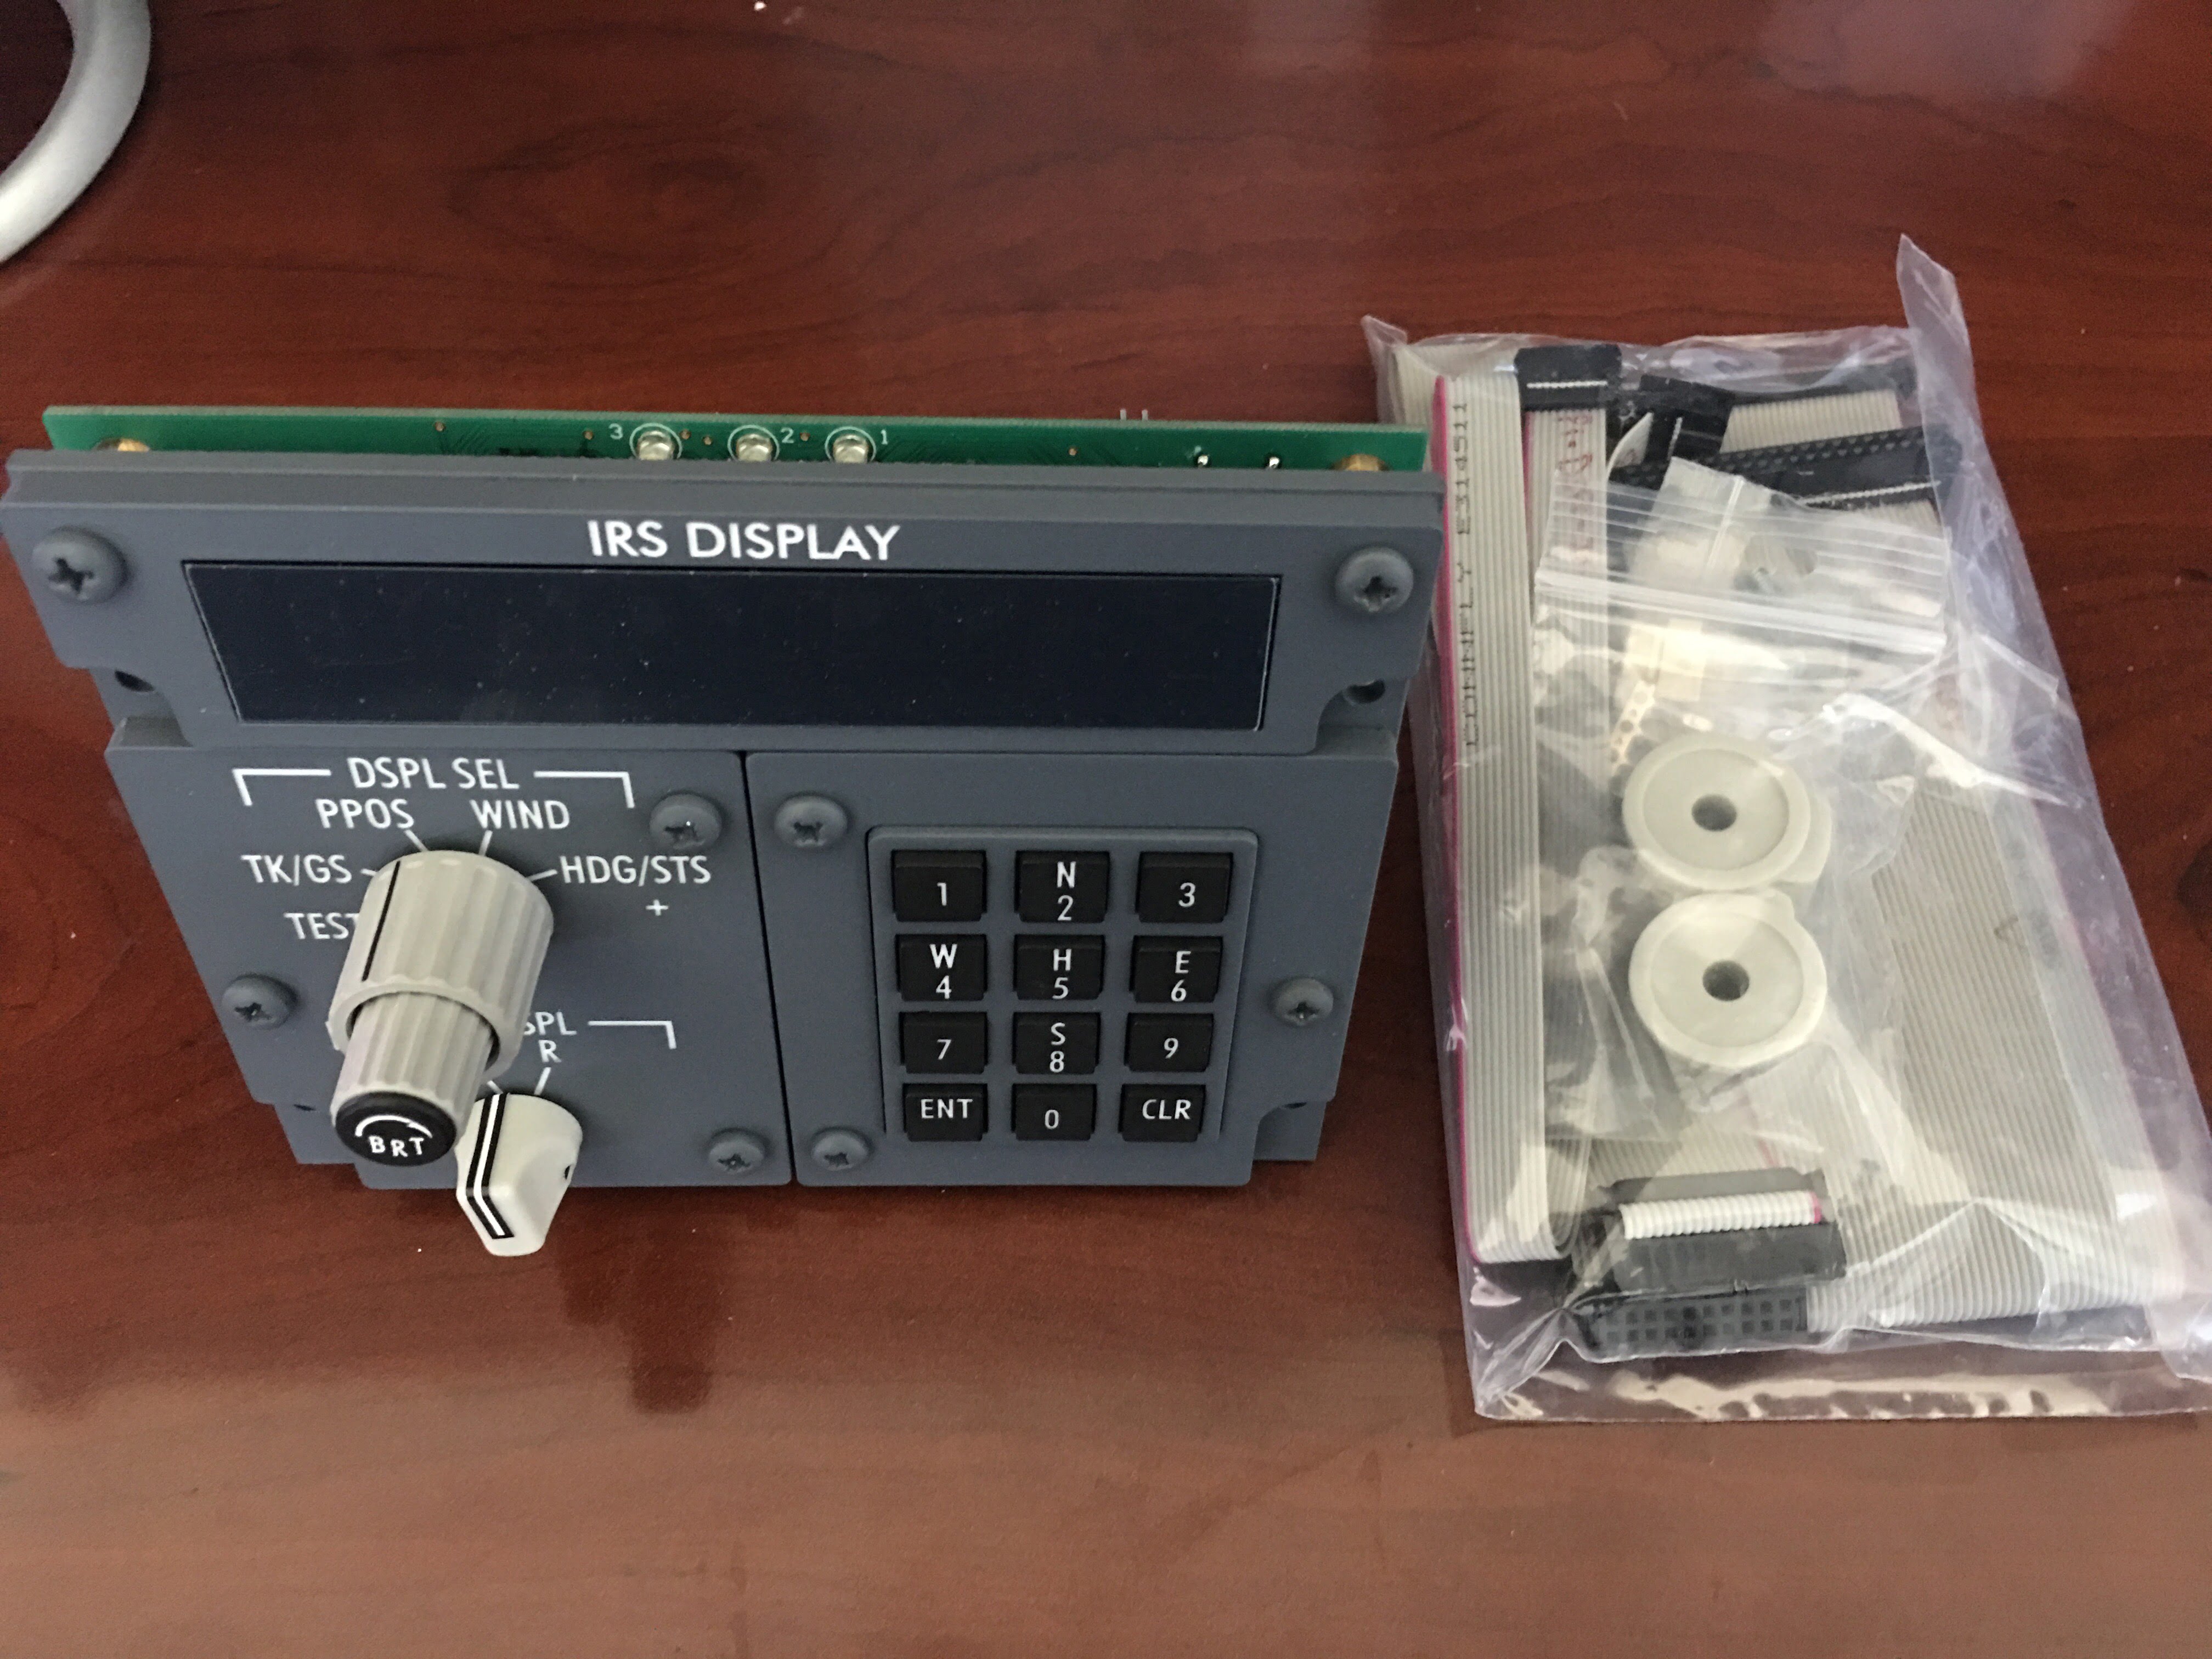 Each module has its own flat ribbon cable connector that can either be manually wired to a third party interface board (e.g. Pokeys) or plugged directly into a Sismo interface board using the supplied flat ribbon cables.
You can see the Printed Circuit Board (PCB) for each module in the following picture, along with the connector pins/sockets on each.
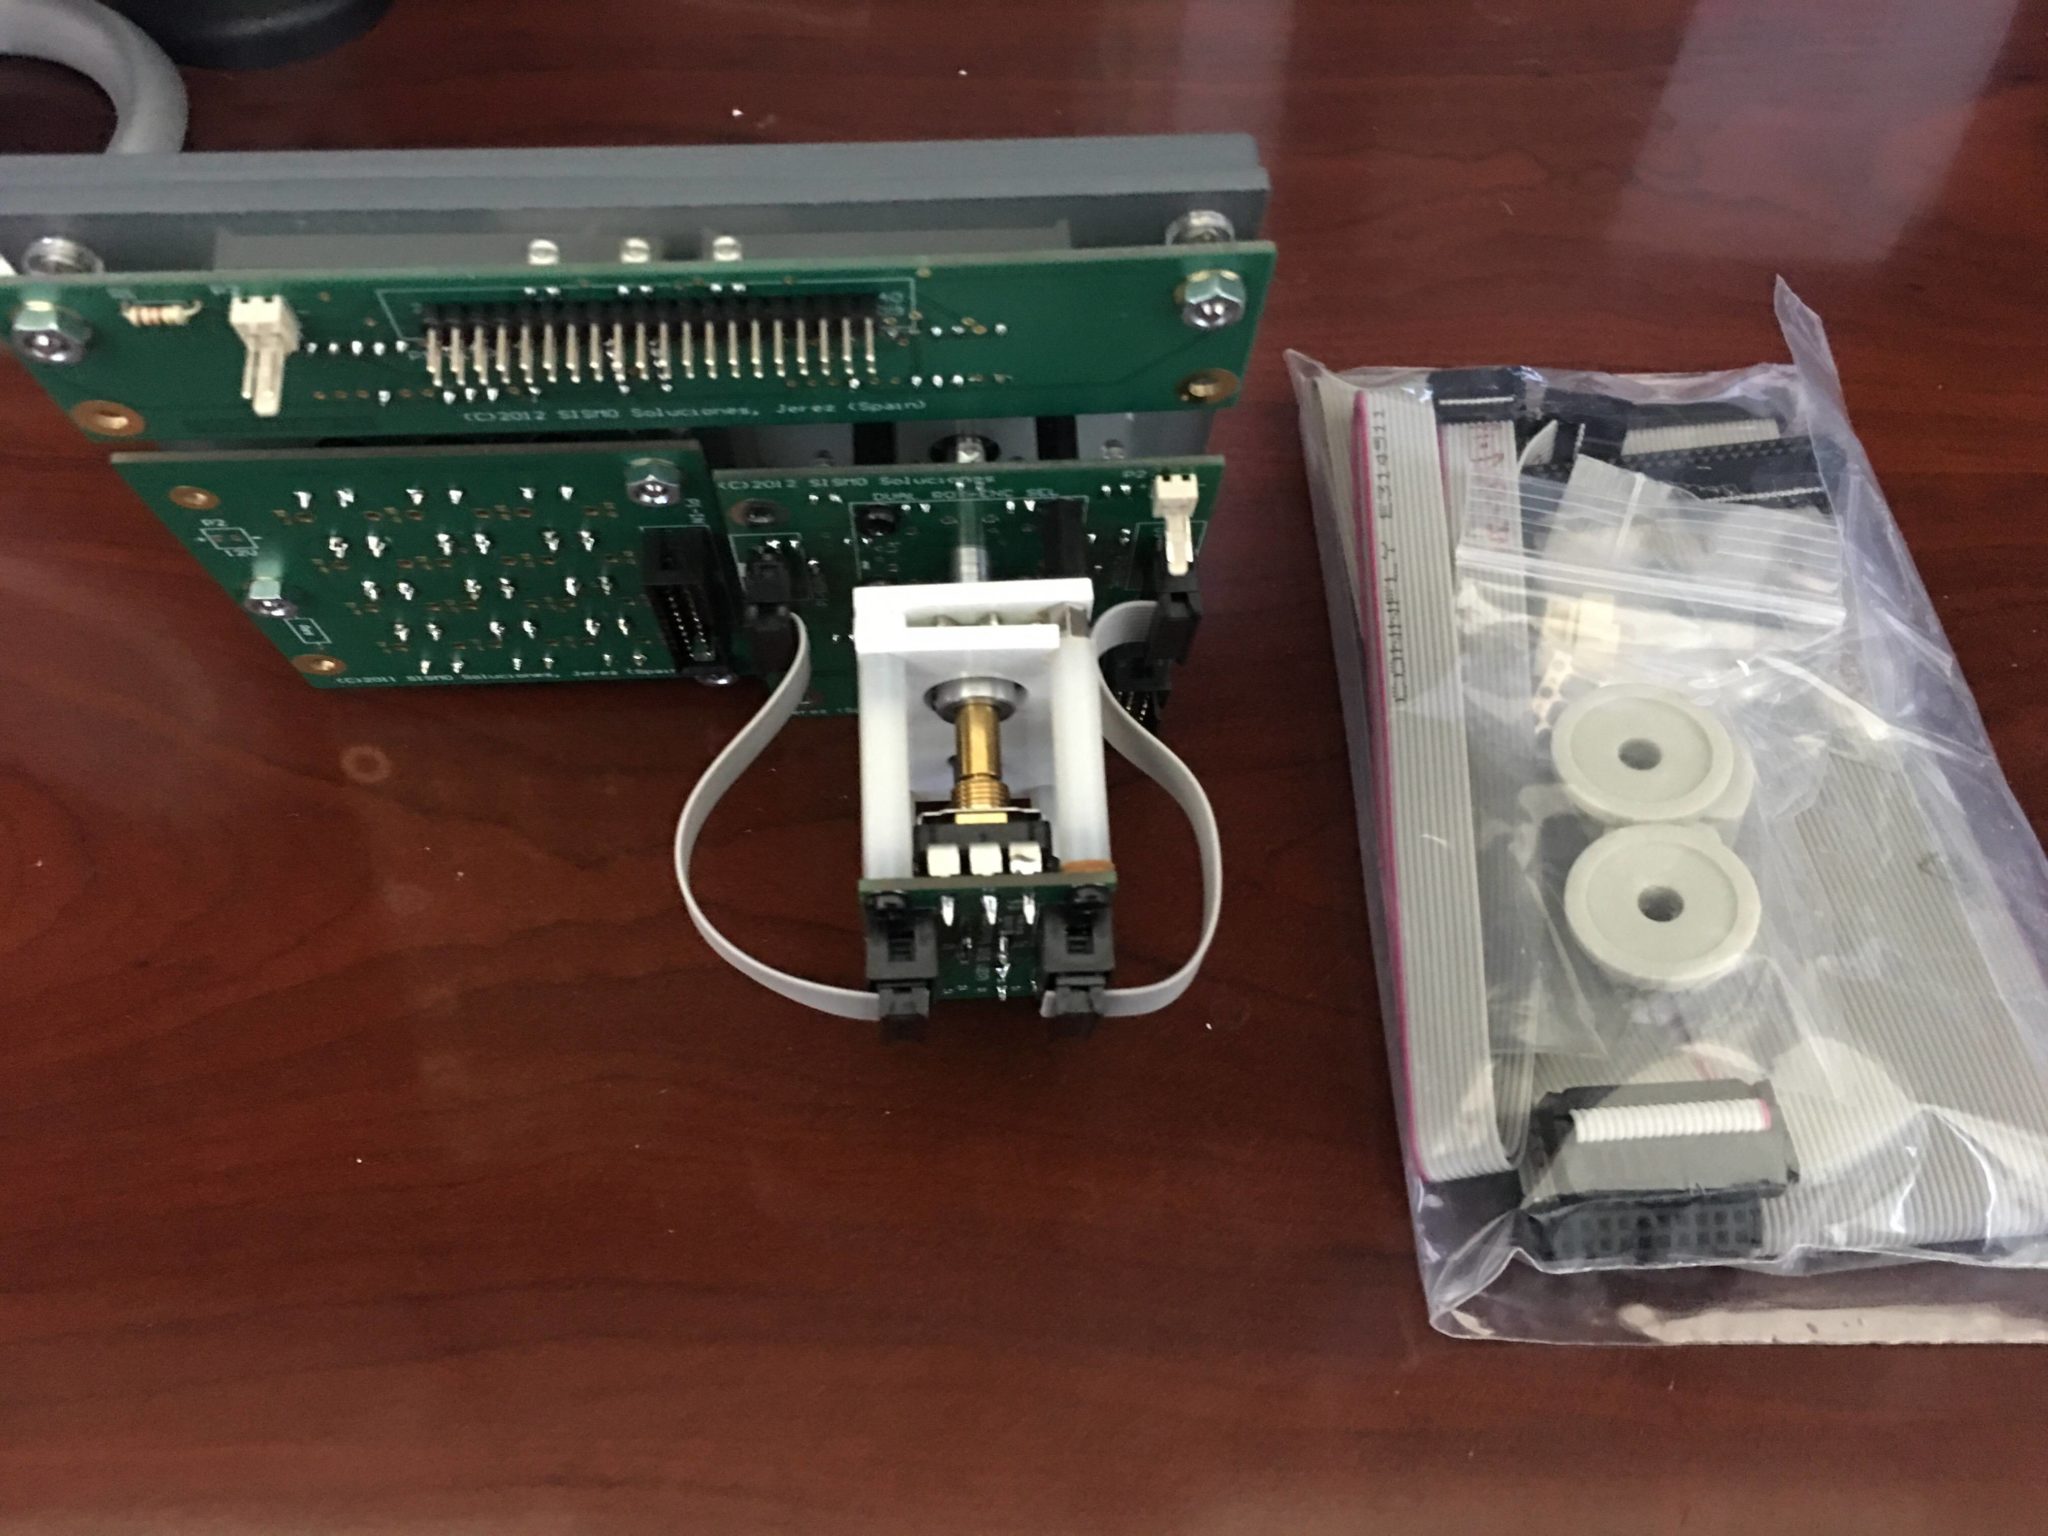
If you choose to go with a third party interface board, Sismo provides the pinouts in their manual making it a little easier to figure out which wire should go where.
If you choose to use one of Sismo’s interface boards, you can just plug the flat ribbon cable right into their cards in the exact way they describe.
Sismo sells a couple of interface boards that will work for the AFT Overhead:
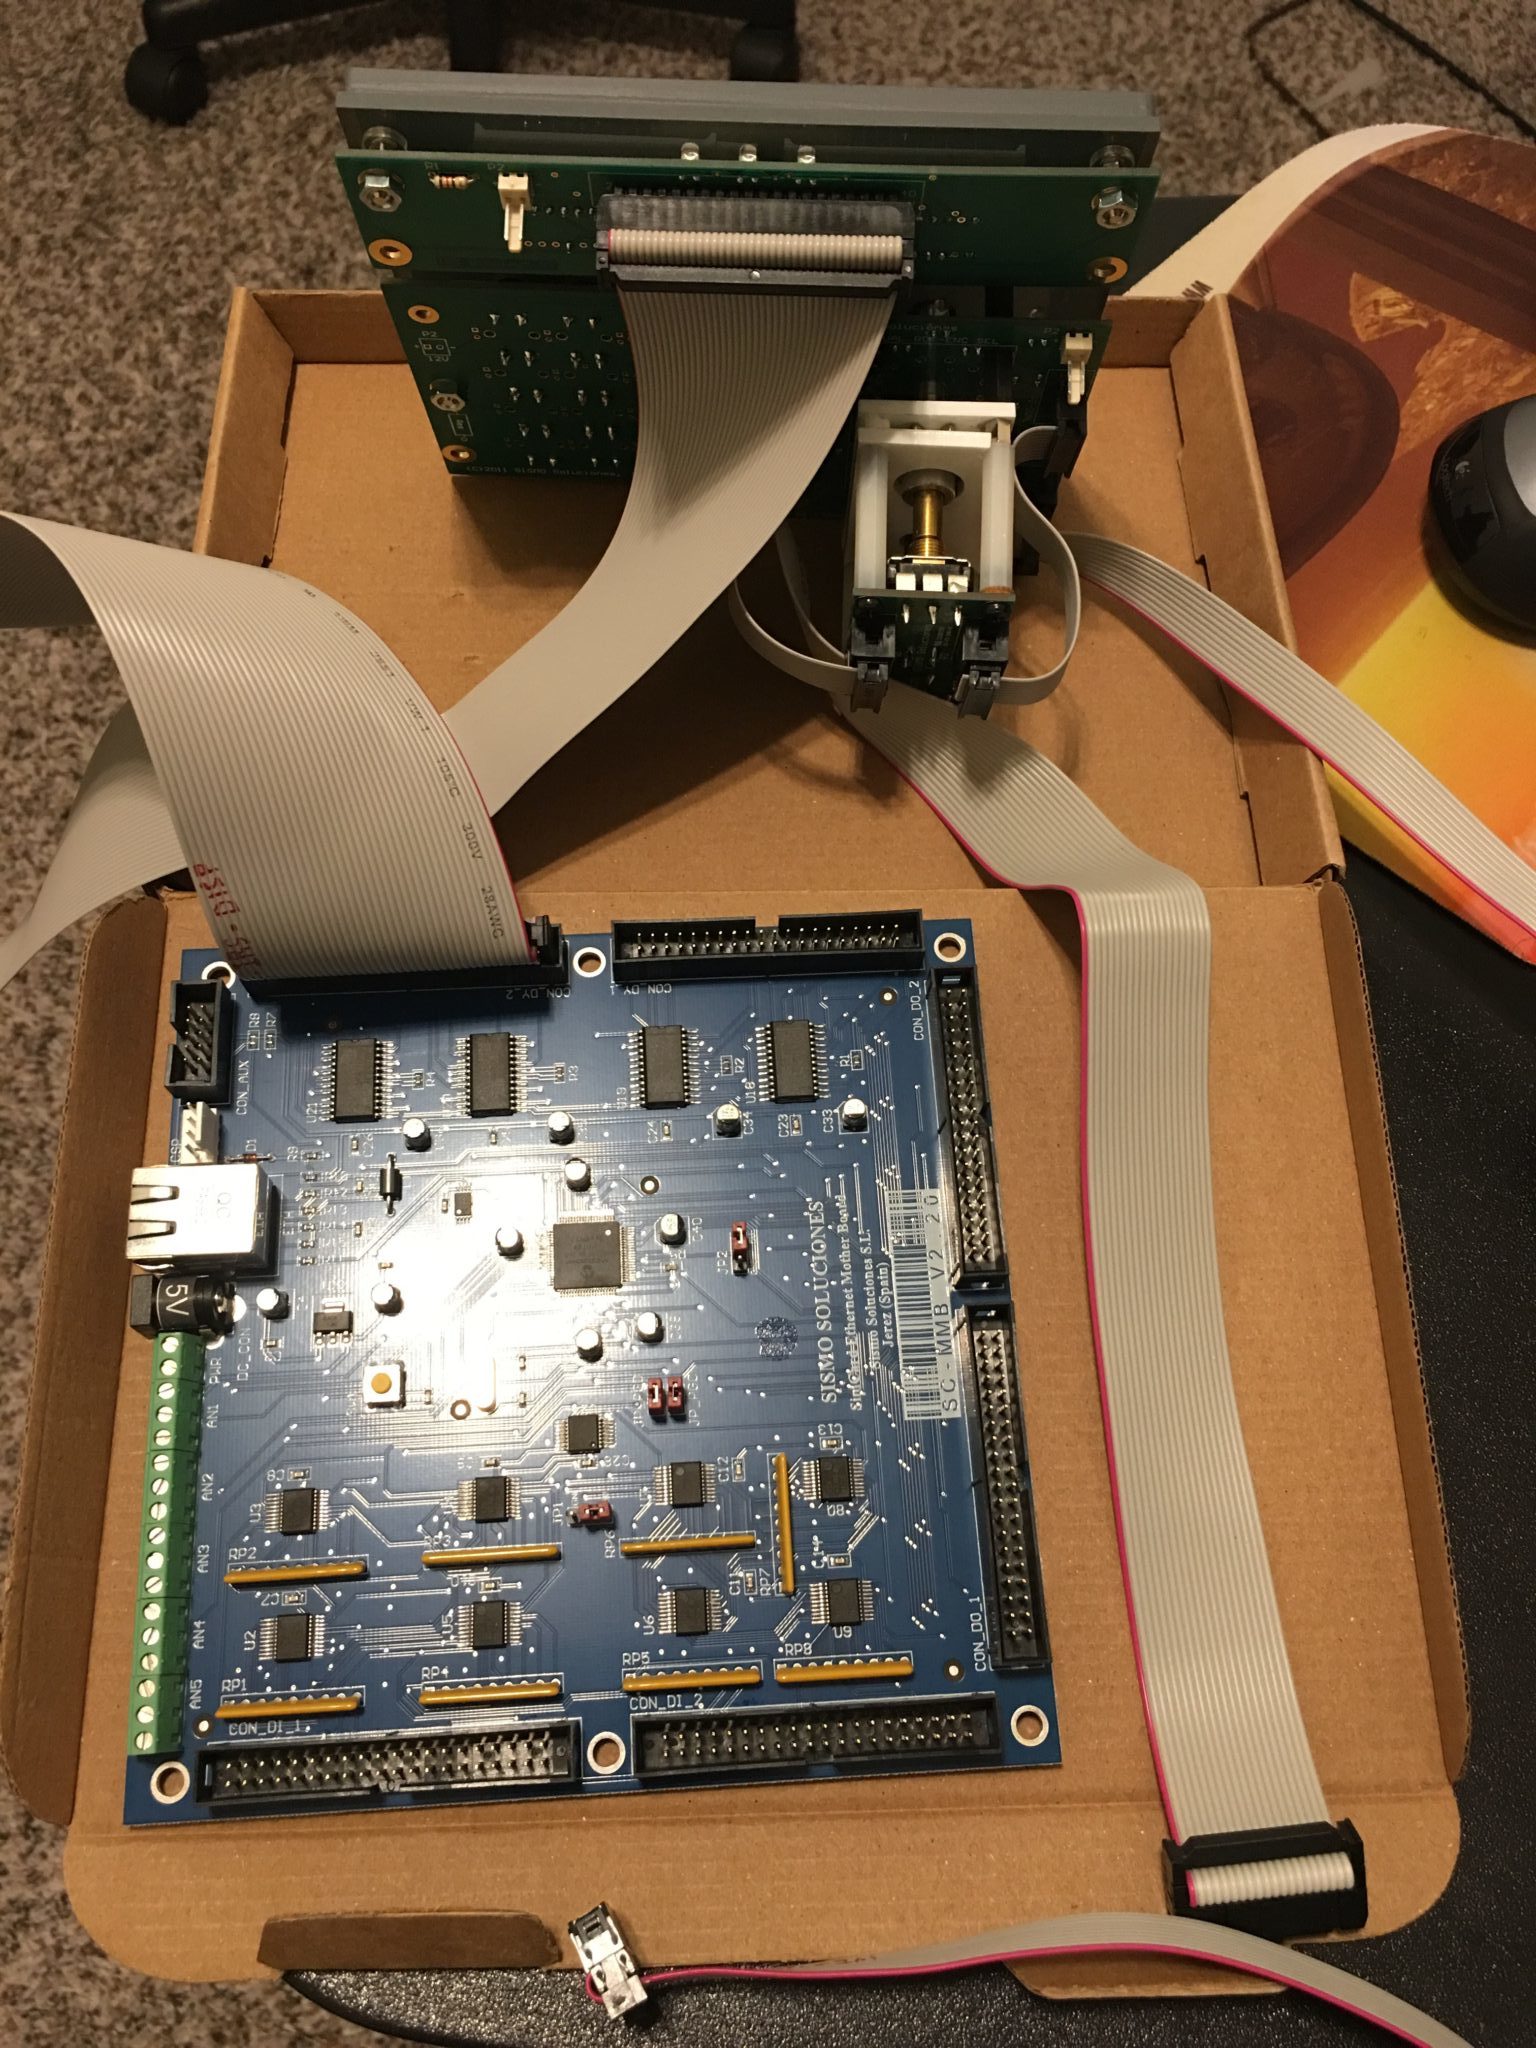
1) The SimCard MB Ethernet (or SC-MB for short), a smallish general interface board with a number of 40 pin ribbon connector sockets on it as in the following picture. This board can be used to interface any switches, LEDS, gauges, etc, not just for the AFT Overhead, and is expandable using their daughter GIC cards.
2) The full AFT Overhead Electronic Baseplate which takes a SC-MB Ethernet and solders it to a larger board that has every ribbon connector socket you will need to interface your entire AFT overhead with Sismo components (or others, I guess). This is a great option if you plan on using all Sismo components. It might be a good option for other components, but the drawback is you’ll have to write your own SC-Pascal scripts to interface with the components and that, I’m sad to say, is not a lot of fun.
Anyway, for my AFT Overhead build, I already had some third party boards that I wanted to use, so I just bought the SC-MB Ethernet thinking it was smaller, cheaper, and could still do the job. What I didn’t realize, even after trying to clarify with Sismo support a number of times, is that the SC-MB Ethernet needs to be paired with a GIC daughter card in order for all the connectors on the back of the ISDU to have something to plug into.
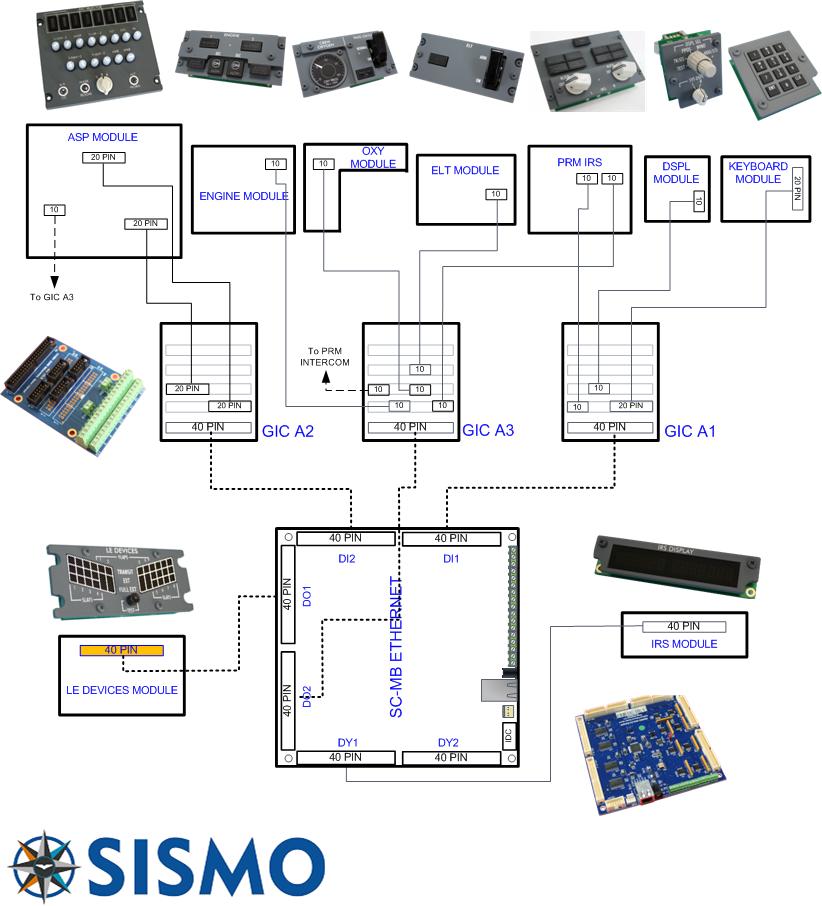
After a lot of back and forth I finally got a hold of the following diagrams which I wish I had from the beginning and clearly indicate how various AFT components are intended to work with their interface boards:
 |
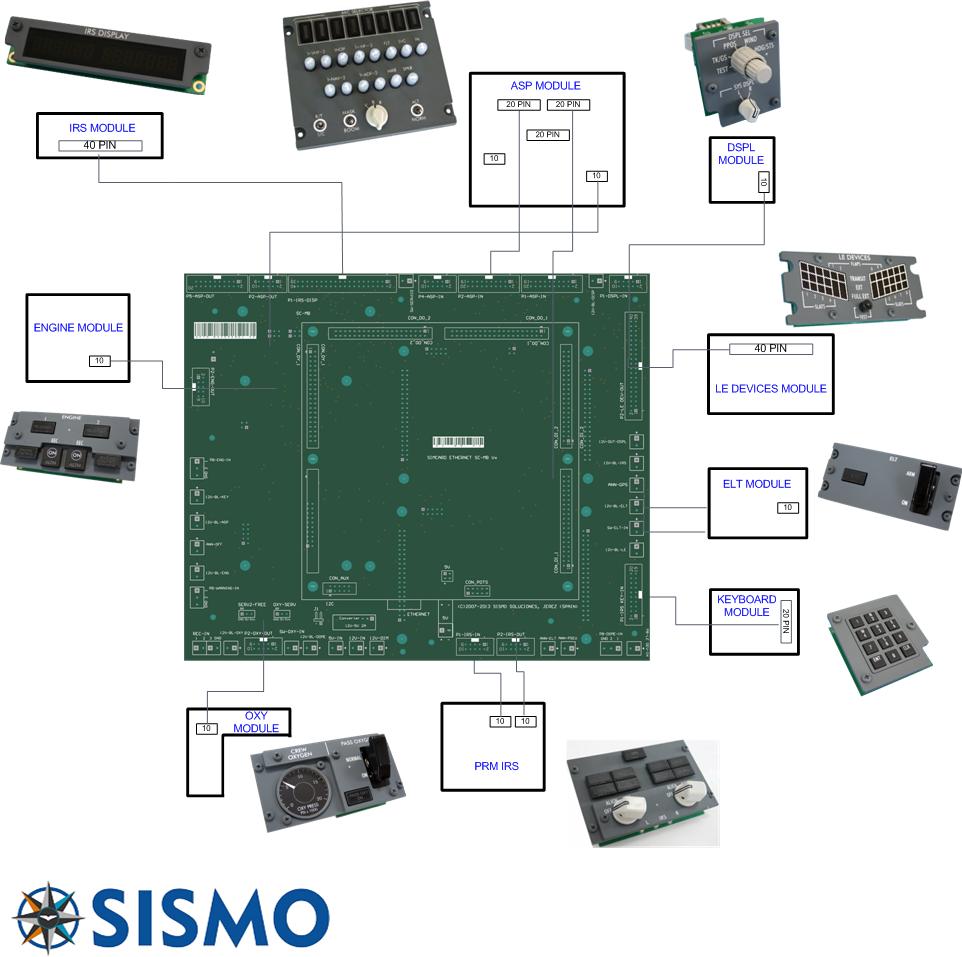 |
The left diagram is if you choose to use their SC-MB Ethernet. The right diagram is if you choose to go with their AFT Overhead Electronic Baseplate.
You’ll see in my situation (the left diagram), I need a GIC card in addition to the SC-MB to fully connect my ISDU. So just know that before you decide to buy.
Another thing to note if you go the route I did is that Sismo provides SC-Pascal scripts specifically designed for ProSim interfacing in their download section. However, this can be a bit tricky to set up. I’ll talk about software configuration in ProSim in the next blog post.
IMPORTANT NOTE IF YOU ARE USING THE SISMO PROVIDED PROSIM SCRIPTS! The 7 Segment displays on the IRS panel will ONLY light up and display properly if you have BOTH the IRS Display and Rotary modules connected. If you only connect the IRS Displays, you’ll just get a blank screen. I’ll explain in another blog post.


Hi, if you mean the two rails that run from front to rear and the cross strut, yes those came…