
Last Updated on April 12, 2020
As I’m putting my sim back together I decided it’s time to permanently mount my Weber pilot seats. I decided J-Rails were a bit too pricey/complex for me right now so I found a less expensive, yet innovative way to make something similar.
The Seats
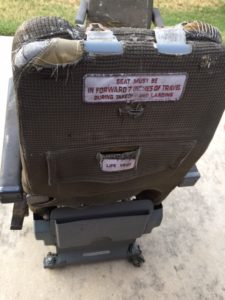
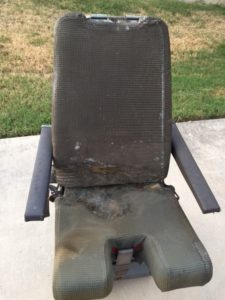
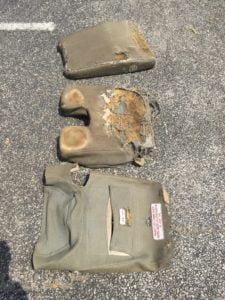
I was given a set of old Boeing 747 Weber seats from a friend that were in terrible condition and I have slowly been reconditioning them to a point they are usable. I’m not sure I’ll put the effort into restoring them fully because ideally I’d like a couple of nice condition IPECO’s some day. But since it’s hard to find a decent matched set of IPECO’s, these will have to do for now.
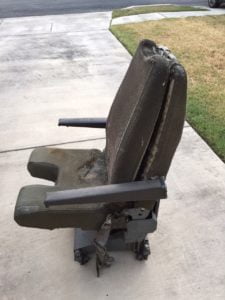
I won’t touch too much on the seats themselves. This article is more about how I rigged them to the floor so I could move them similarly to a “J-Rail” seat but without the cost and complexity of fitting real J-Rails or the cost of pre-fabricated simulated J-Rails.
J-Rails
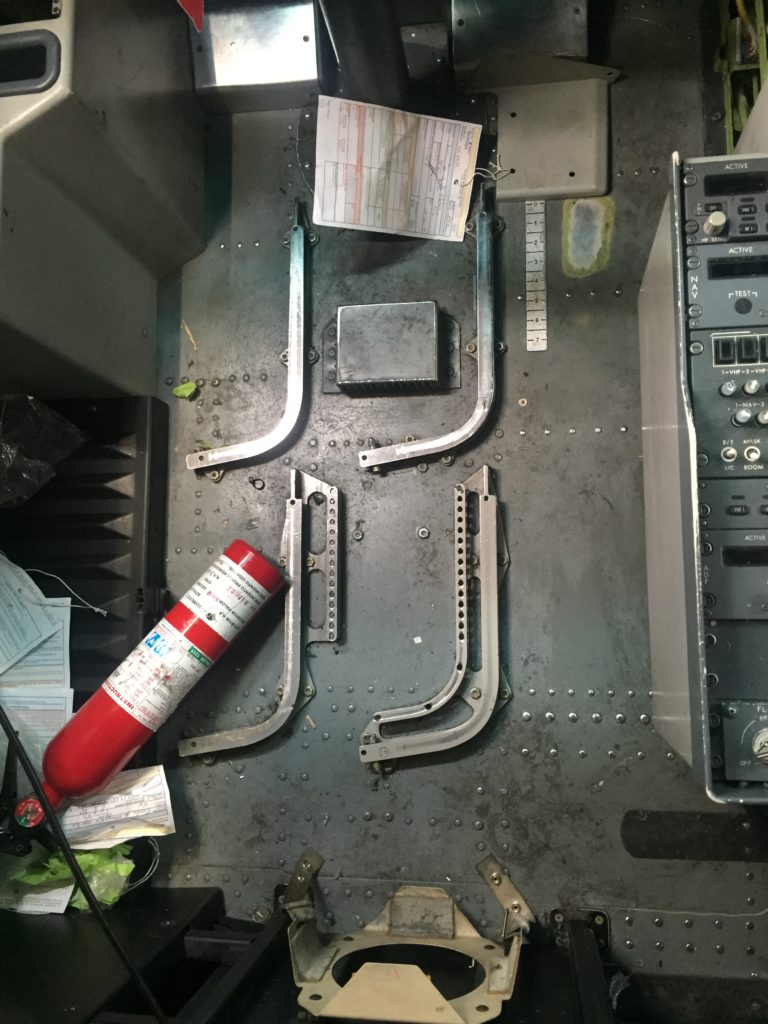
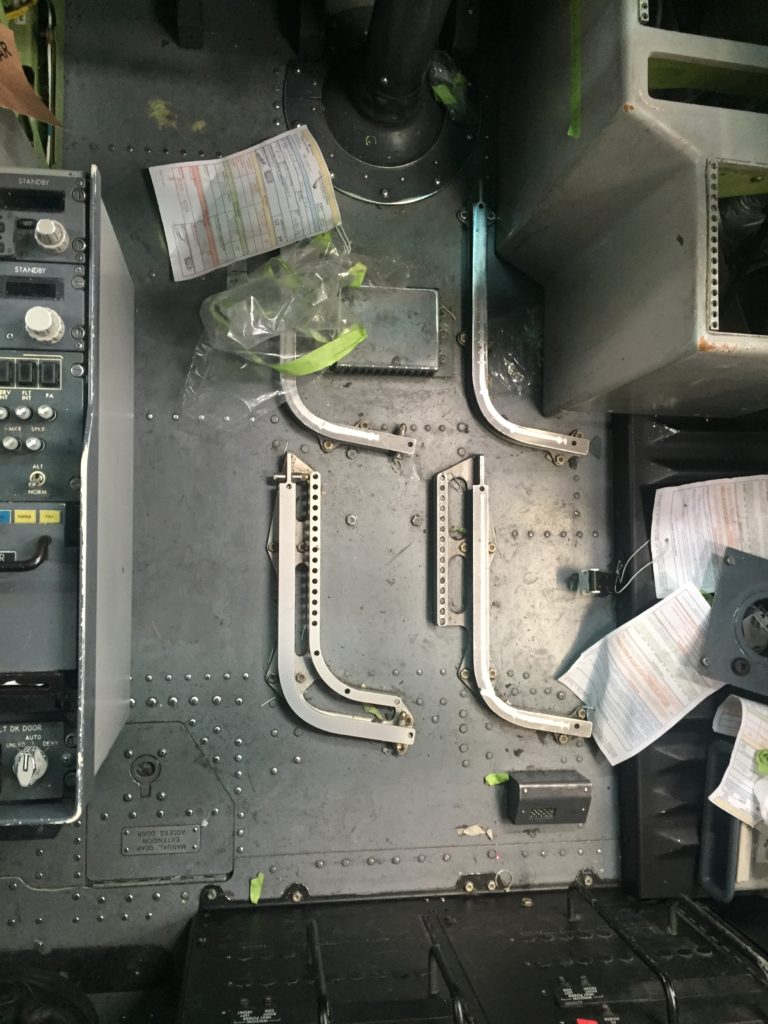
If you’re not aware, the Boeing 737-800 pilot seats ride on floor rails that look like the letter “J” from above, hence the term “J-Rails”. The seats themselves have rotatable roller-wheel feet that attach to the rails, and the seat has a handle that activates a pin to lock the seat in place. You can see the pin holes in the rail pictures below.
When you release the locking pin via the seat handle the seat glides straight back then outwards towards the cockpit walls to give a little more room to get into the very cramped cockpit seats. It’s not a lot of space, but enough you can pass your leg through the gap between the seat and the center pedestal.
A set of real J-Rails will run you around $650 USD per side. You also have to keep in mind the J-Rails are not universal. If you have IPECO seats, they are different than for Weber seats. Then, there’s a matter of alignment. If you don’t have an actual 737 cockpit floor where the holes are already there, you’ll have to figure out how to get the seat rails aligned perfectly which isn’t an easy task.
Alternately, you can opt for a set of pre-fabricated rails, like those in the picture below from sim manufacturer OpenCockpits. These will run you around the same price as real J-Rails, somewhere around the $600 USD range, but you won’t have the hassle of rail alignment, they move like the real rails, and they provide a nice platform to mount your own seat to.
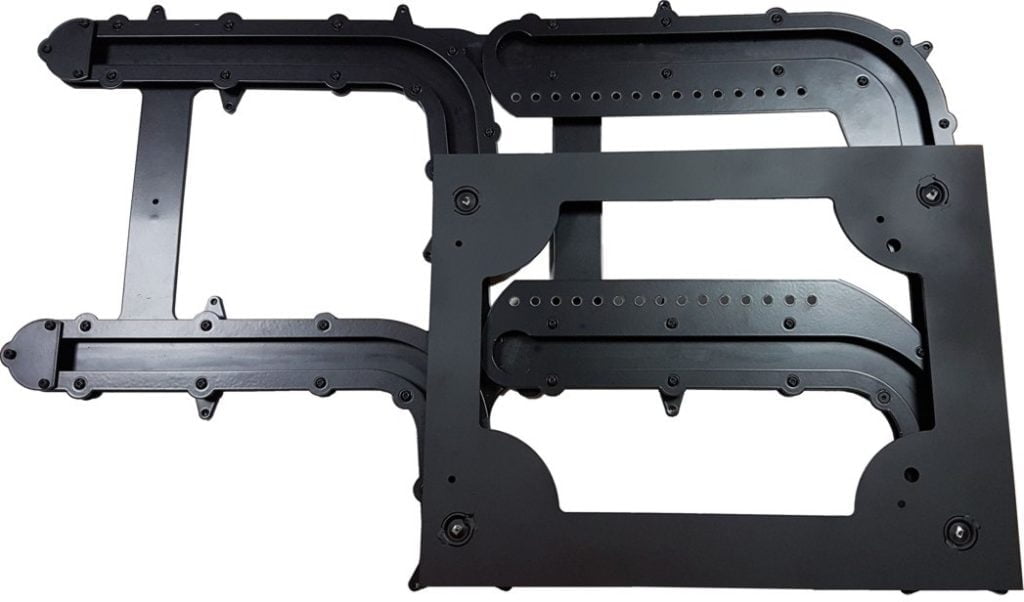
While OpenCockpits claim their rails are geared toward their own seats, they can be adapted quite easily to your own seat if you get a little creative. Where you may be challenged is how to lock the seat in place. You’d have to design your own locking mechanism.
Car Seat Rails
I seriously considered the J-Rail set above from OpenCockpits, but being in the United States shipping something heavy like that overseas is very expensive. And I still would need to come up with a custom locking mechanism for my Weber seats.
Based on a tip from Jackpilot, a very helpful CockpitBuilders.com forum user, I took a look at car seat rails readily found on eBay (search for “Locking Seat Rails”). These are just like the manual seat rail adjusters you find in vehicles and they only cost around $65 USD a pair.
It’s a simple design where there are a couple of toothed rails on each side of the seat, and a spring-loaded bar in-between that you pull up to unlock your seat so you can slide it forward and back. No, it’s not a J-Rail (just wait) but some people would say you don’t really need a J-Rail seat in a home cockpit…straight rails will suffice.
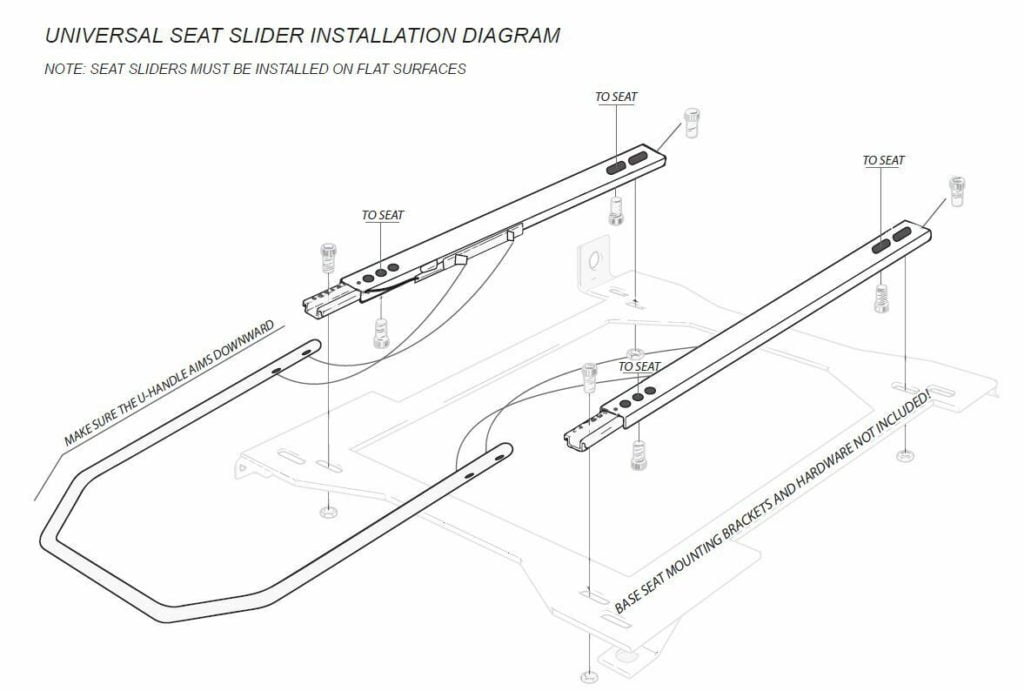
Well, I wasn’t really happy with the idea of just straight rails because the 737 cockpit is VERY tight and I didn’t want to clumsily bang into all this nice expensive stuff I put into my cockpit while I try to do a ballet dance getting into my seat. So I wondered what would happen if I mounted one set on the floor for front to back movement, then mounted a second set on top but rotated 90 degrees? This would give me manual forward/back adjustment with one lever, and side-to-side movement with the second lever. Bingo!
After some leg work experimenting with various bolts and screws to get the right combination that would work for me, I came up with what I think is a solution that gives me the seat movements I wanted but at an affordable price.
The pictures below give you an idea of how I put it together. You can see the two sets of seat rails, and their associated locking handle in-between. They’re just bolted one on top of the other. And on top of all that I bolted a properly sized plywood platform to secure the seat to (the seat footprint was wider than the rails would allow, hence the platform).
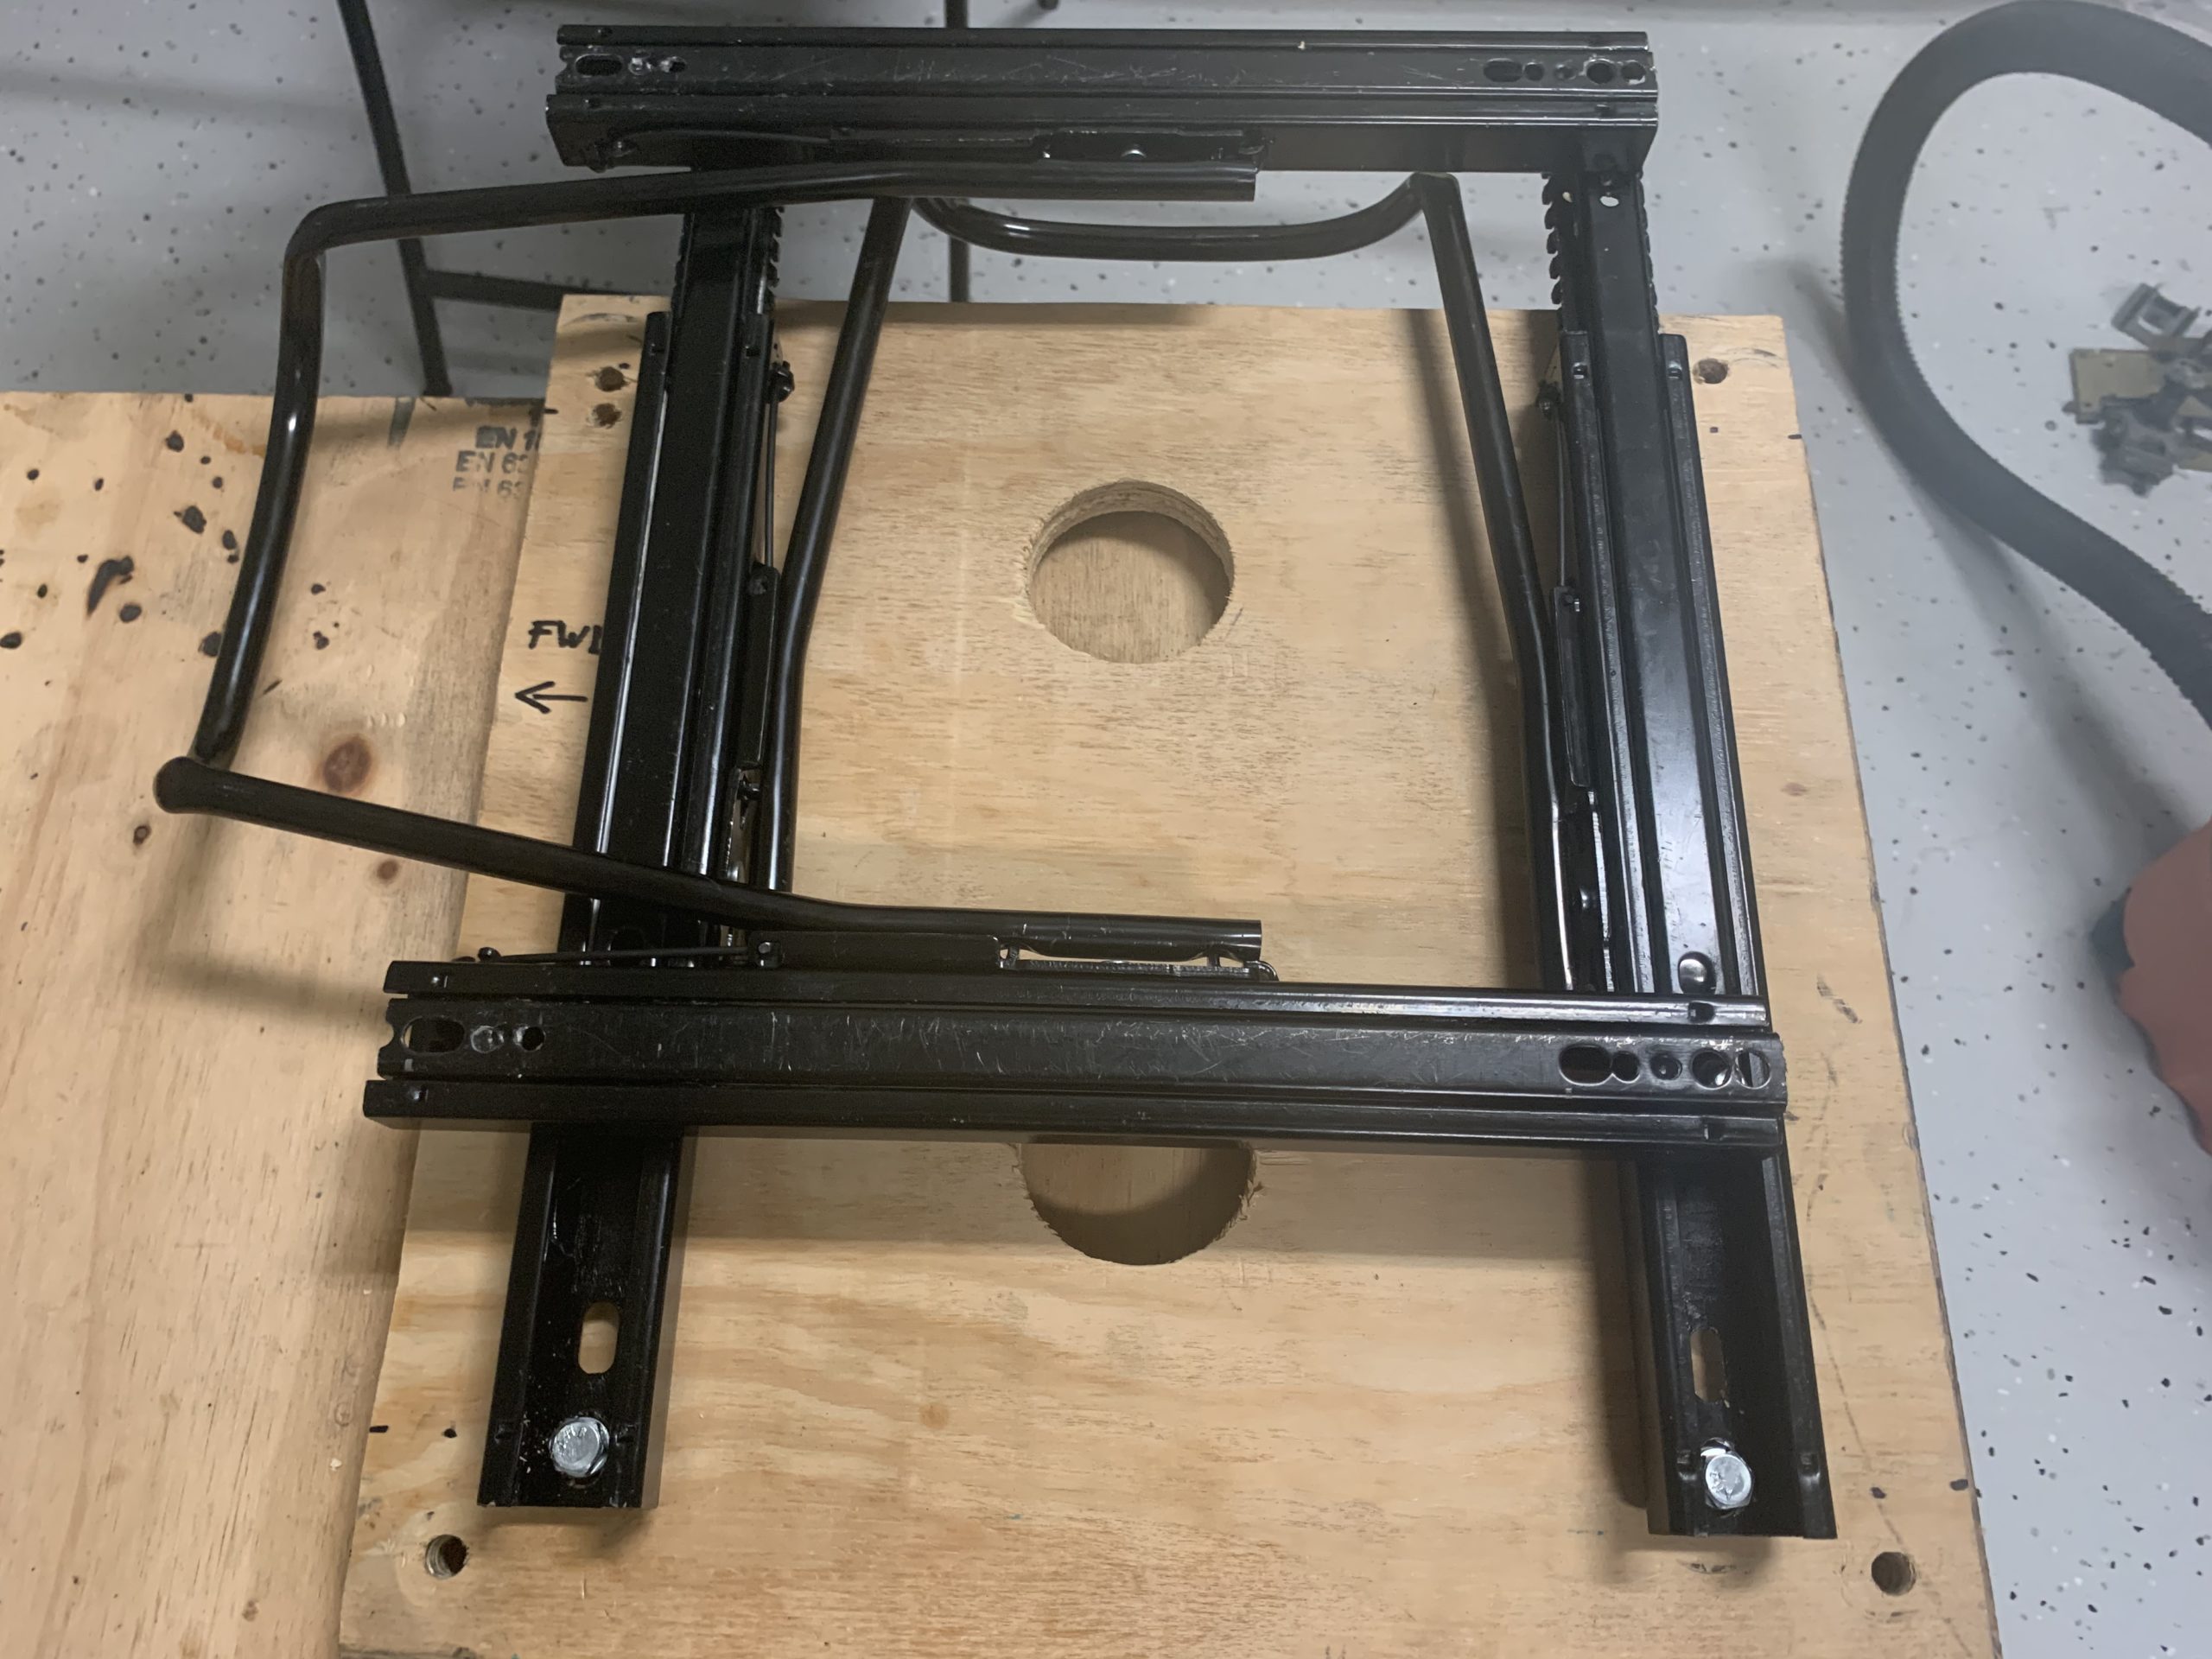
Note, I also bent the pull handles to almost 90 degrees to make them easier to reach given the limited space of the cockpit that doesn’t allow you to bend over as easily.
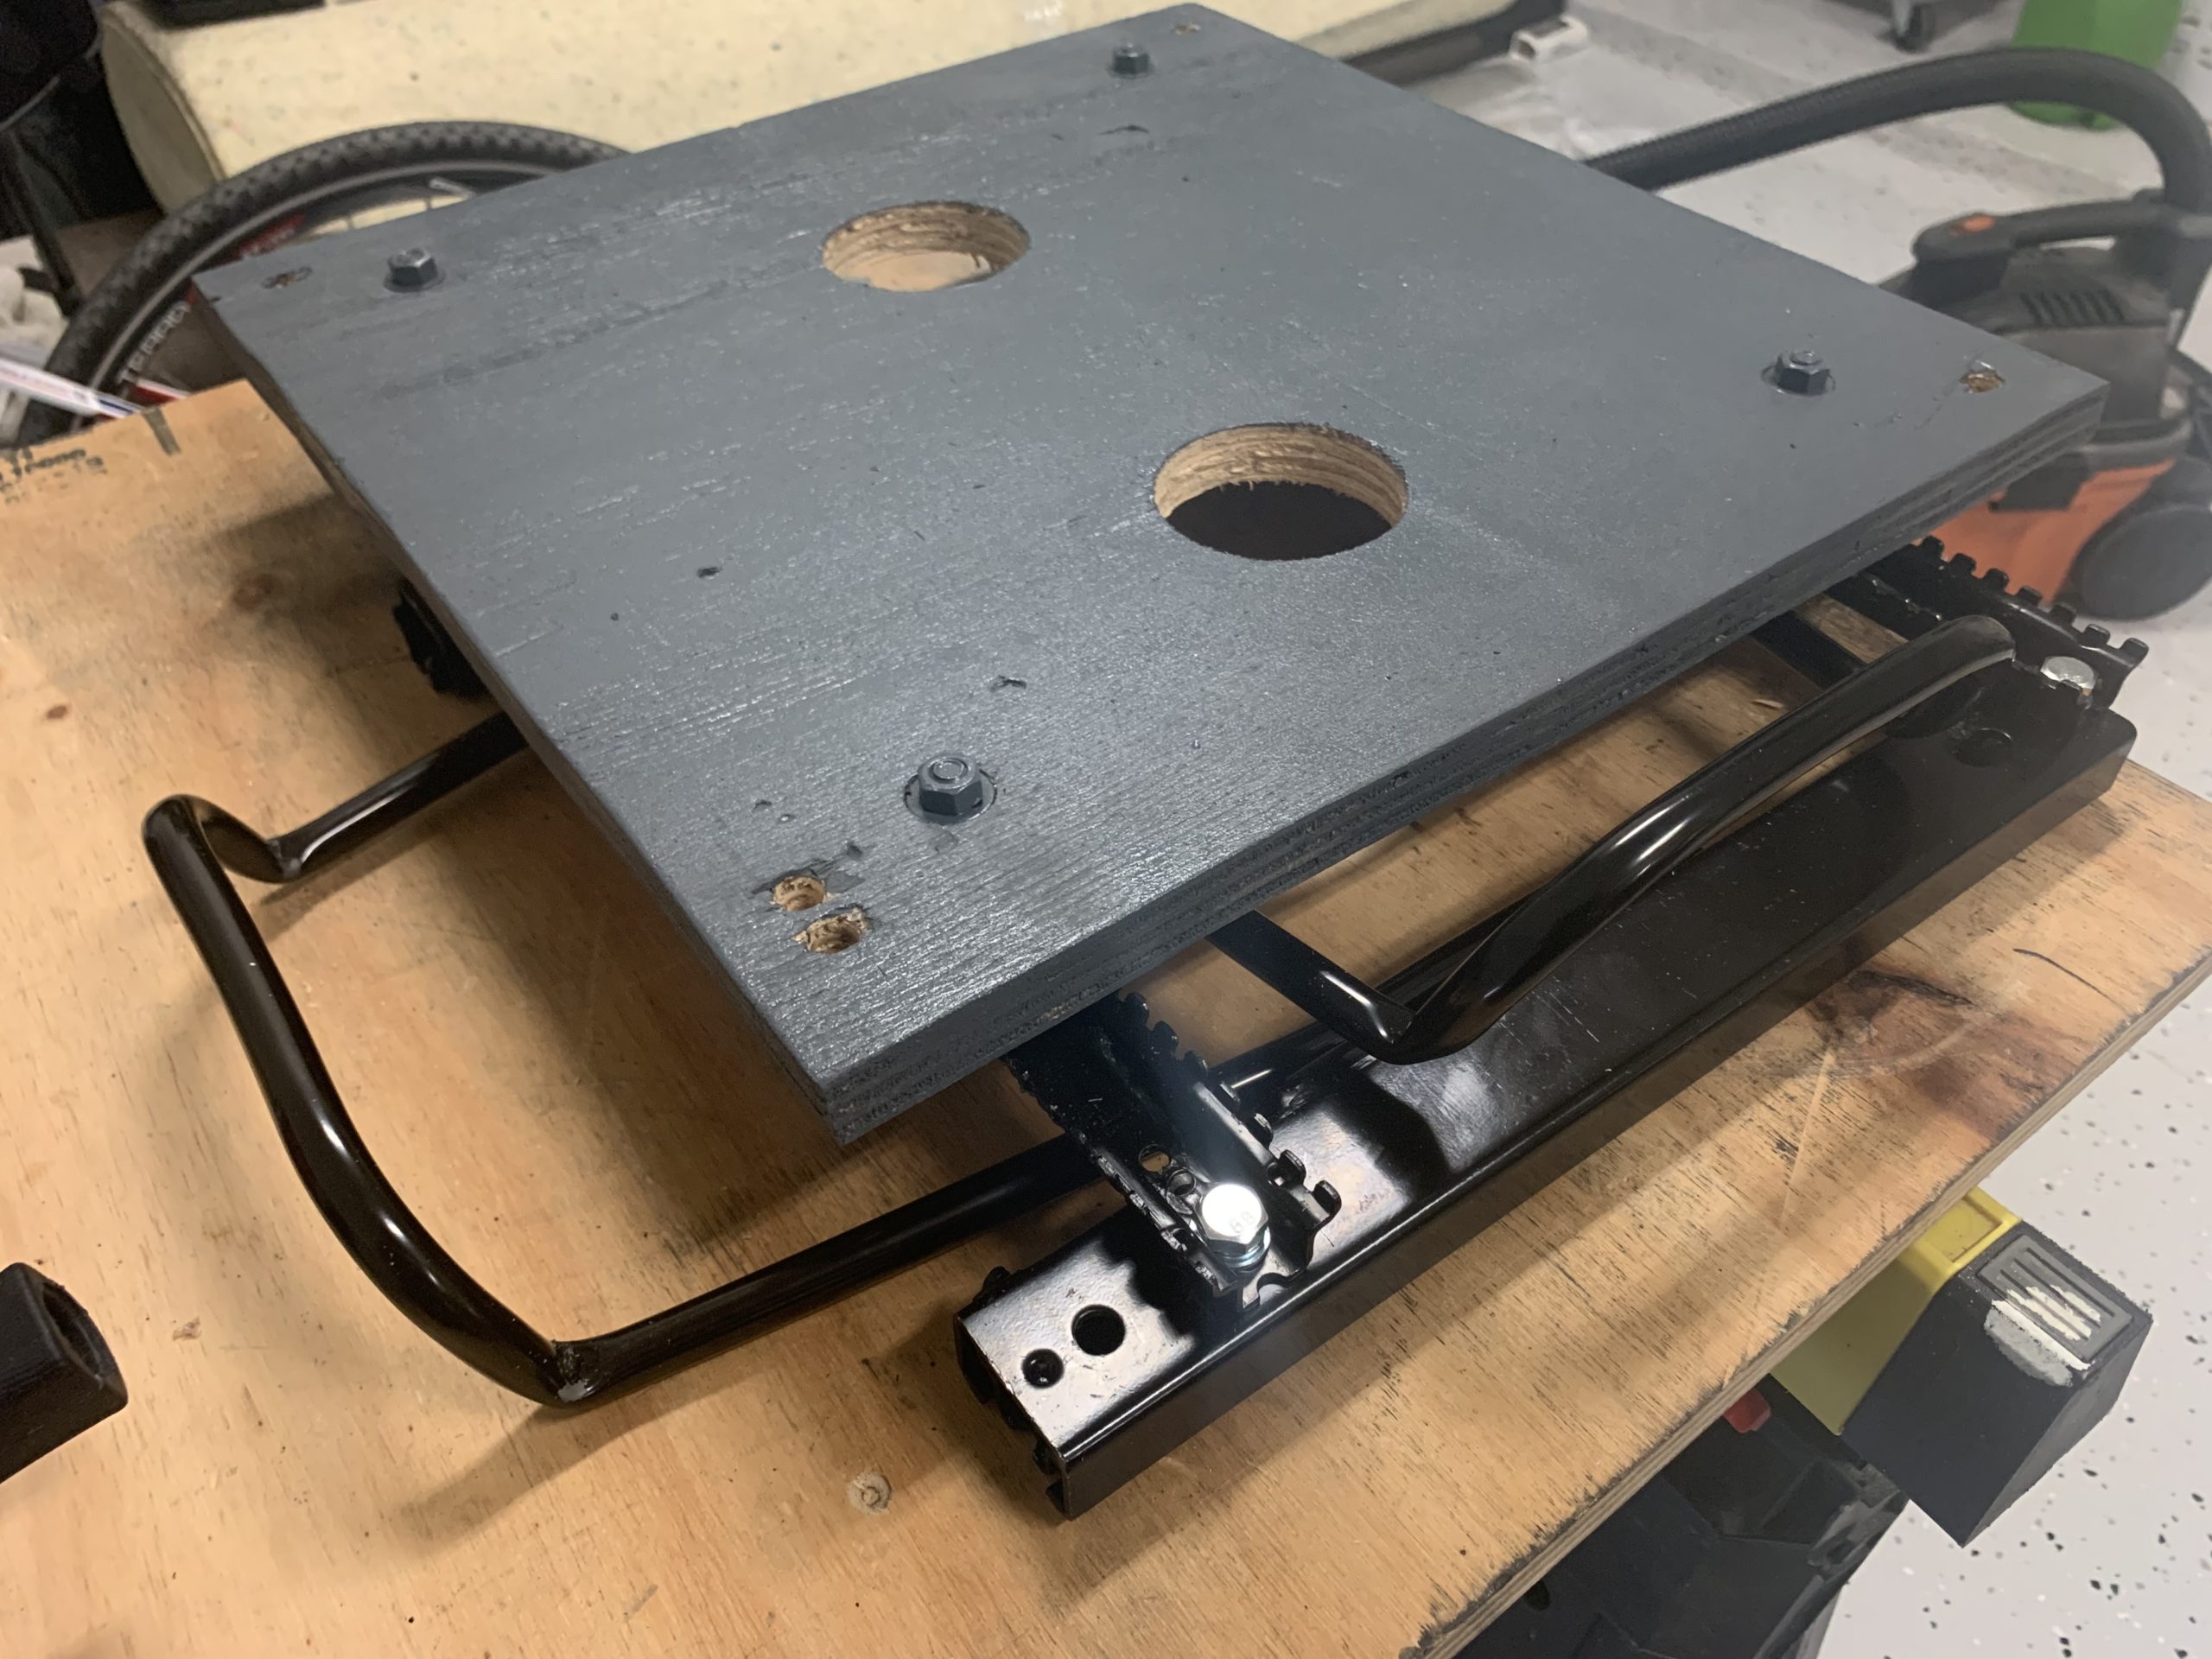
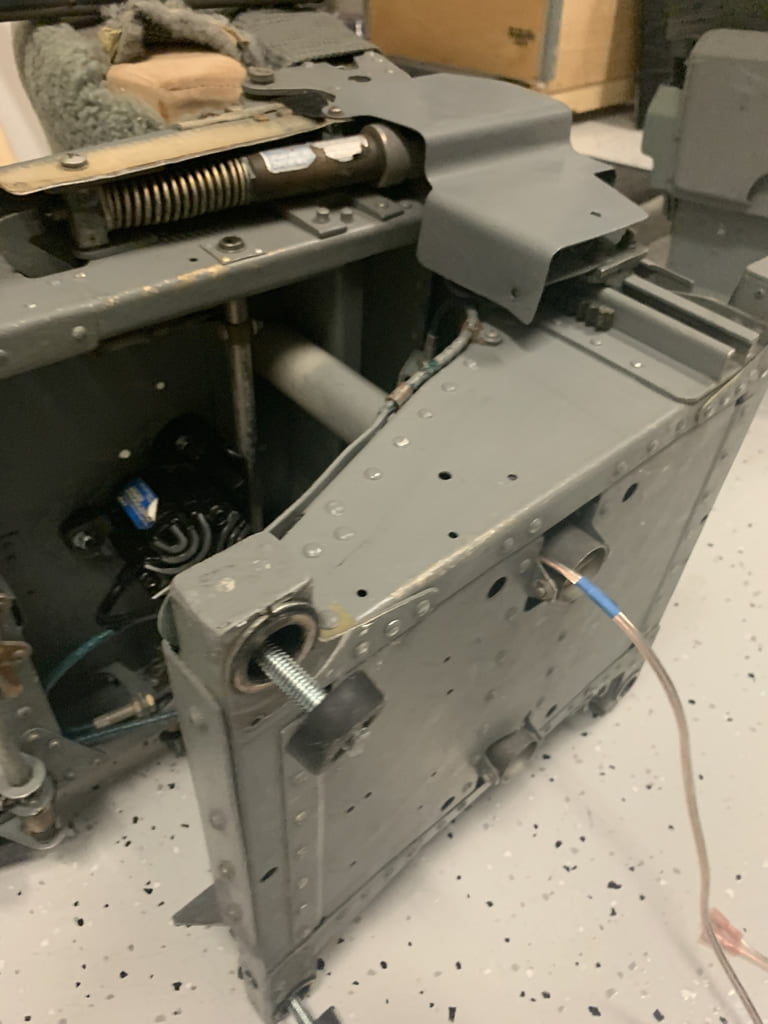
You’ll note the two holes in the platform. That is because the Weber 747 seats have two round vertical support shafts sticking out the bottom as you can see in the next picture.
I had to make the holes in the platform to allow the seat to sit far enough down that I could bolt it to the base without the seat see-sawing on the shafts.
An astute observer may notice a couple of other interesting things in the picture above. First, that I am using a rubber bushing with a hole drilled in it between the seat and the wood platform base (the rubber feet are from a PC case I had lying around). This is to help isolate the seat from the second item which you may have noticed connected to the wire coming out the bottom. A Butt-Kicker Mini LFE transducer that adds vibration to the seat from the various sim sounds piped to it (bumps, turbulence, engine vibrations, etc). Pretty cool, eh?
Final Product
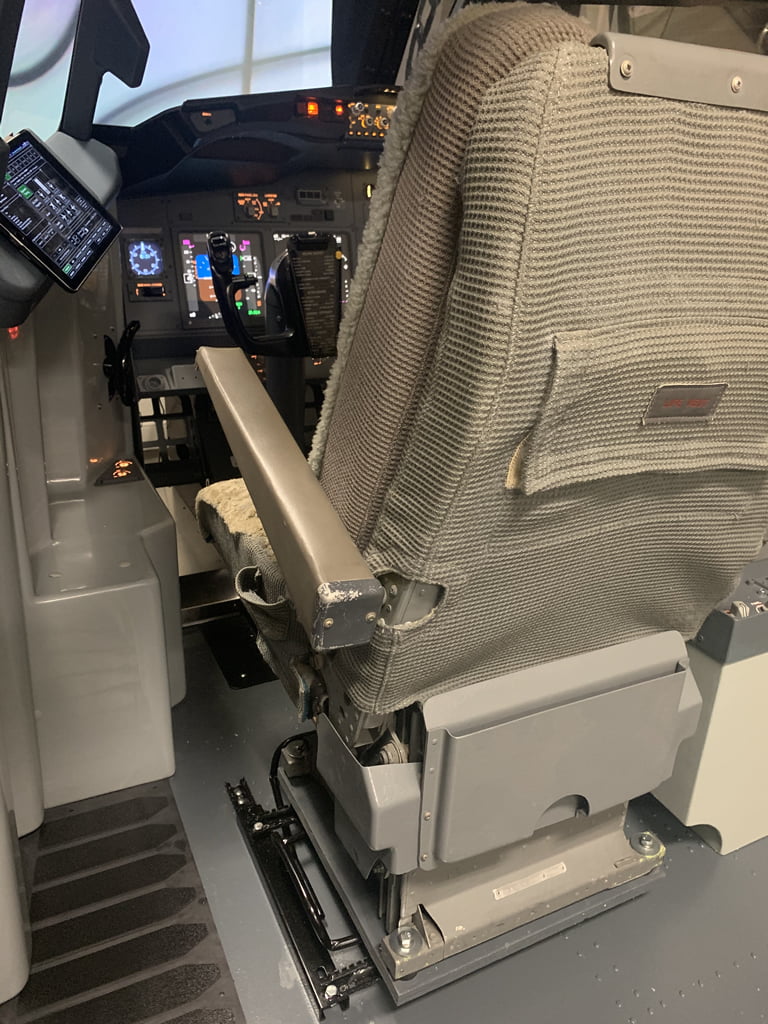
I’m happy to say I’m quite satisfied with the final result. I can now easily move forward and back, side to side with the appropriate pull handle. The picture below shows what the mounted seat looks like.
All told, with hardware (rails, bolts, washers, lock nuts, plywood board, etc) I’d say the cost was around $90 USD per seat (I’m not counting my time invested, which was probably 4-5 hours per seat). Compared to $750+ per seat for the imitation or real rails I’d say that’s a pretty good savings to get a similarly functioning seat that is solid and will last.
Hope this gave you some good ideas for making your own! Feel free to ask any questions in the comments below.


2 comments
if you really want J-Rails, check out Swiss-sim on ebay. They are located in Tempe, Arizona and have had J-Rails periodically in their stores.
https://www.ebay.com/usr/swiss-sim/
Author
Hi Steve, thanks for the info. I’m aware of Swiss Sim Shop and do check on them periodically. Not the cheapest, but yes, I have seen rails there before. I appreciate it!