
Last Updated on April 21, 2021
As I’ve mentioned in previous posts, I love my 3D printer. I use it regularly to quickly make small parts I need using just a little imagination and creativity.
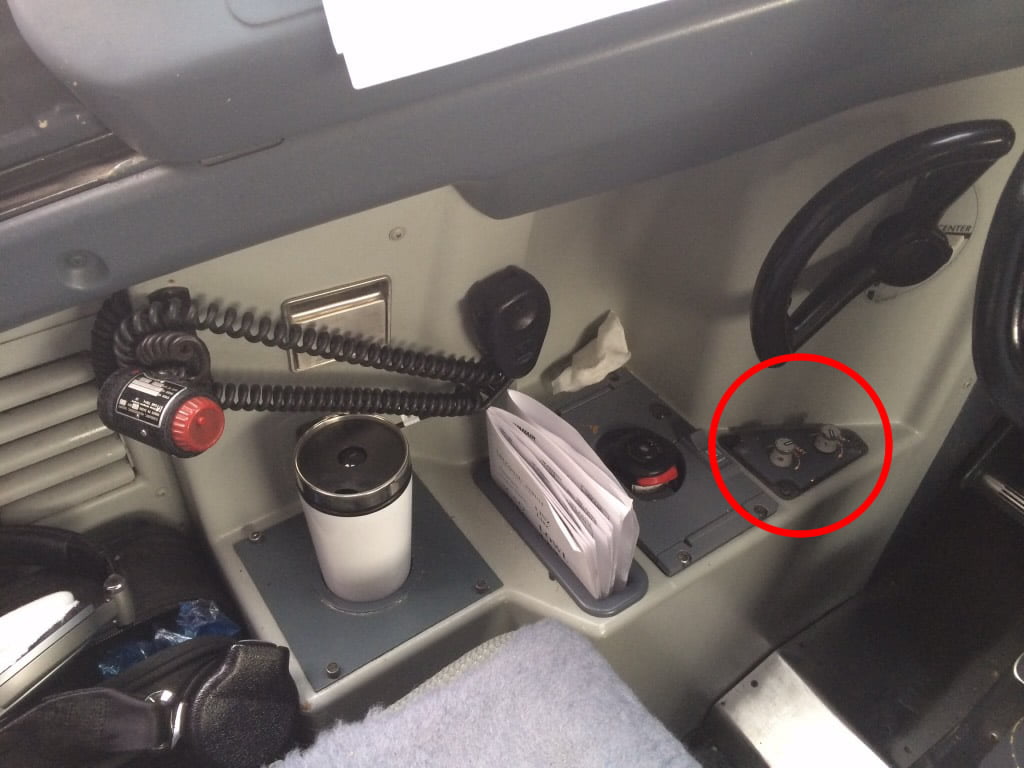
A part I’ve been wanting to make for a while is the Boeing 737 Map/Chart Light knobs on the forward sidewalls. No one seems to make them correctly so I decided to try and make them myself.
Oddly enough, the N1 SPD REF knobs aren’t found properly made anywhere either (the center knob is thinner and longer than the average dual concentric knobs), so I’m going to make some of those too following the same steps I lay out here.
Designing the Knobs
I was able to get some accurate measurements and photos of the real Map/Chart Light knobs from a friend. From those I was then able to re-create the knob fairly closely in my CAD program, Fusion360.
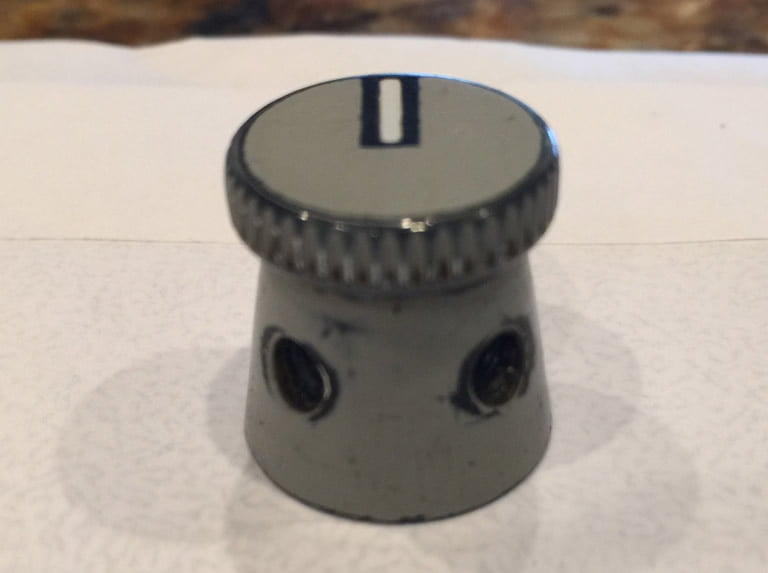
Actual Map Light Knob 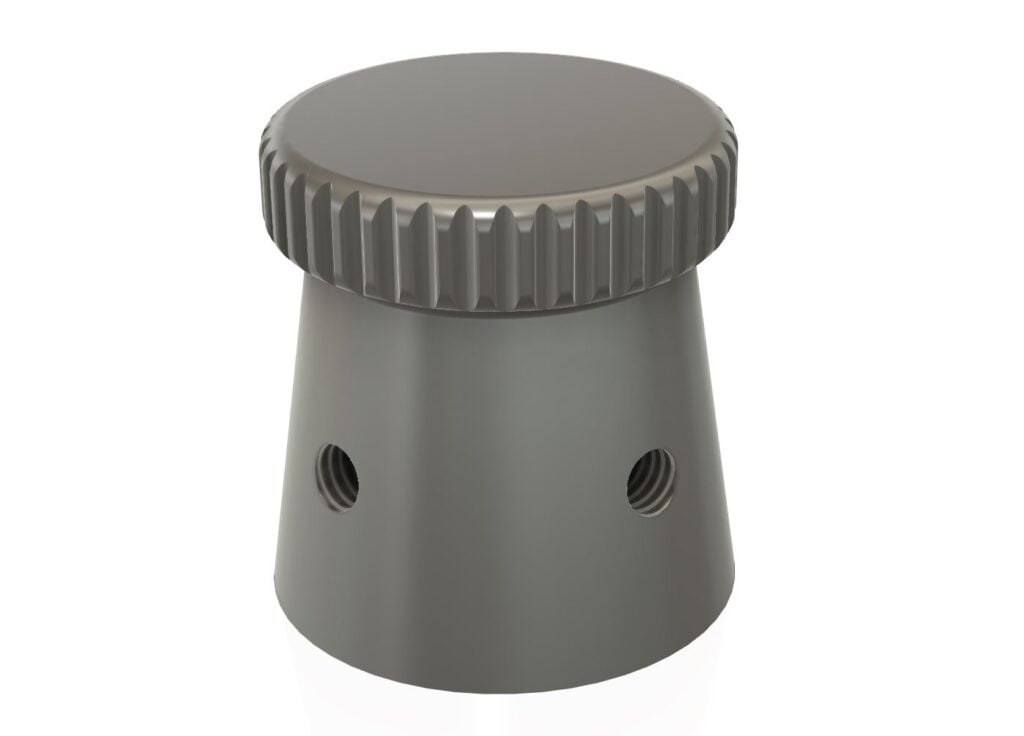
Fusion360 CAD Drawing
3D Printing the Knobs
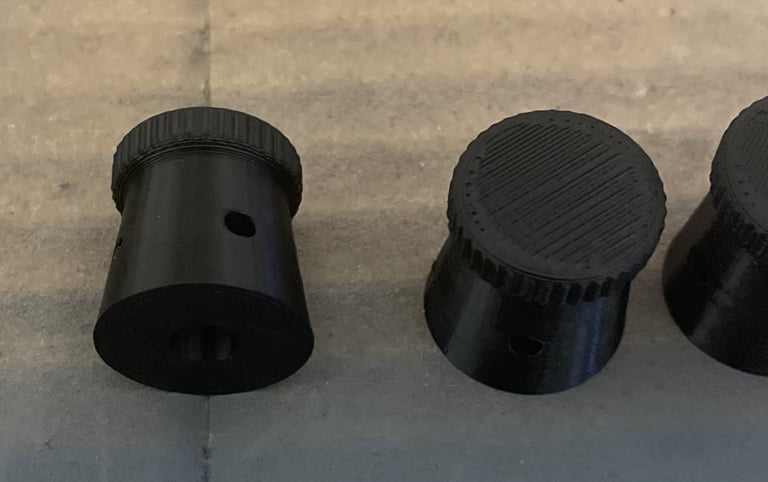
Once I created the 3D CAD file I was able to print out the replicas on my Creality Ender 3 printer. I used a .2 mm layer height which still leaves some obvious lines that will have to be sanded smooth, a down-side in general to 3D PLA filament printing. I’ve tried going to a .1 mm layer height which would reduce the visible layers, but haven’t quite got that perfected yet so this will have to do for now.
Sanding
Next step was to sand the knobs smooth to remove the 3D printing lines. I started with 120 Grit sandpaper to roughly remove any print lines, then a finer 320 Grit, and lastly 2000 Grit to really smooth the surface. I usually wet sand under a slow running sink faucet, which I think gives me a little smoother finish and reduces dust, but it’s not necessary. Wet or dry works fine.
Priming
Once sanded smooth, I primed the surface with around 10-12 coats of Rust-Oleum Automotive spray Filler Primer to fill in any remaining imperfections. I have also used Dupli-Color Automotive Primer Filler which works great too. It usually takes a LOT of coats of primer to get rid of most of the 3D print imperfections, but this primer dries very quick so you can lay down a lot of coats pretty fast. Make sure you buy several cans.
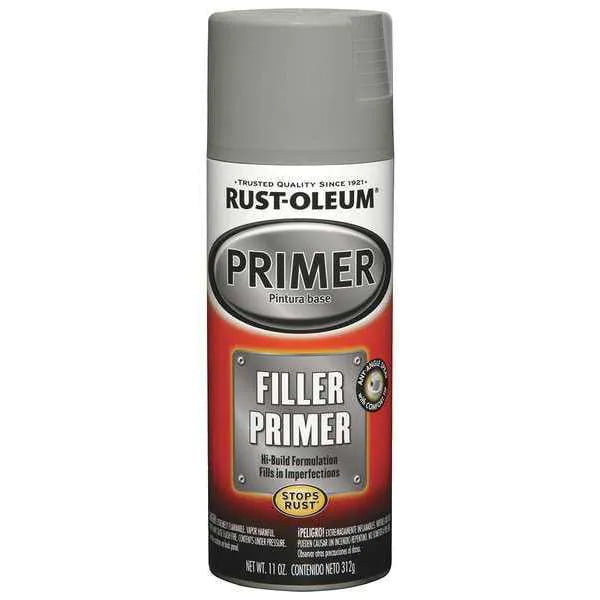
RUST-OLEUM Automative Filler Primer 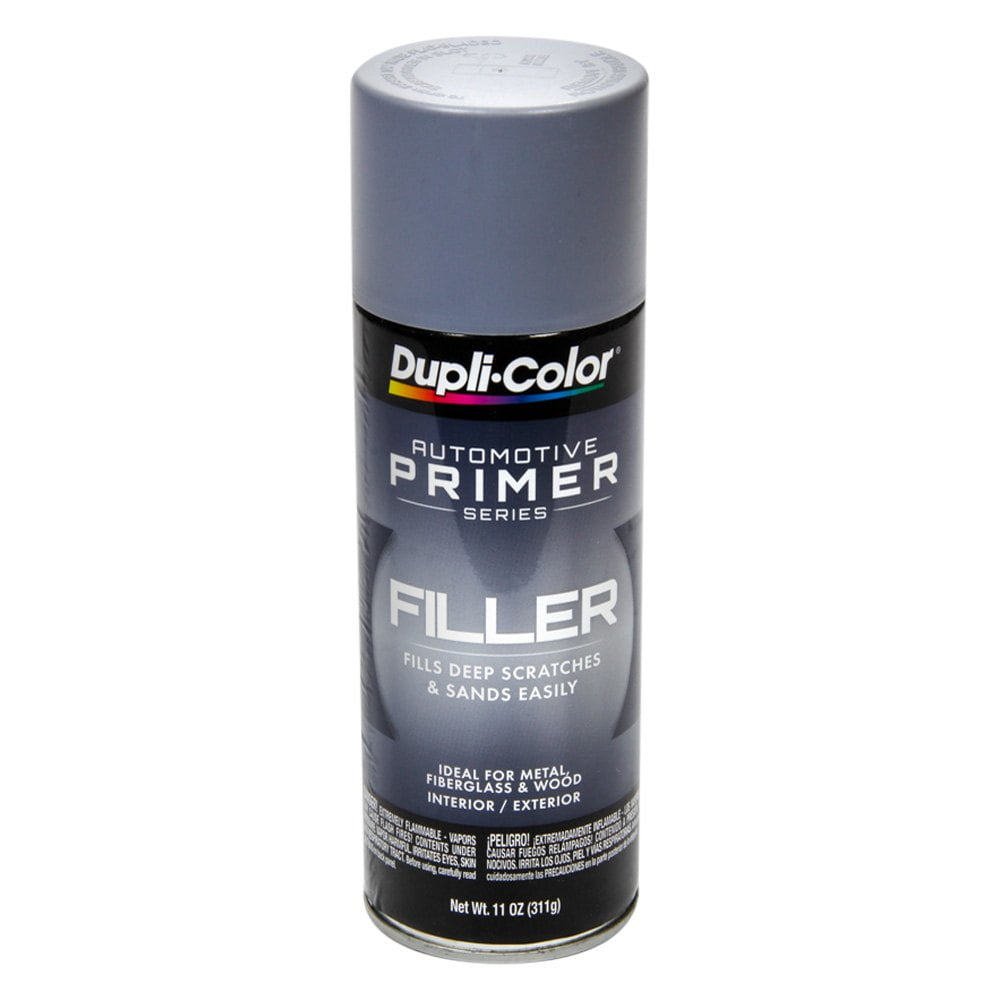
Dupli-Color Automotive Primer Filler
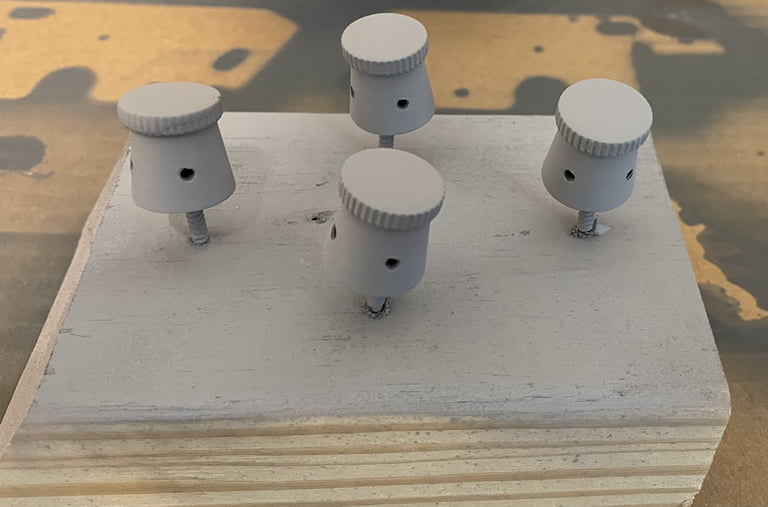
Below is what the primed parts look like, ready for final painting:
Note, in my CAD drawing I added 3mm threaded holes so they were “pre-threaded”. In theory it should work, but because these are small holes and 3D printing sometimes has trouble with small holes the threads didn’t turn out quite perfect. So, I made sure to screw some grub screws into the holes to make sure they were properly threaded before final painting.You could probably also just drill a hole, or use CAD to make a perfectly round hole and once you run a grub screw through the hole it will self-tap. Either way works.
Adding the Final Paint Color
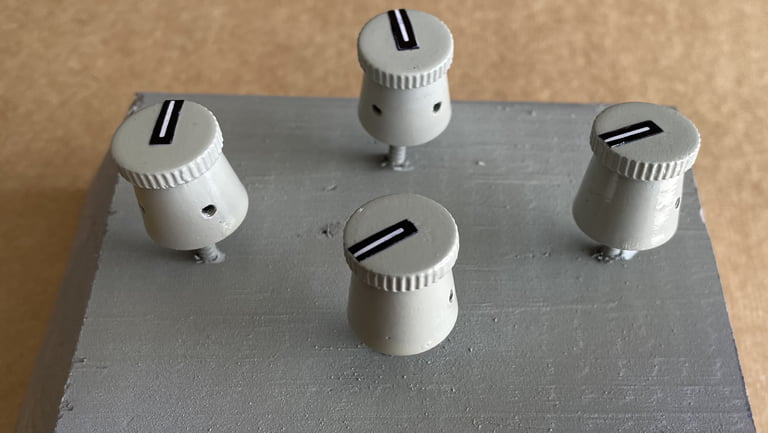
I applied several coats of gray Tamiya hobby Acrylic paint. I couldn’t find an exact match for the original gray so mine came out a little more on the tan side. I probably could have spent more time mixing some different grays to come out a little closer, but eh, it was close enough. Sorry, I don’t have a picture of the painted knobs at this point, but you’ll see the overall final result below.
Adding the Markings
I still needed to add the markings to the top of the knob. I debated masking the lines and painting by hand, but I knew I’d never get it quite perfect. I also thought about buying some wet transfer decal paper (like you find in plastic models) and printing on that, then transferring to the knob using typical modeling techniques. But I would have had to order the paper and it would have taken time, so…
I happened to have some white Vinyl sticker paper lying around and decided to see if I could get that to work. Bingo! First, I created a drawing in Photoshop with a bunch of circles of the exact millimeter diameter of the knob. I then approximated how the lines should look in Photoshop based on the actual photos. And here’s what I ended up with:

I printed that onto my Vinyl sticker paper using my InkJet printer, then used a ruler and an X-Acto knife to perfectly cut around the outer rectangular indicator line so that I ended up with a small rectangle with a white center and black border. I then stuck this in the right location on the knob head and Voila! Again, sorry, no picture, but you get the idea (I hope).
Sealing Coat
To prevent the sticker from coming off over time the knob now has to be sealed with a clear coat sealer.
With some clear gloss Tamiya acrylic hobby paint spray, I sprayed the knobs with multiple coats to seal the paint and markings, and give the knobs a glossier appearance. The final result is below. Not bad.
Final Thoughts
If you have the skill (or are willing to learn it), 3D printing is a great way to quickly make small parts that are hard to find or will take too long to get. The downside to 3D printing with PLA filament is that you’ll notice visible layering as this is an additive process (each layer builds on the layers below it). This means there’s quite a bit of finishing work that still has to happen (mostly sanding and a lot of priming) before the final product.
My next endeavor might be to experiment with Resins by making a rubber mold of the sanded 3D printed parts, then create the knobs by pouring in liquid resin to molds. You would need to drill the holes as there isn’t an easy way to make them with a resin cast, but the final product will come out smoother, from what I’ve seen. There are also affordable Resin 3D printing machines now available as well, something that may be worth looking into at some point.


Hi, if you mean the two rails that run from front to rear and the cross strut, yes those came…